Important Information:
- The Windows Agent can be installed on Windows 7, 8, 8.1, Windows 10, & Windows 11
- To ensure complete functionality of the agent, Port 7789 must be allowed outbound in your firewall if you have an outbound filtering policy.
***ConnectWise Automate must be on version Patch 2022.2 or higher***
Step 1 You'll first need to ensure you have a user (user must be local and not have SSO/MFA enabled) set up in your ConnectWise environment with the "Integrator" permission selected.
This can be found by navigating to System--->Users and Contacts--->Users. From there you'll double-click on the user you want as the integrator account and be able to use those login credentials for the integration setup.
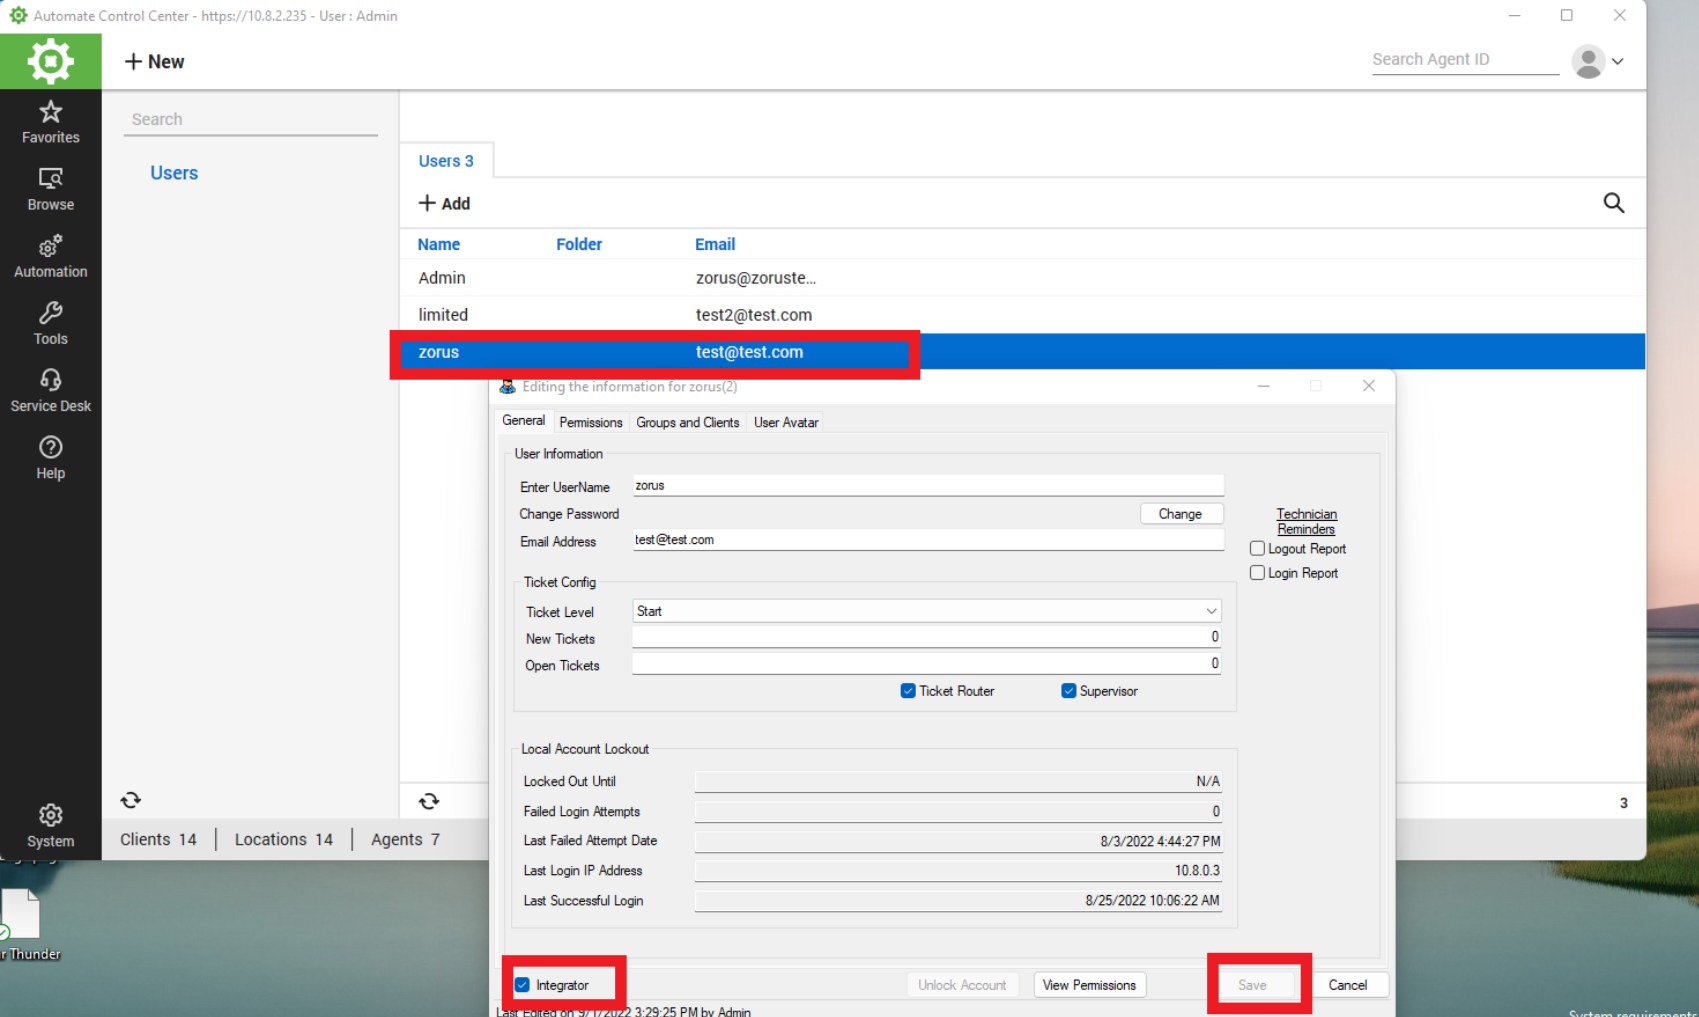
ConnectWise Automate Permissions
The Integrator account must also have the following permissions set for the user:
- Client Read
- Client Update
- Client Access
- Computers: Show All -- Access
- Script Read
- Script Update
Step 2 You'll also need to create an EDF for the token.
Click System-->Configuration-->Dashboard.
In the Dashboard, go to the Config tab-->Configurations tab-->Additional Fields tab
- Name: Zorus Token
- Field Type: Text
- Tab: Create a "Zorus" tab if you don't already have one.
- Data Screen: Clients
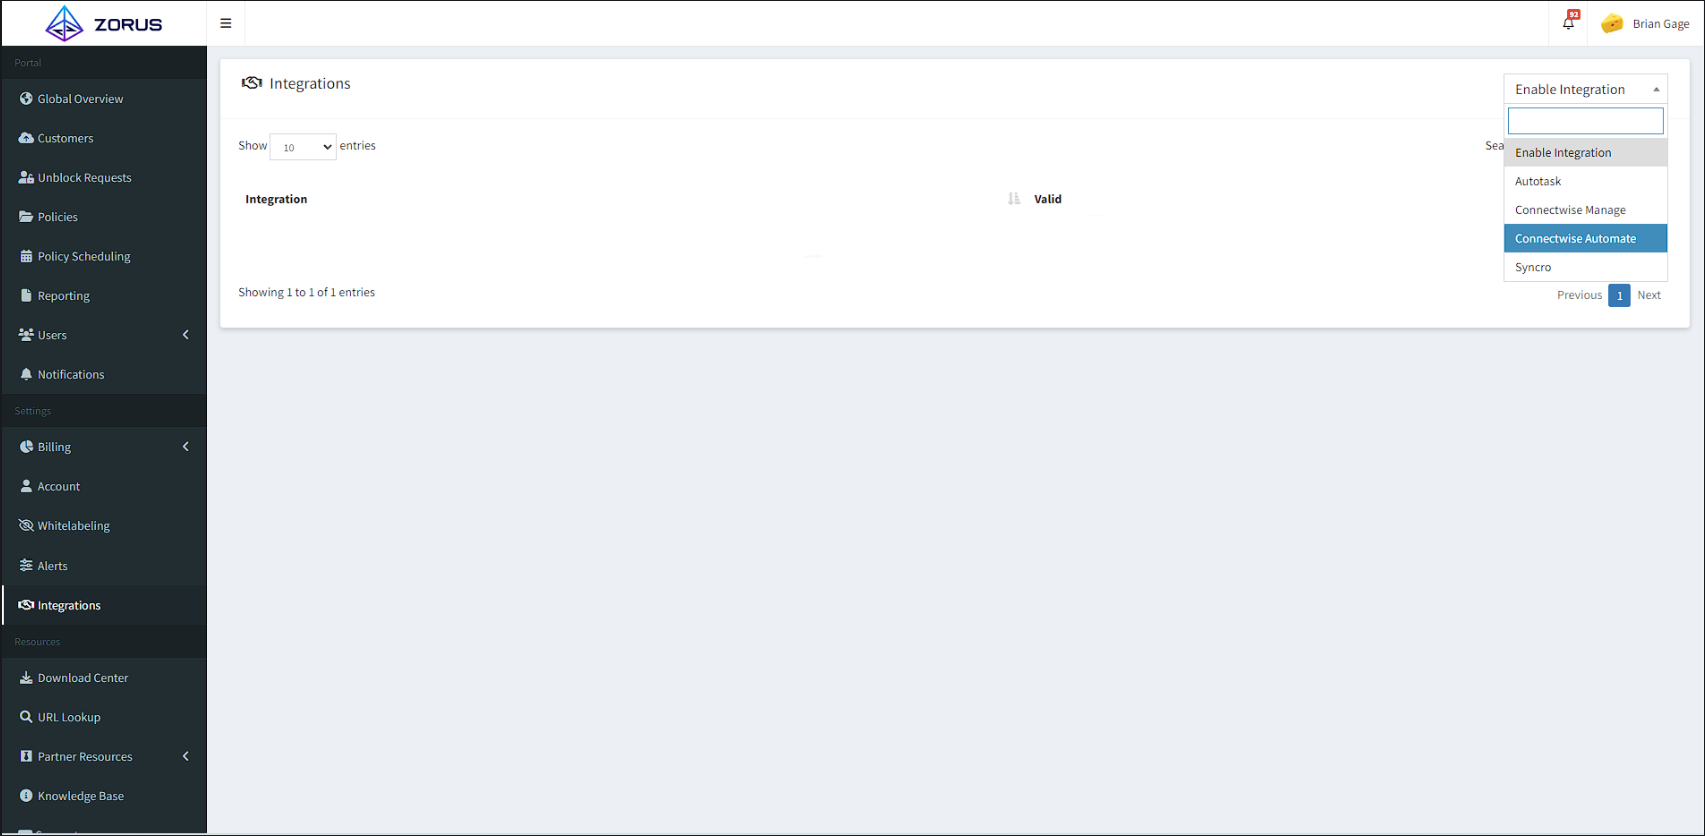
Step 3 Now, navigate to the Integrations tab located in the left sidebar of the portal. Once you're there, you'll want to select the "ConnectWise Automate" integration from the dropdown.
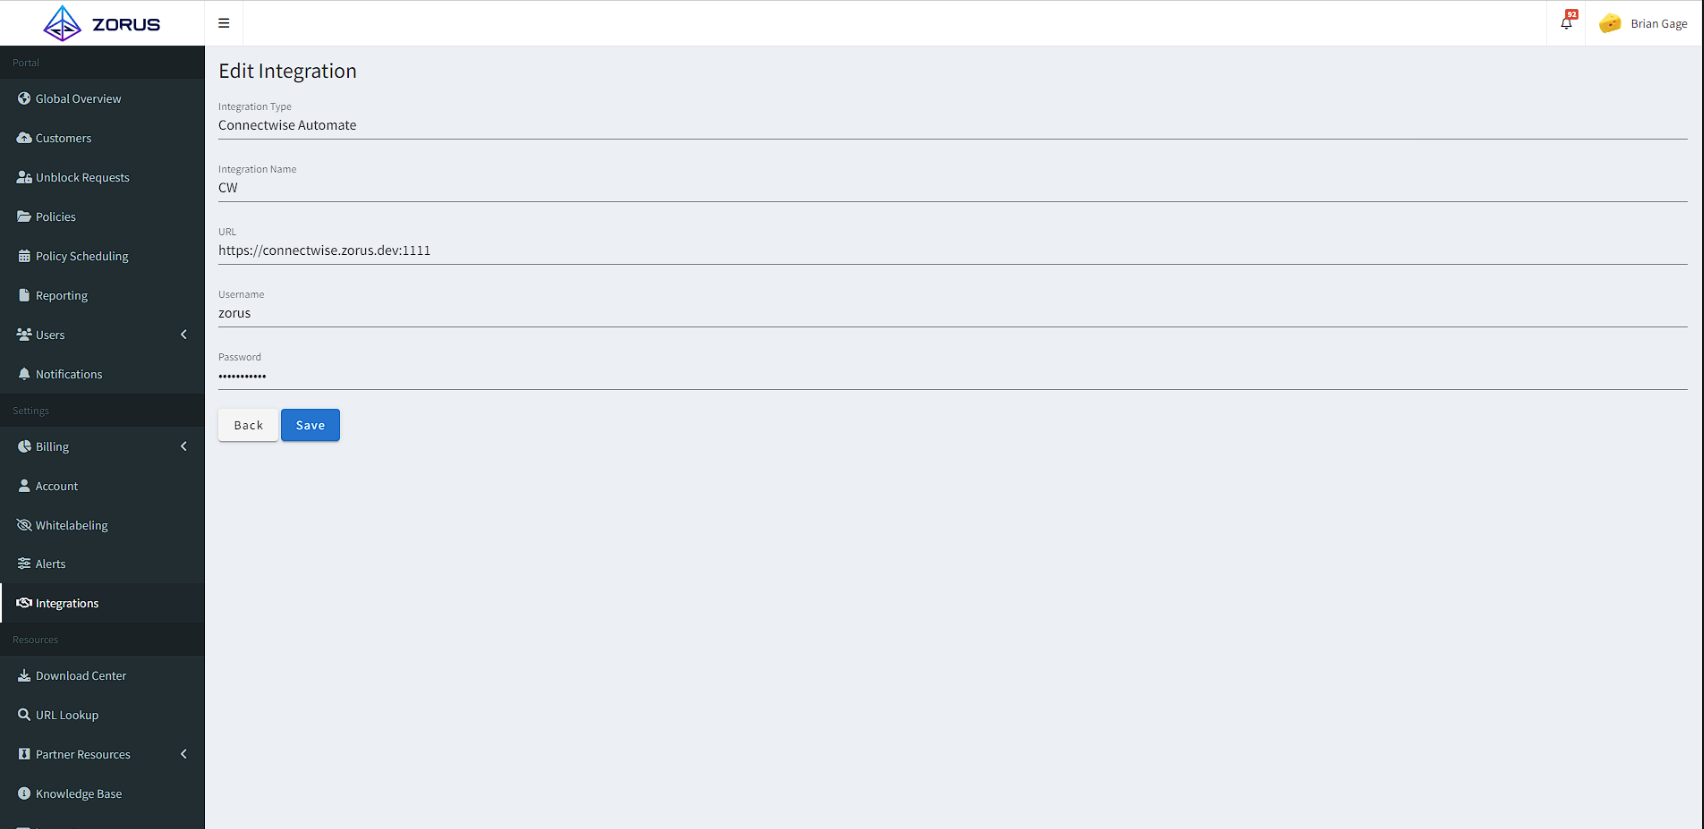
Step 4 In this step, you'll need to give the Integration a name, enter the URL to your Automate instance, and enter your login credentials as well. After you fill that information out, click "Save".
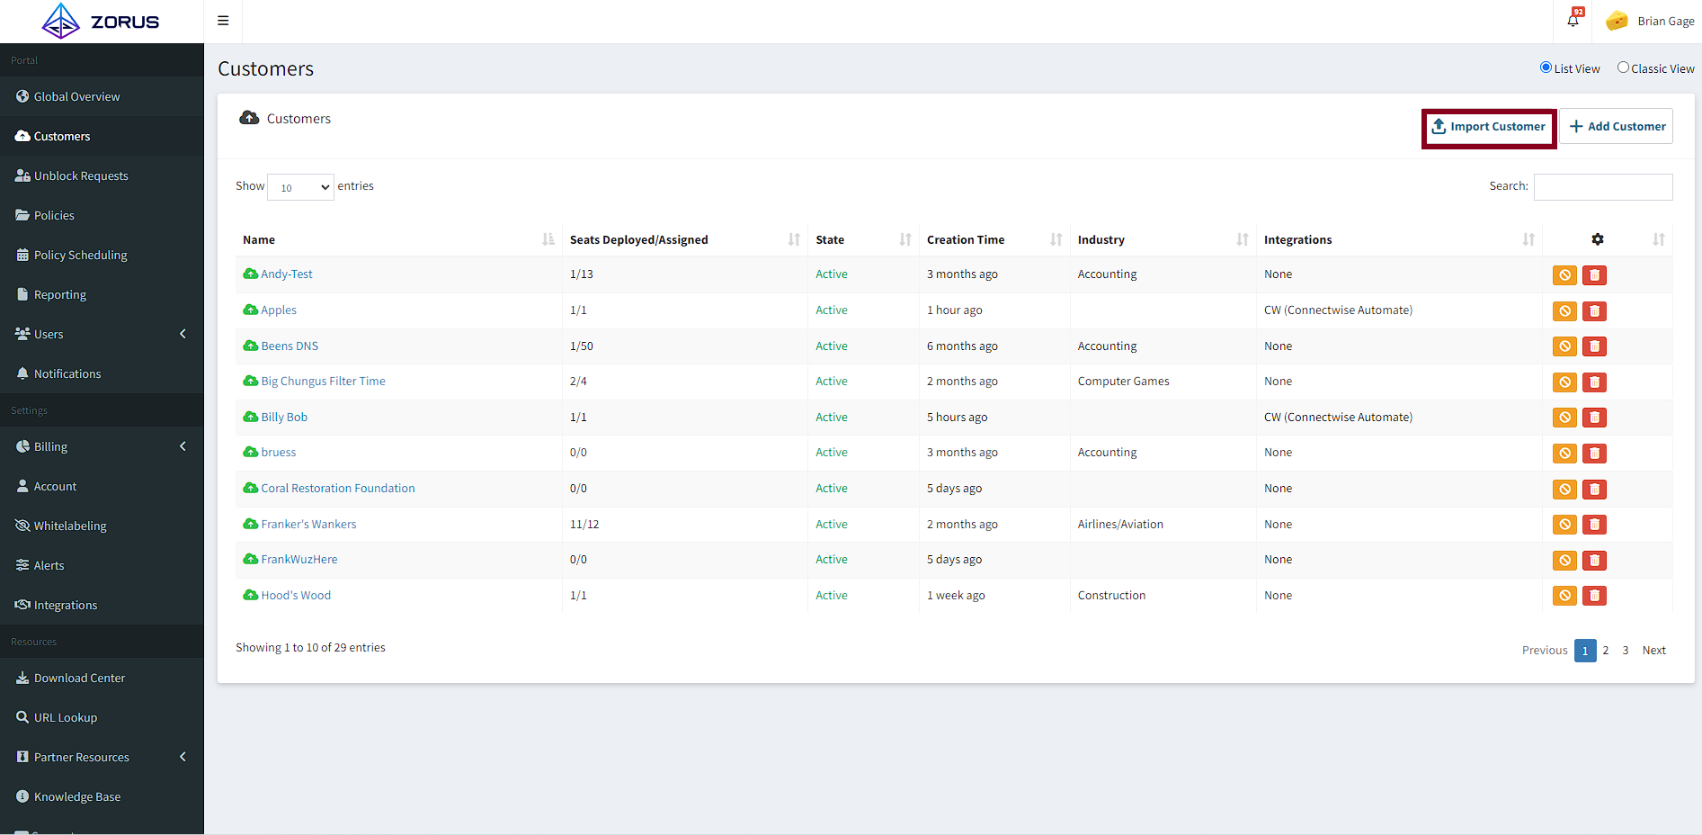
Step 5 Once you've set up the integration with the necessary credentials, you'll want to navigate to the Customers tab in the left sidebar and make sure you're looking at that in the "List View" rather than "Classic View".
Now you'll click the "Import Customer" button.
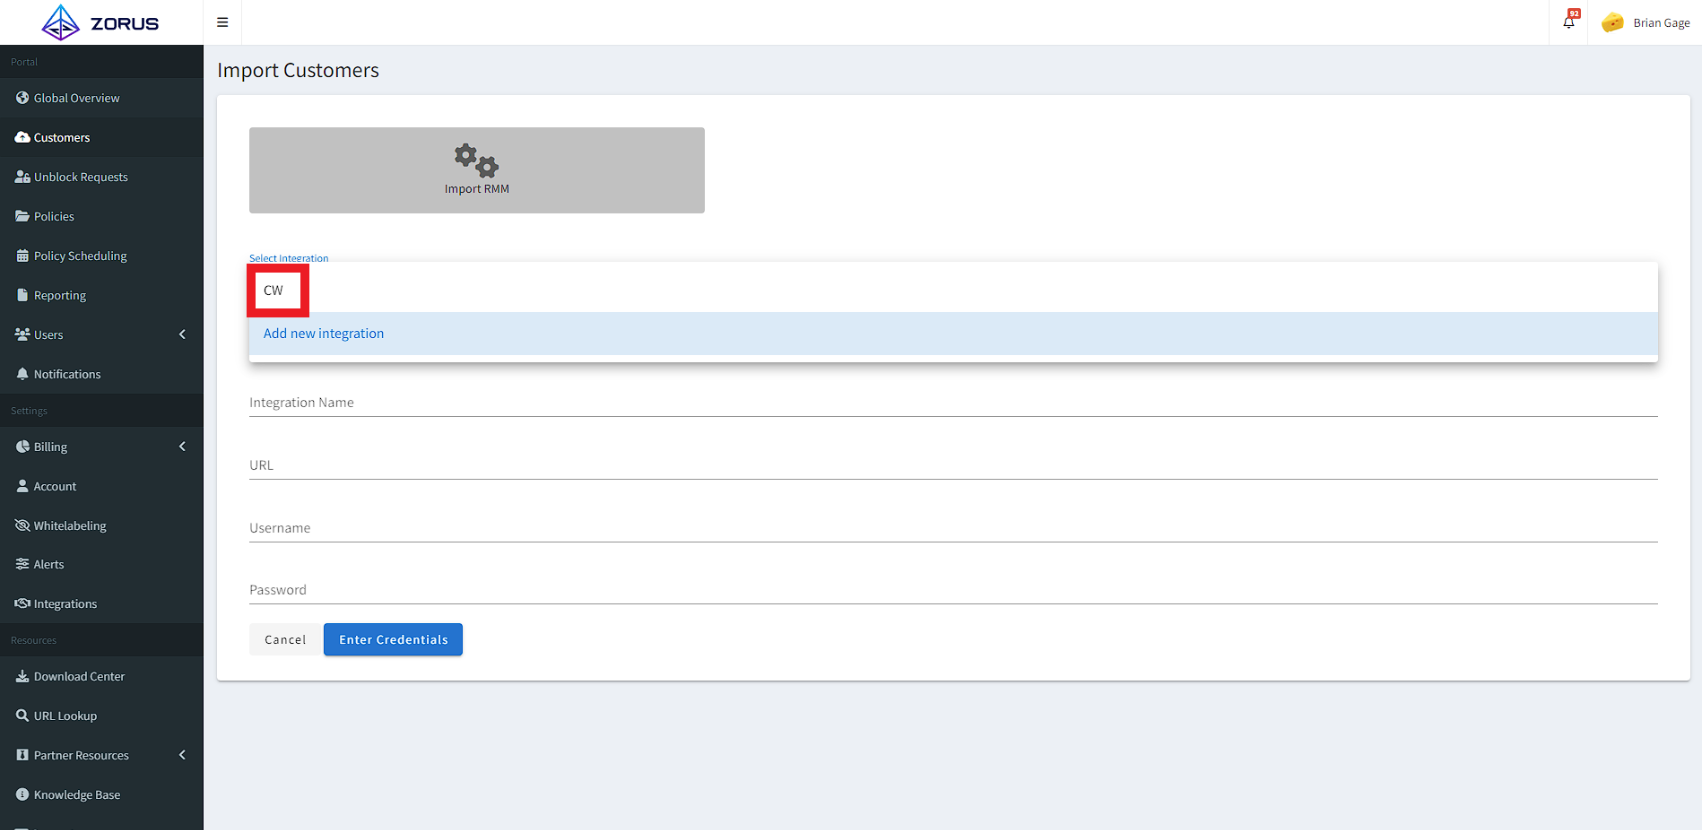
Step 6 On this page, you're going to click the "Select Integration" dropdown and select the integration you set up in steps 1 & 2 and then click "Enter Credentials" at the bottom to move to the next step.
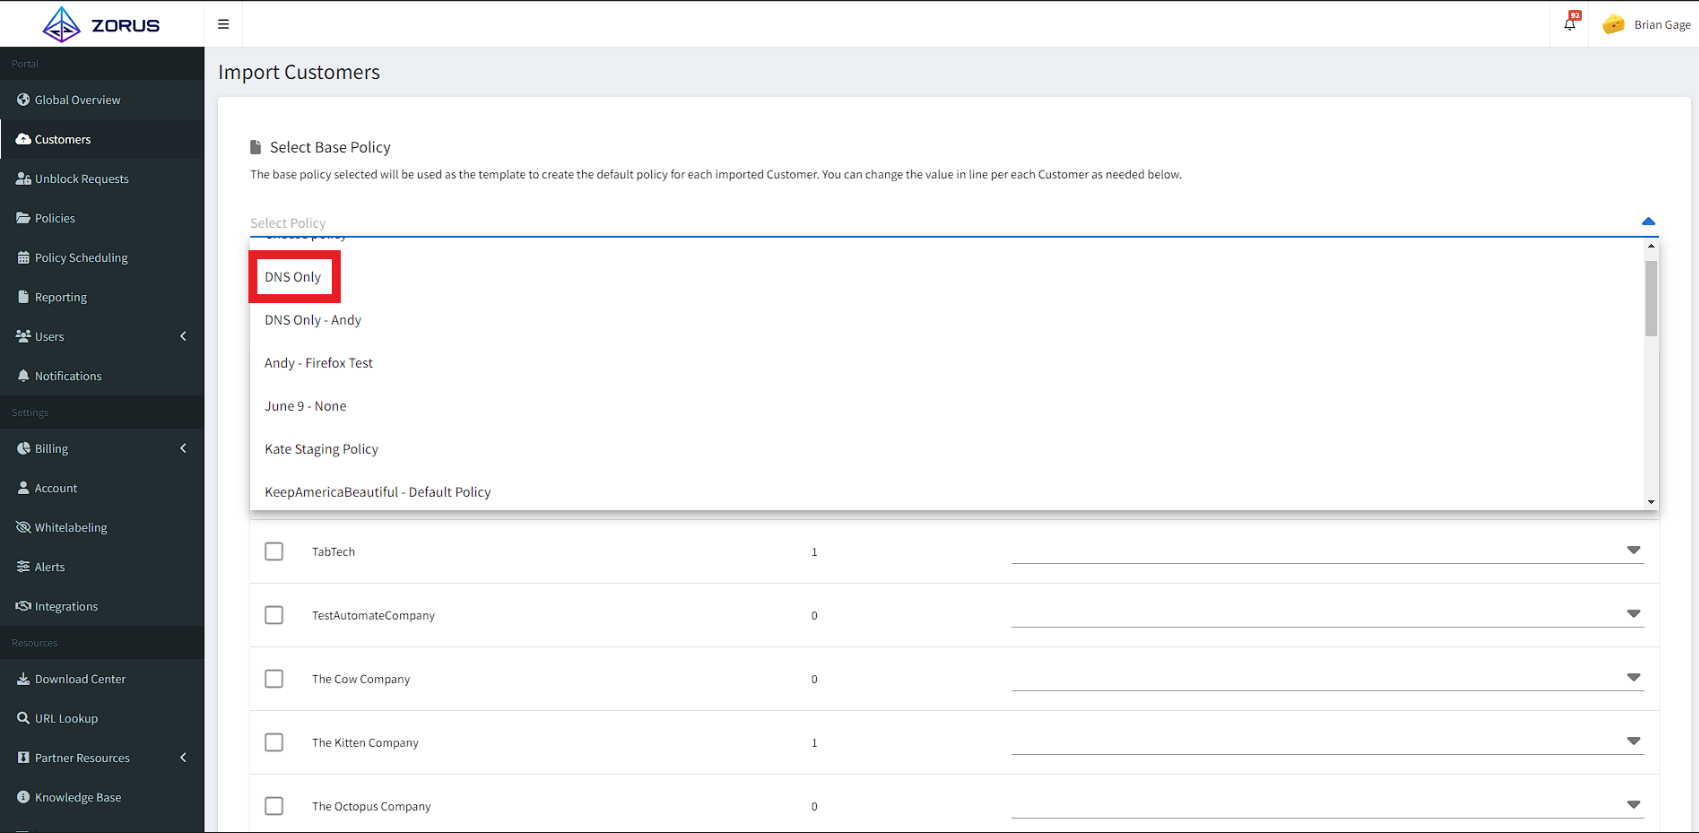
Step 7 Next, you're going to select the policy you'd like to have applied to the customer(s) you're deploying to.
Step 8 After selecting your policy, you'll now need to select the customer(s) you want to import from ConnectWise into your Zorus Portal and set up deployment for.
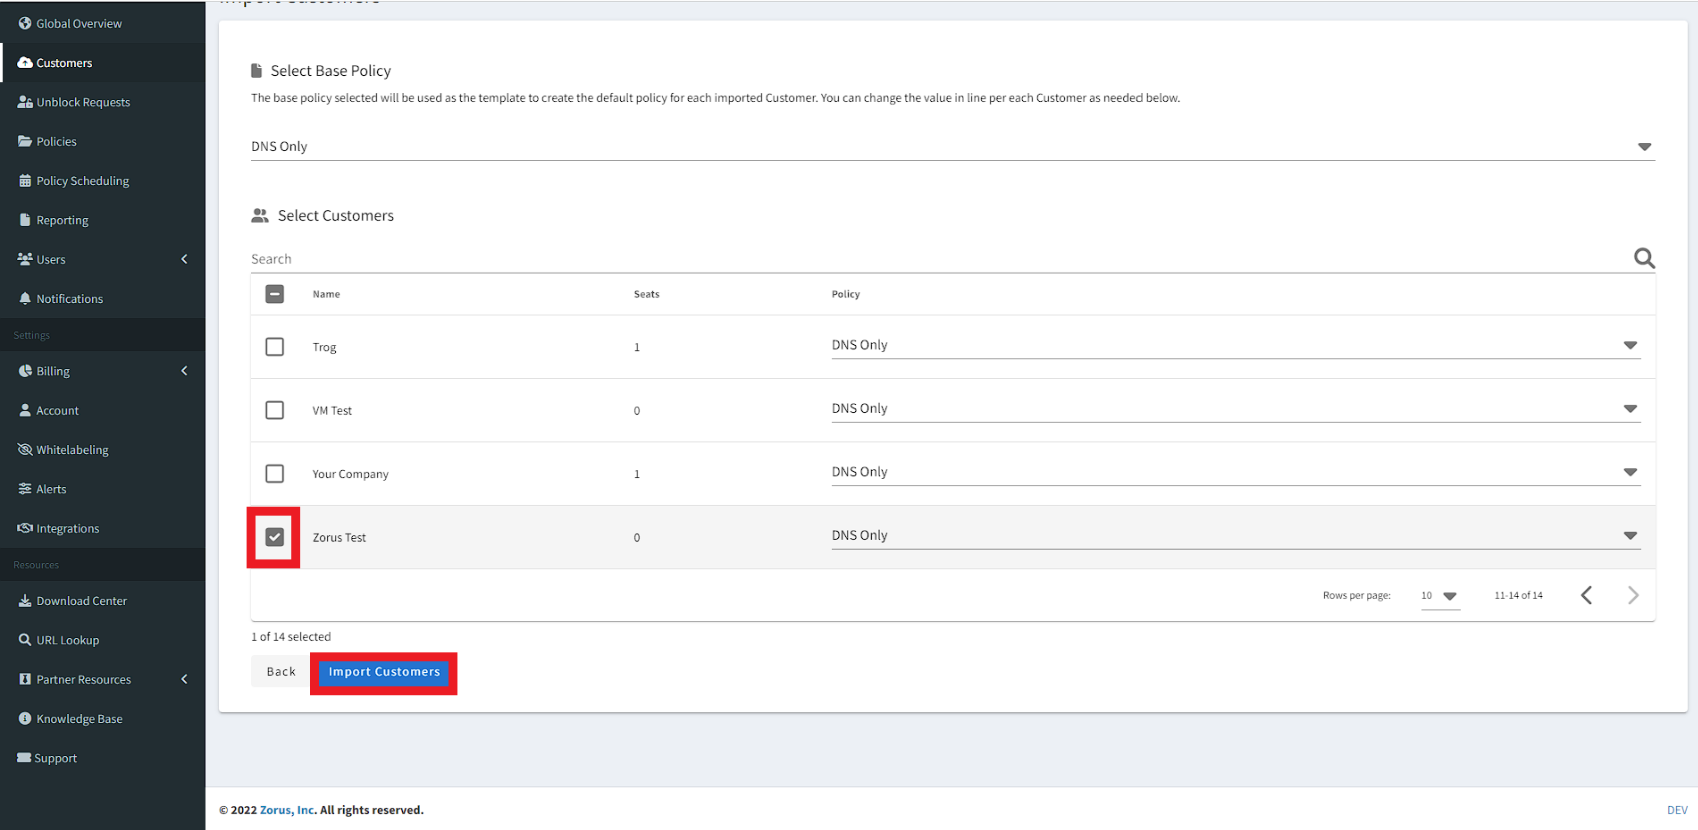
Once you've done that, click "Import Customers".
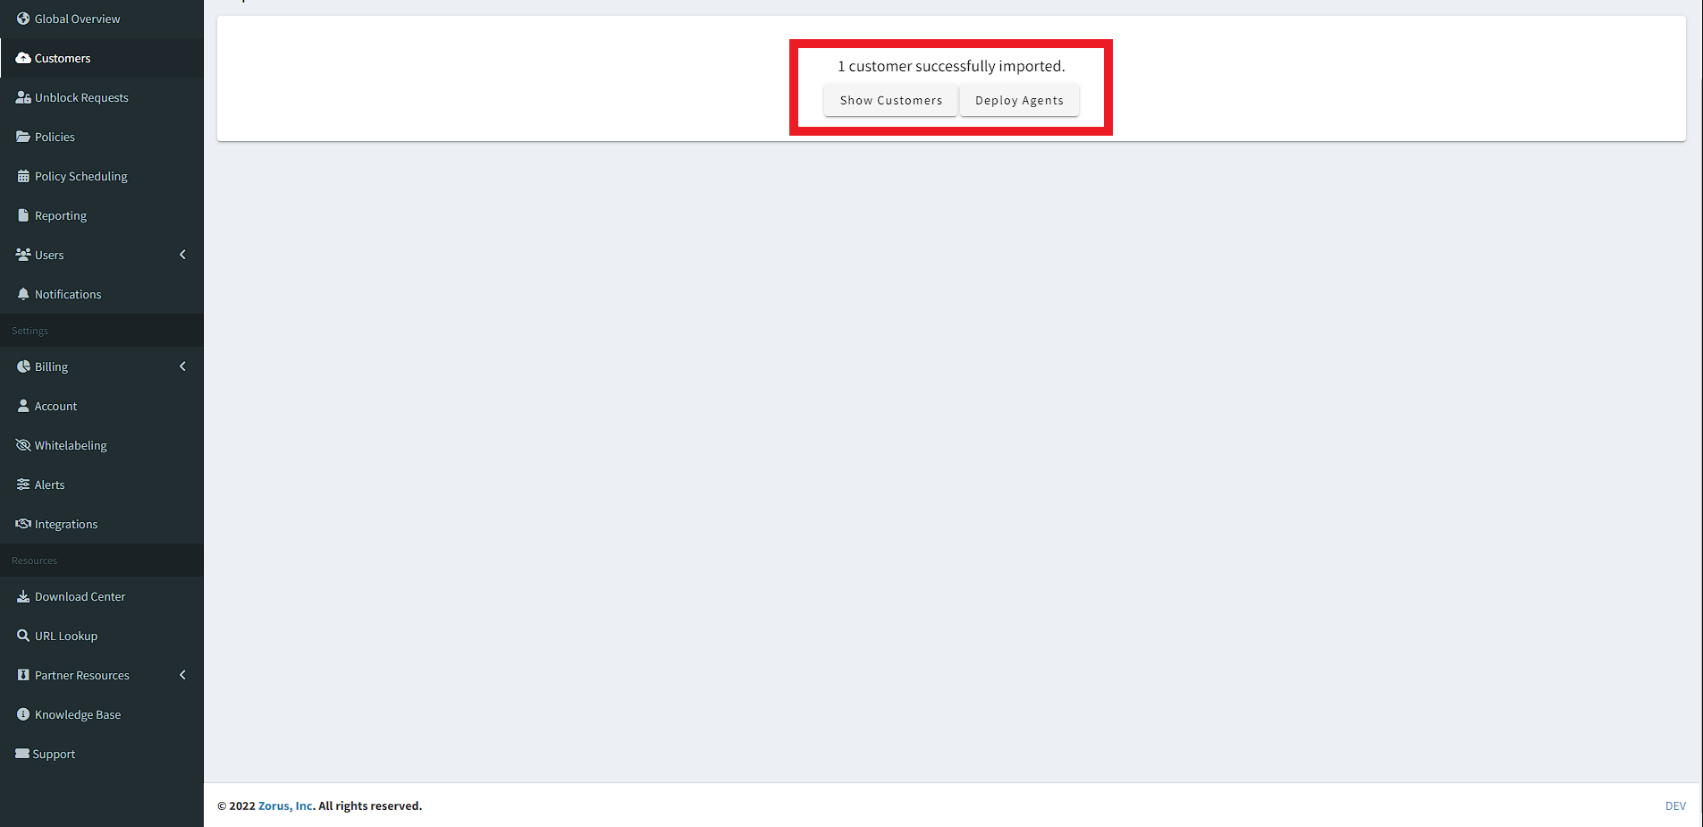
Step 9 On the next screen, you're going to click "Deploy Agents".
Please note: This does NOT actually run the script on Automate but rather imports the script and EDFs into your ConnectWise instance for the customers you selected.
Step 10 You'll now be asked to confirm the customer(s) you're looking to deploy out to. If everything looks good, go ahead and click the "Next" button.

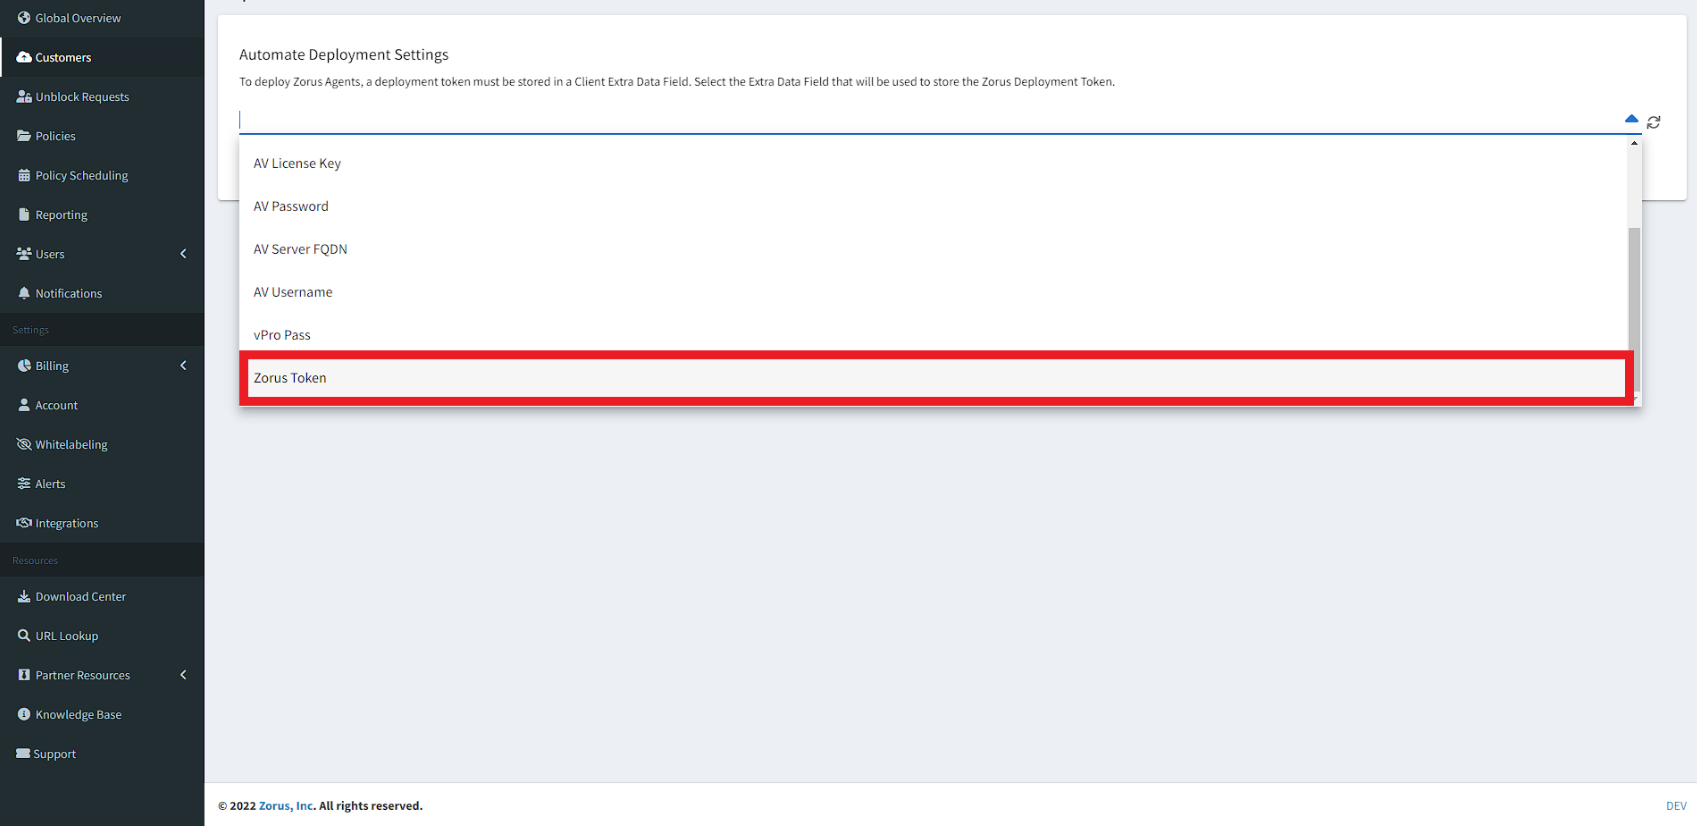
Step 11 In this step, you're going to select the "Zorus Token" EDF from the dropdown menu. You may need to first create the Zorus Token (text) EDF at the Client level.
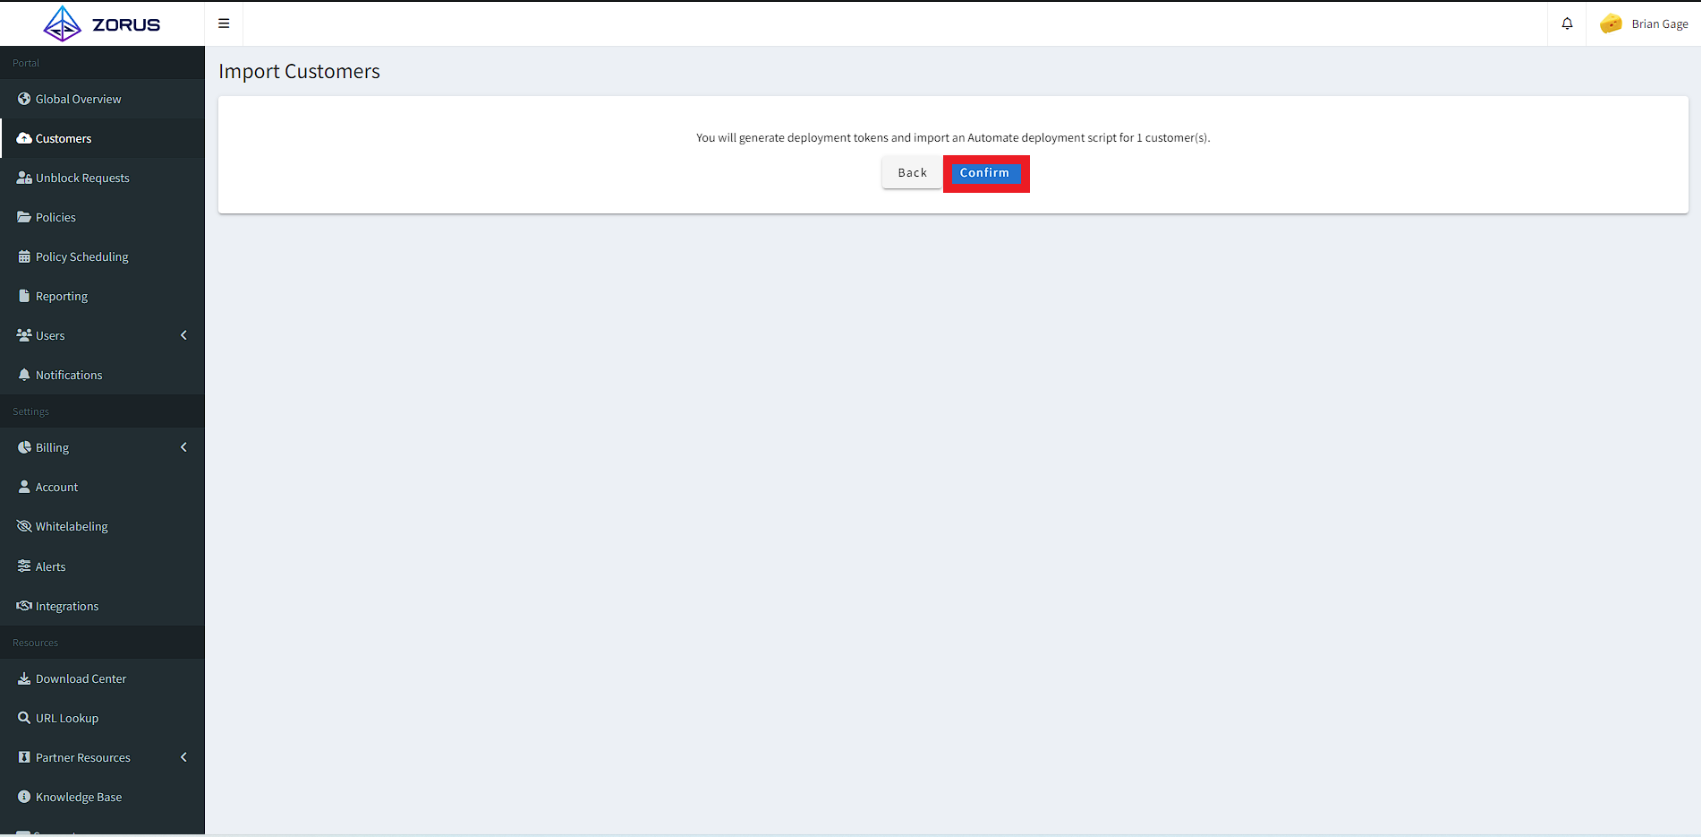
Step 12 This step is going to ask you to confirm and finalize you're deployment and customer creation. Click "Confirm" and you'll be brought to the final step on the portal wizard.
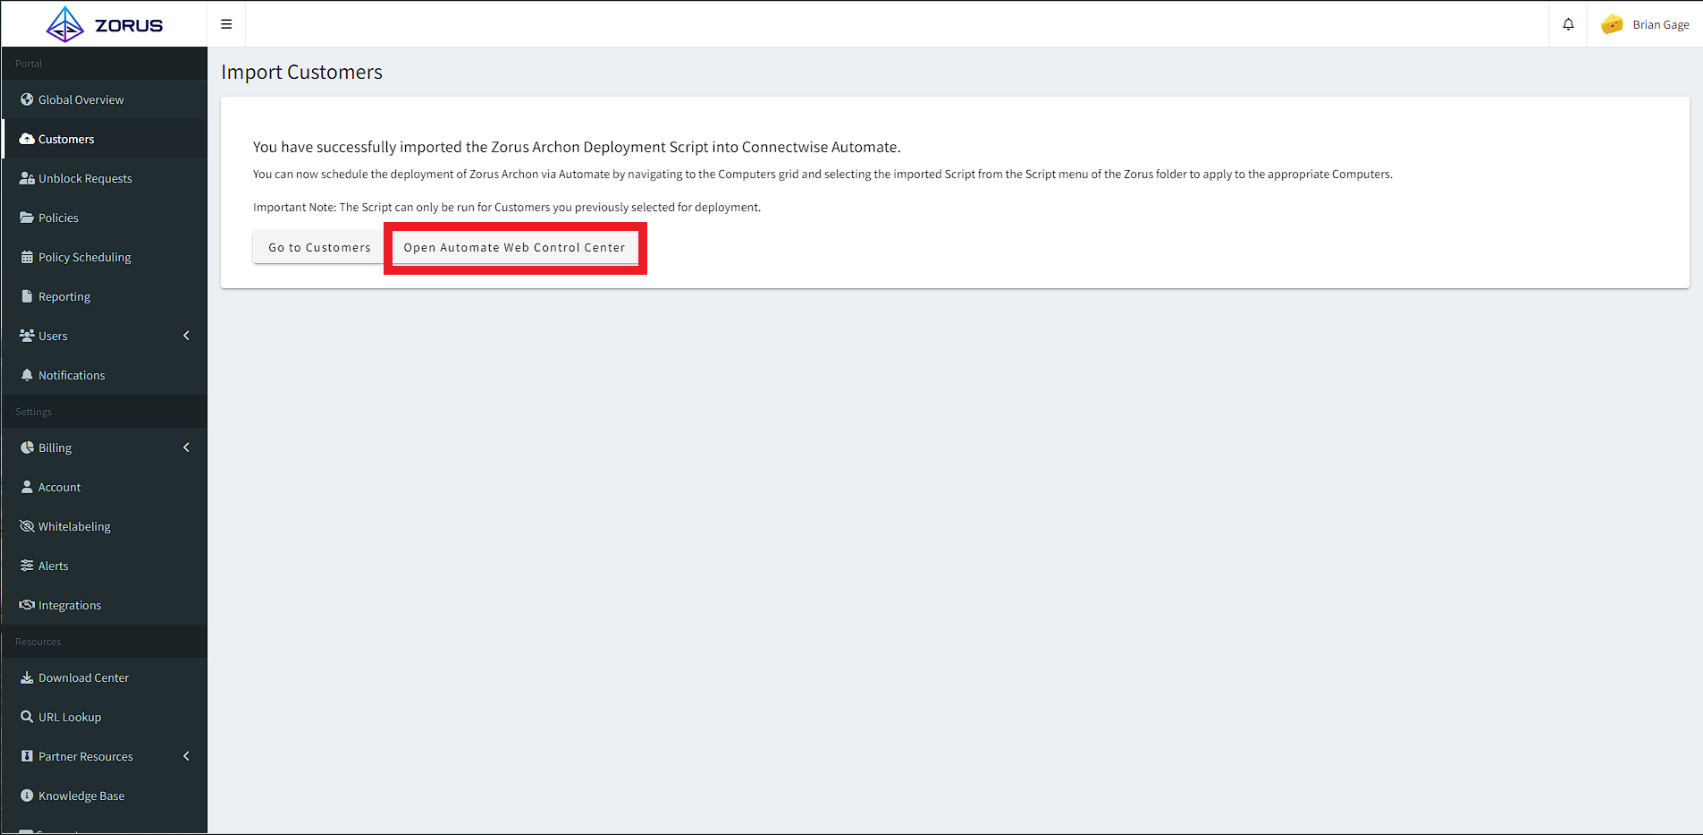
Step 13 In this step, we present you with the options of either going to your customer's page in the portal or going to your Automate Control Center. We recommend going to your control center as that is where you'll be running the script from.
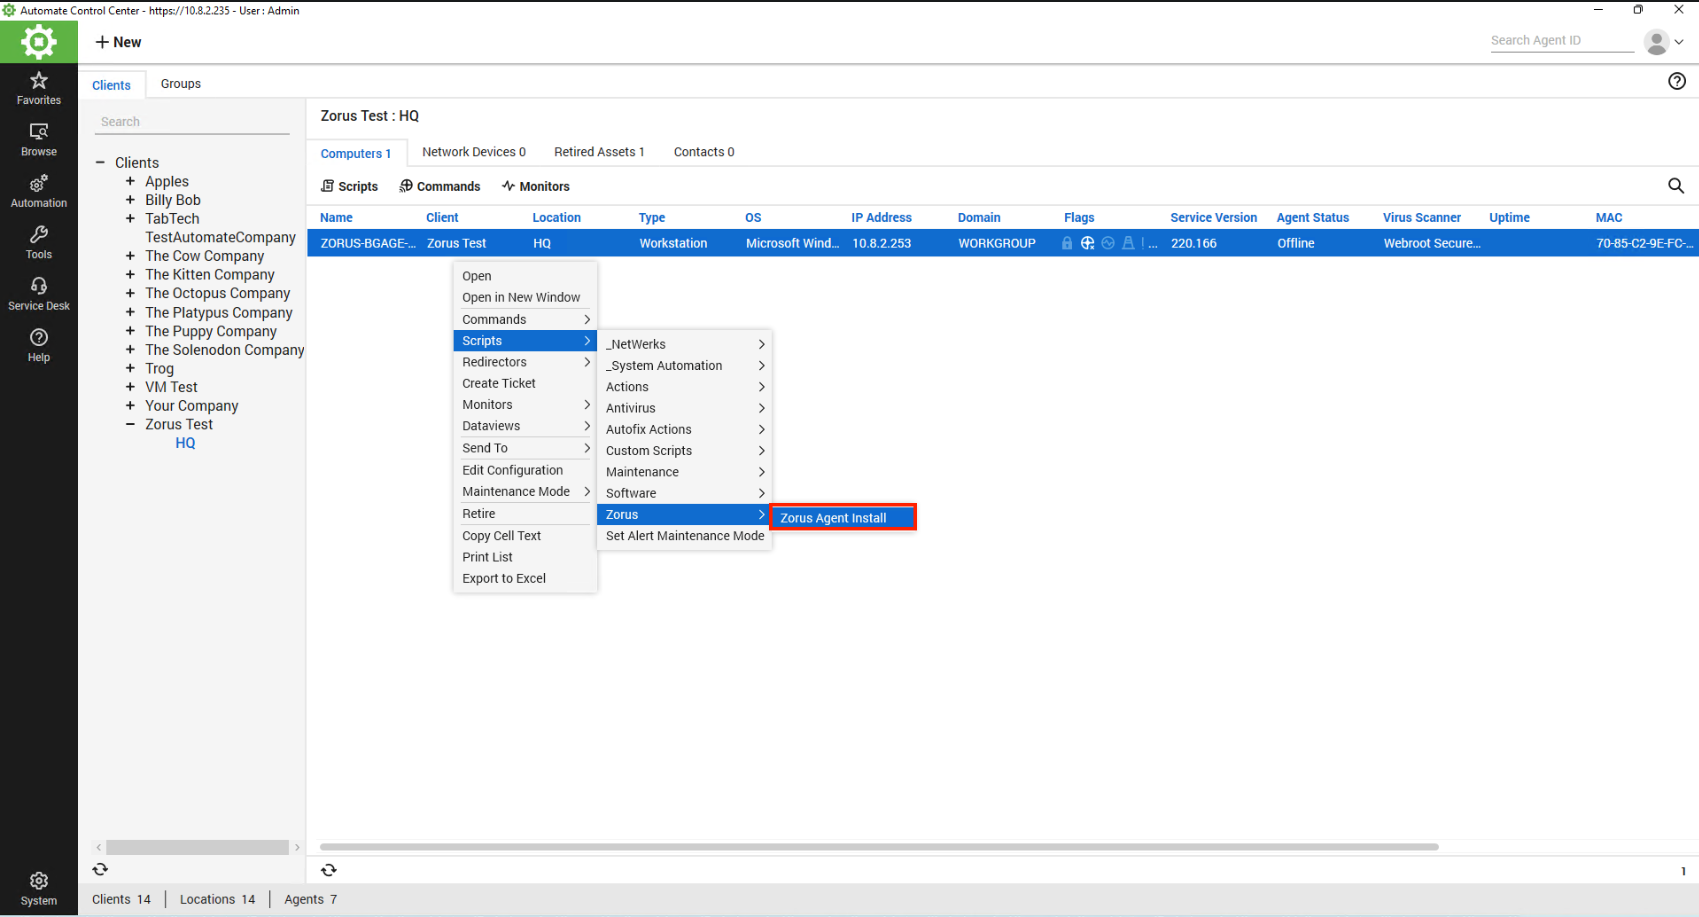
Step 14 The final step is to open your Automate Control Center and right-click on the Client, Location, or Endpoint(s) you want to run the script on. From the menu you'll select "Scripts" ----> "Zorus", and then click "Zorus Agent Install". Just confirm the time you want to run the script on the next screen and click "OK" to run the script.
If you now go back to that customer in the Zorus portal, you should see the selected endpoint(s) deploy within a few minutes and appear in the Endpoints section of your portal.
To uninstall, upload the following XML to your script library and run against the machines you'd like to remove the agent from. No modifications are required.