Important Information:
- The Windows Agent can be installed on Windows 7, 8, 8.1, Windows 10, & Windows 11
- To ensure complete functionality of the agent, Port 7789 must be allowed outbound in your firewall if you have an outbound filtering policy.
Prerequisite Steps: In your Datto RMM environment, you will need to make sure you have the "Enable API Access" toggle switched on (New UI: Setup--->Global Settings, Old UI: Setup---Account Settings). After that, you'll want to generate the API keys and URL from your Datto user. To do this go to Setup--->Users (both UIs), click on your user, and then click the "Generate API keys" button.
Datto RMM Permissions
- The Datto RMM Integration API key used to establish a connection must have a Datto Security Level that includes the following permissions:
- Sites>Manage
- Devices>View
- Components>View
- ComStore>Manage
- NOTE: Datto Sites of Type 'OnDemand' cannot be used to deploy agents, and cannot have variables added to them. Sites must be of type 'Managed' to deploy the Zorus Agent
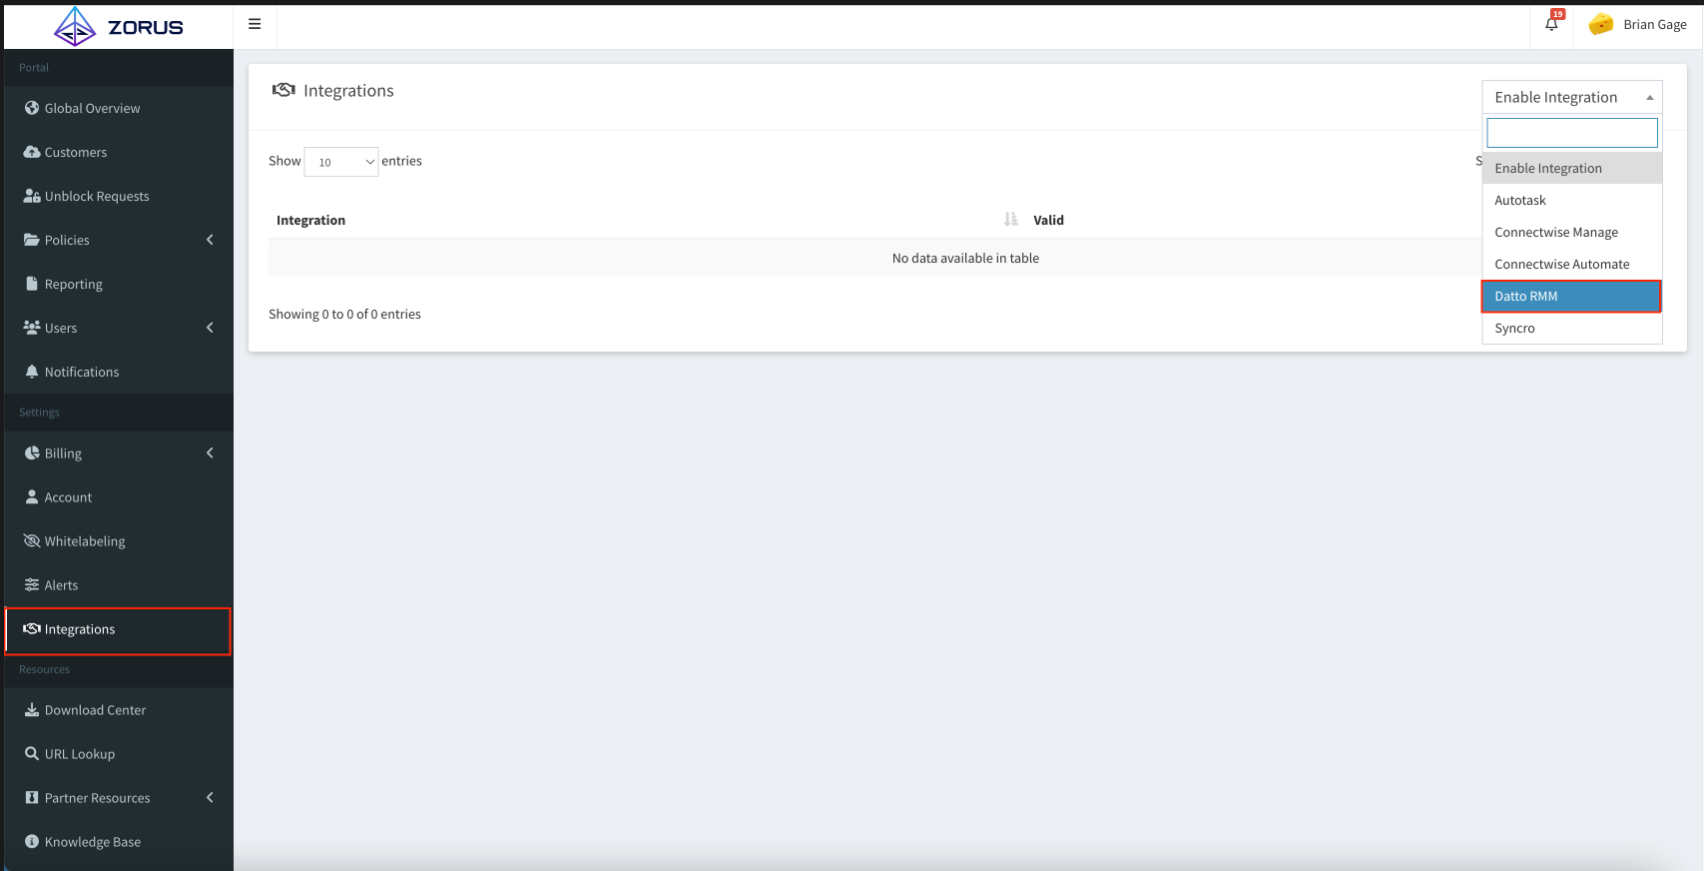
Step 1 First, navigate to the Integrations tab located in the left sidebar of the portal. Once you're there, you'll want to select the "Datto RMM" integration from the dropdown.
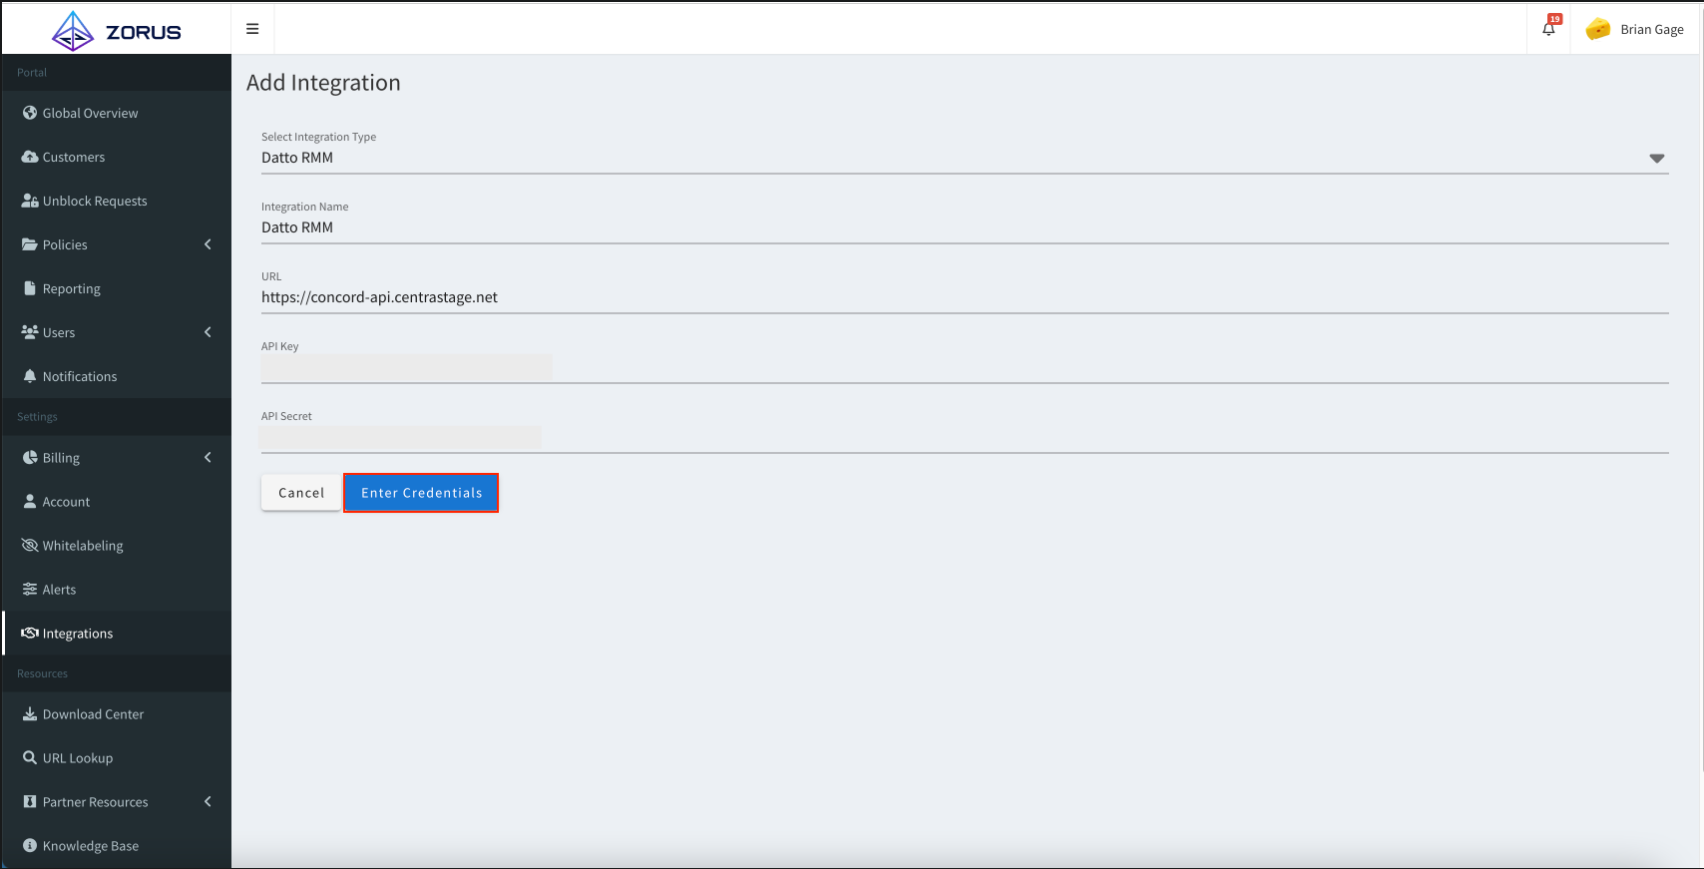
Step 2 In this step, you'll need to give the Integration a name, enter the URL to the Datto RMM API (https://concord-api.centrastage.net), and enter your API Key and API Secret. (API keys need to be generated in Datto RMM under "Setup"--->"Users". Then select your user and generate the keys.) After you fill that information out, click "Enter Credentials".
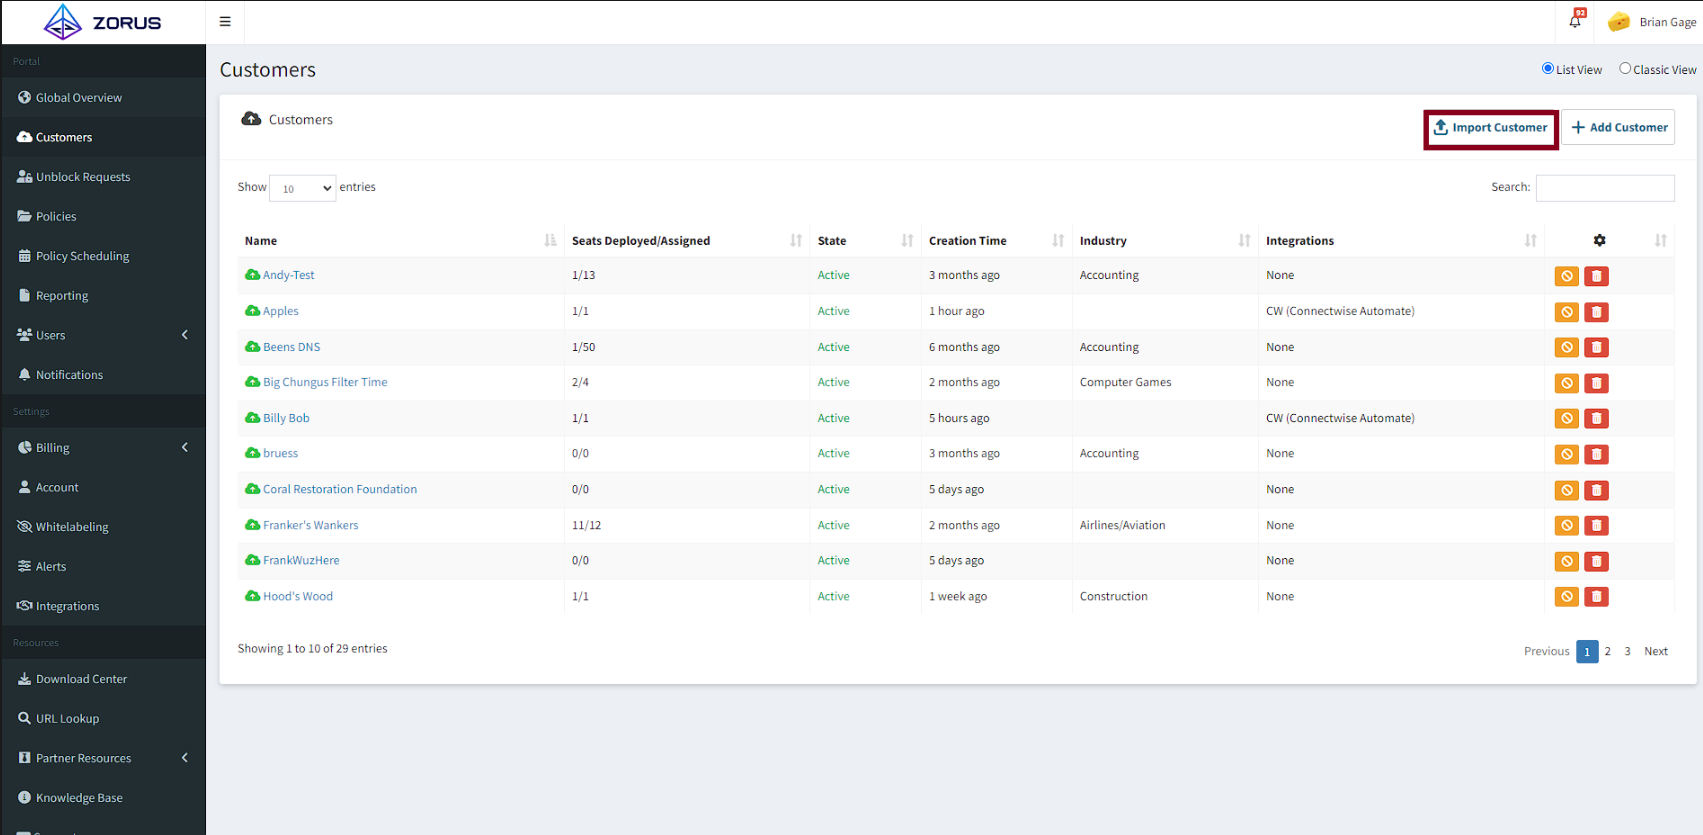
Step 3 Once you've set up the integration with the necessary credentials, you'll want to navigate to the Customers tab in the left sidebar and make sure you're looking at that in the "List View" rather than "Classic View".
Now you'll click the "Import Customer" button.
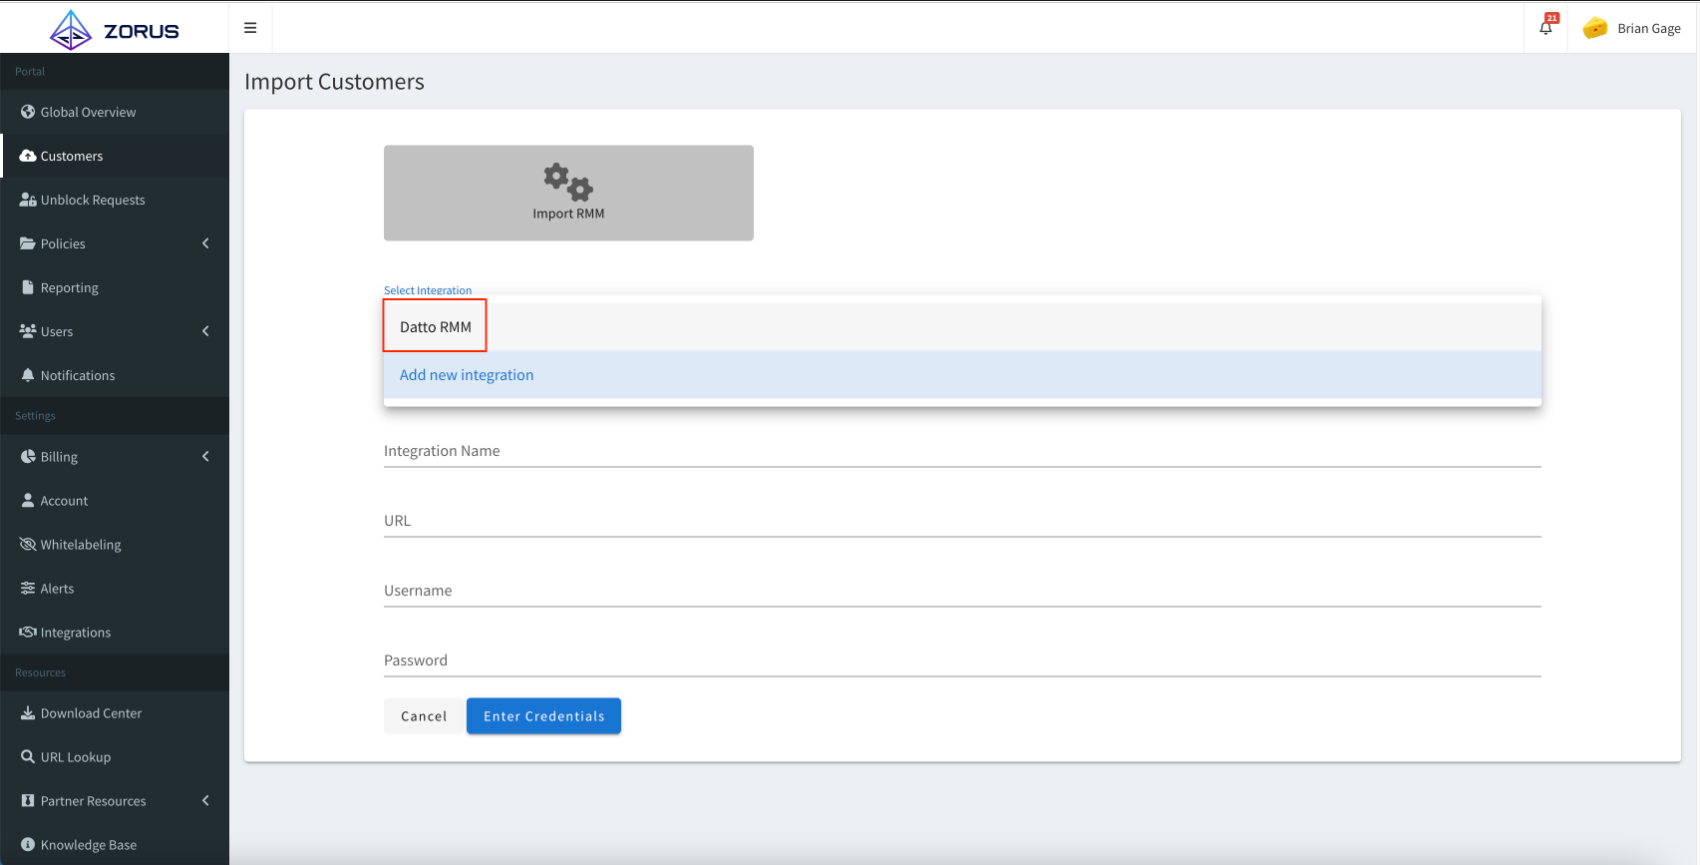
Step 4 On this page, you're going to click the "Select Integration" dropdown and select the integration you set up in steps 1 & 2, and then click "Enter Credentials" at the bottom to move to the next step.
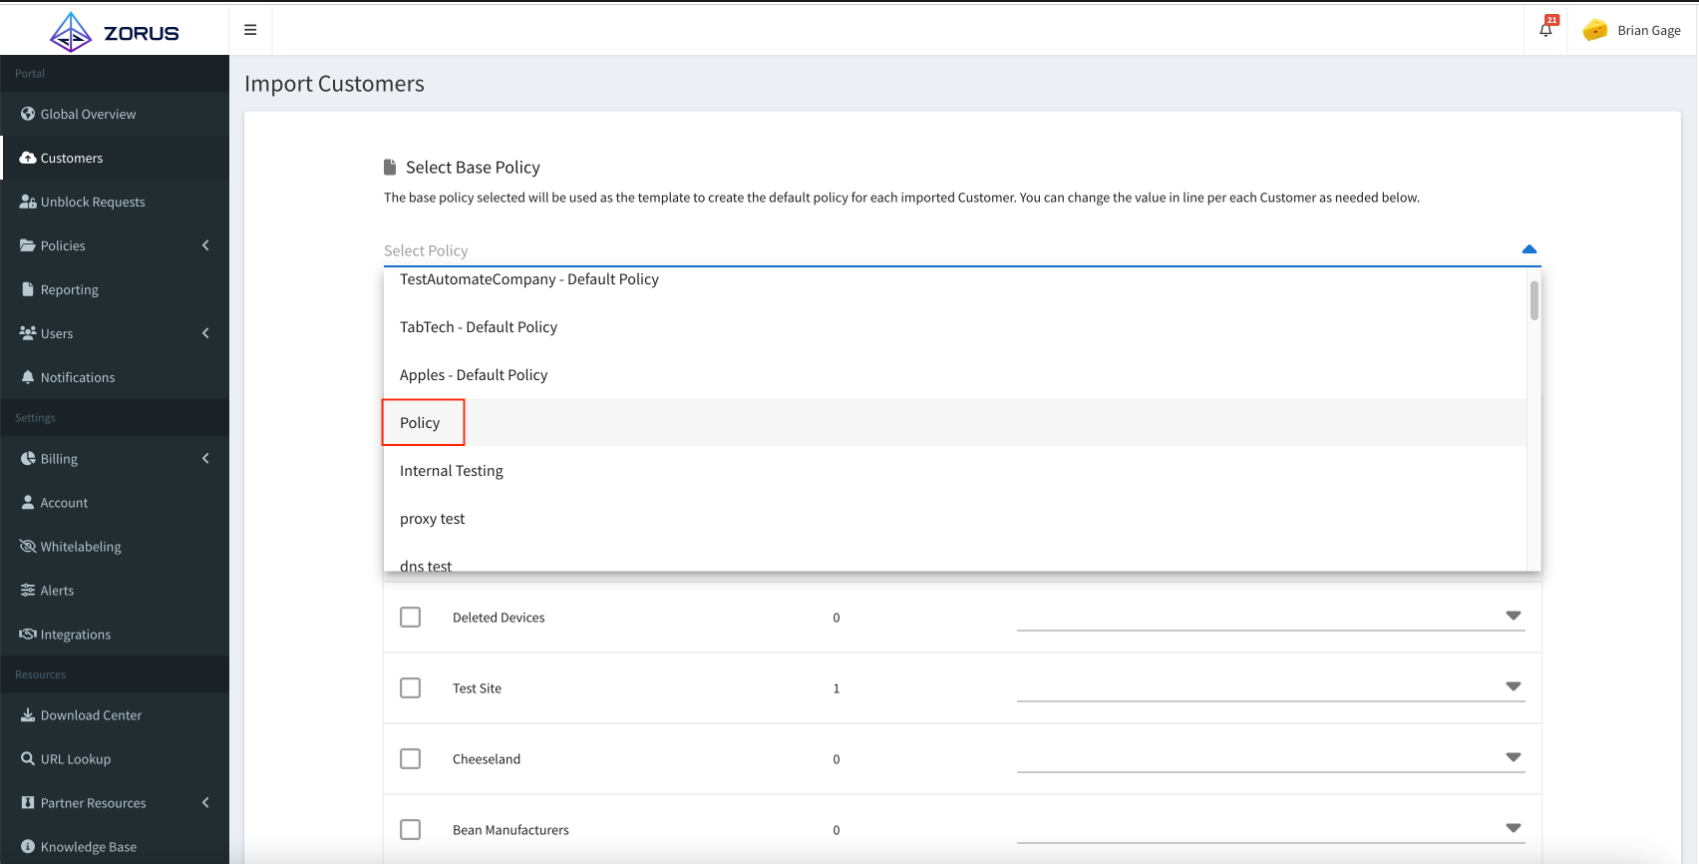
Step 5 Next, you're going to select the policy you'd like to have applied to the customer(s) you're deploying to.
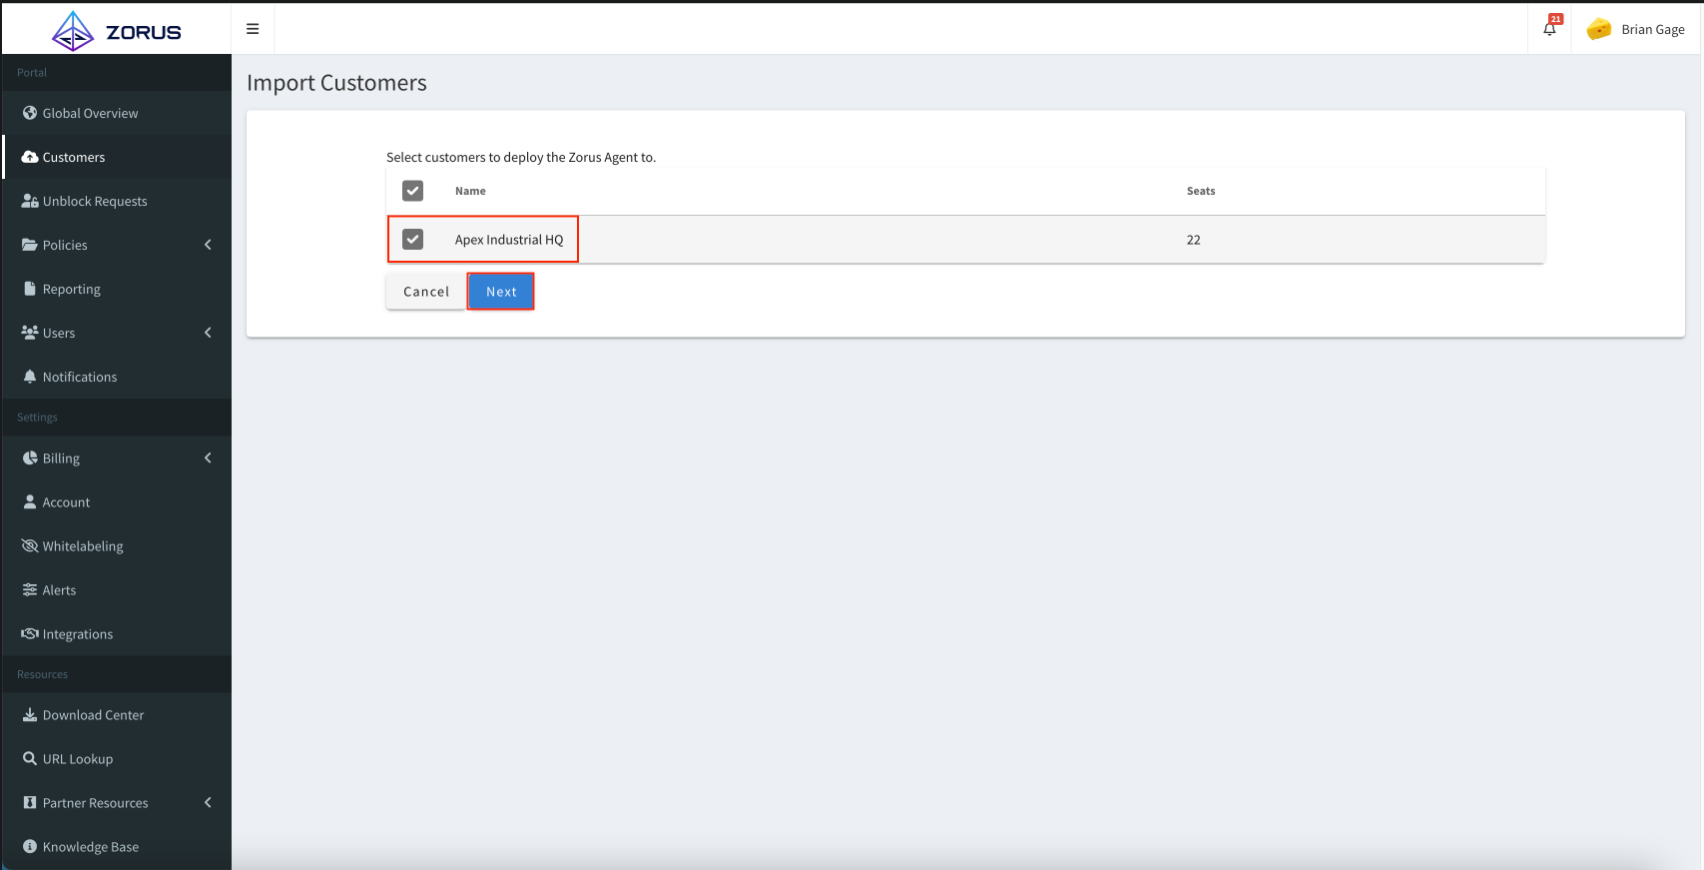
Step 6 After selecting your policy, you'll now need to select the customer(s) you want to import from Datto RMM into your Zorus Portal and set up deployment.
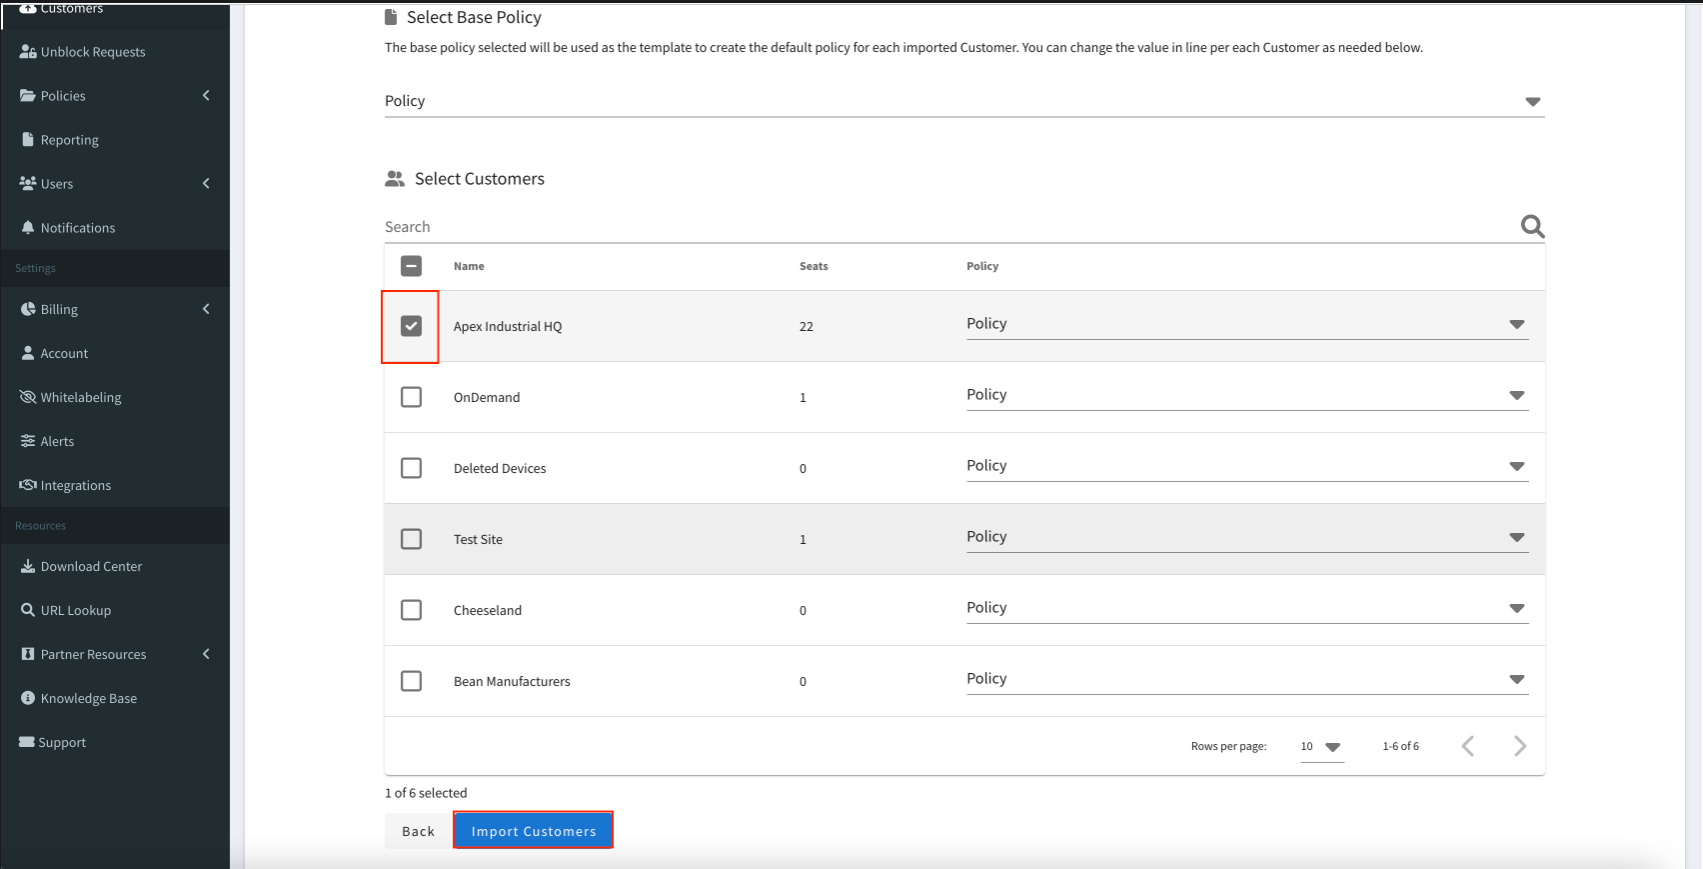
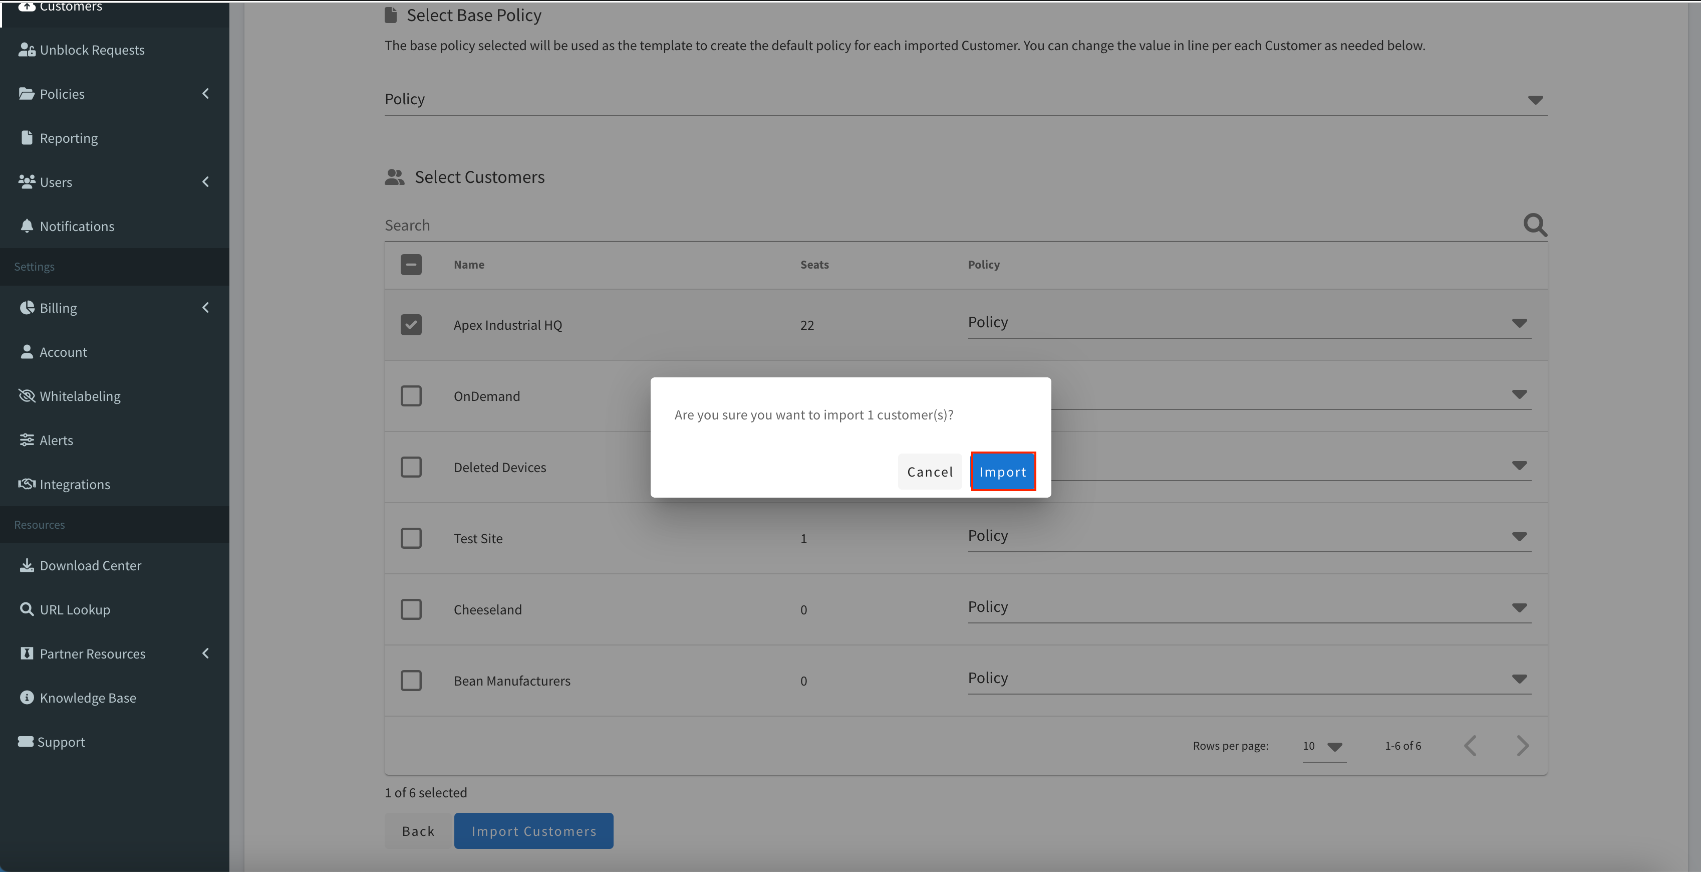
Once you've done that, click "Import Customers" and confirm the import.
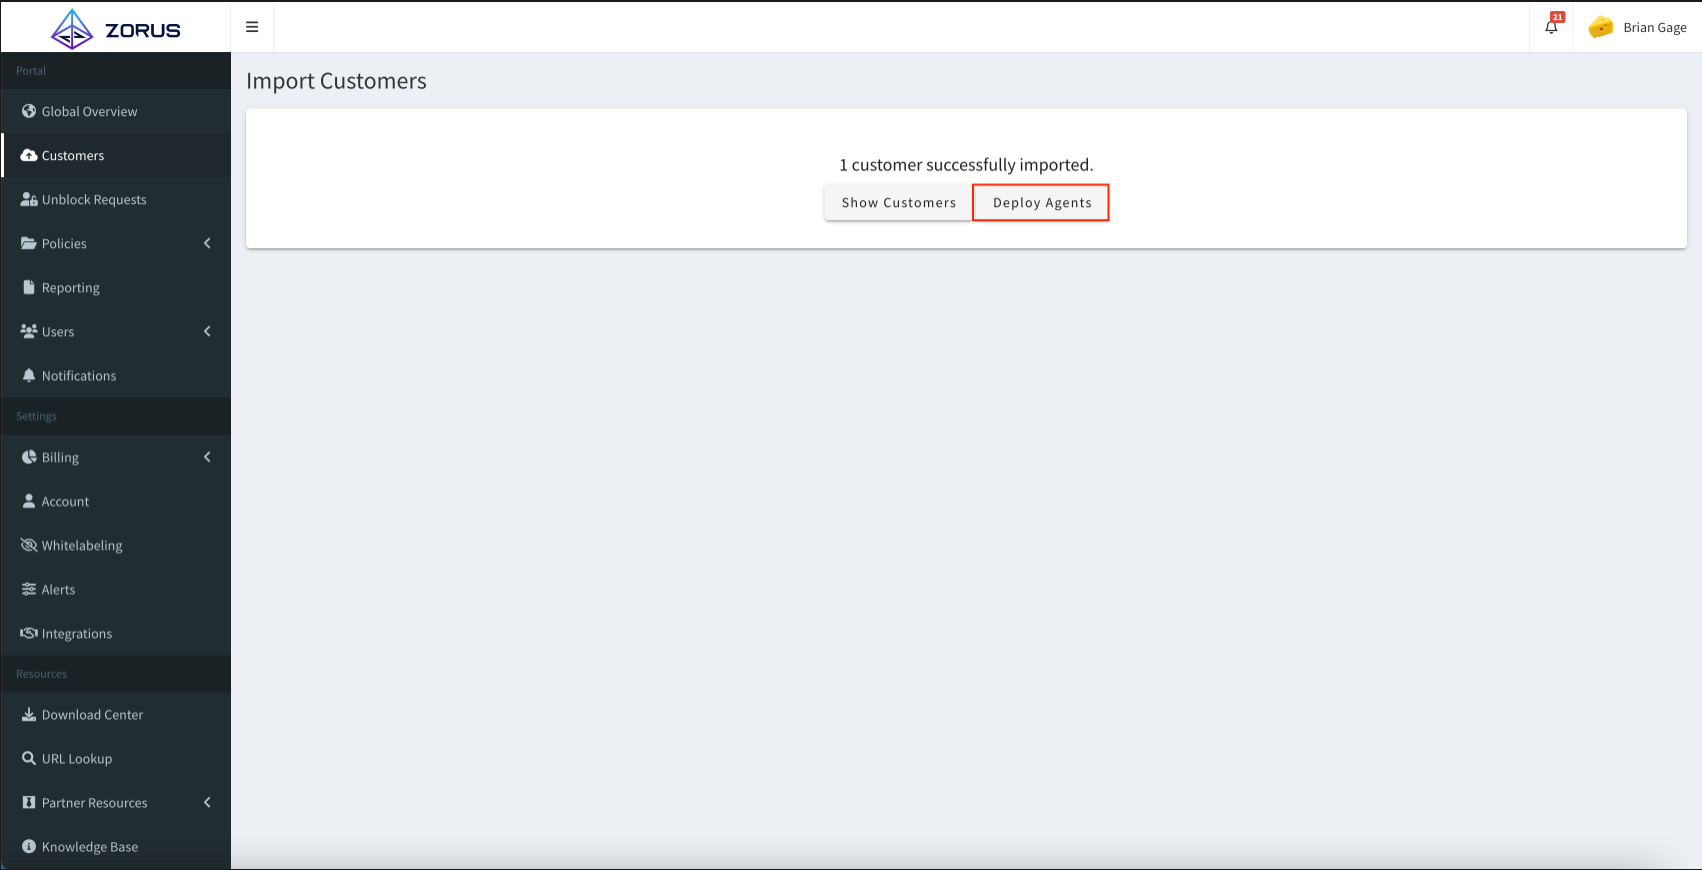
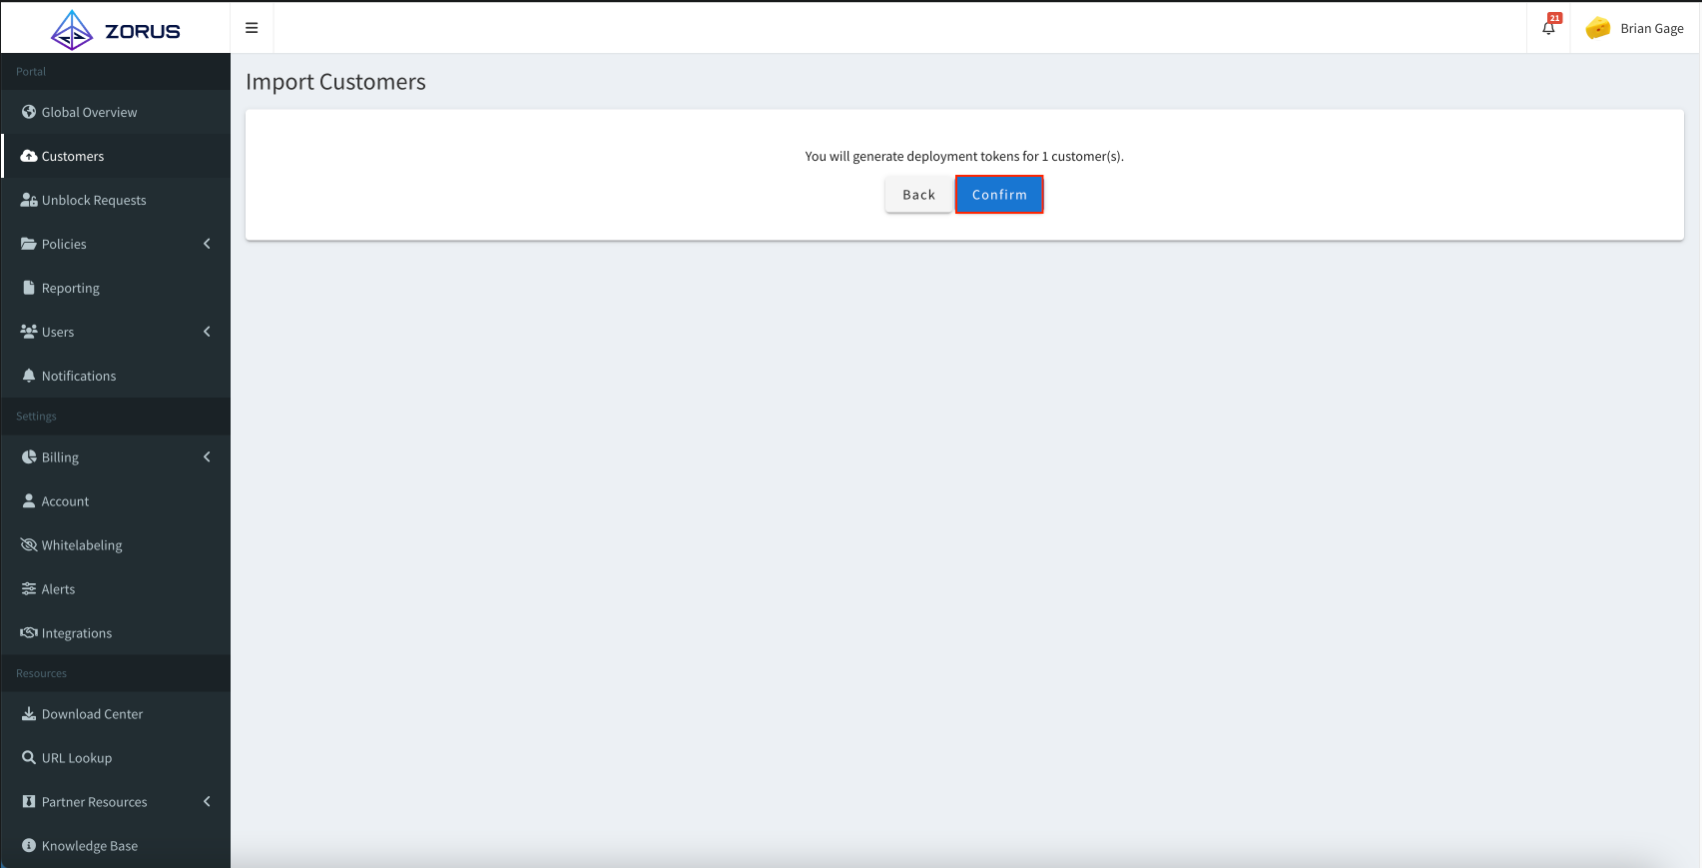
Step 7 On the next screen, you're going to click "Deploy Agents" and confirm the customer you want to deploy again. Click "Next" and then "Confirm on the following page.
Please note: This does NOT actually run the script on Datto RMM but rather adds a Site level variable called "SiteZorusDeploymentToken" to your client and will prompt you to add the component from the Datto ComStore if you don't have it in your library already.
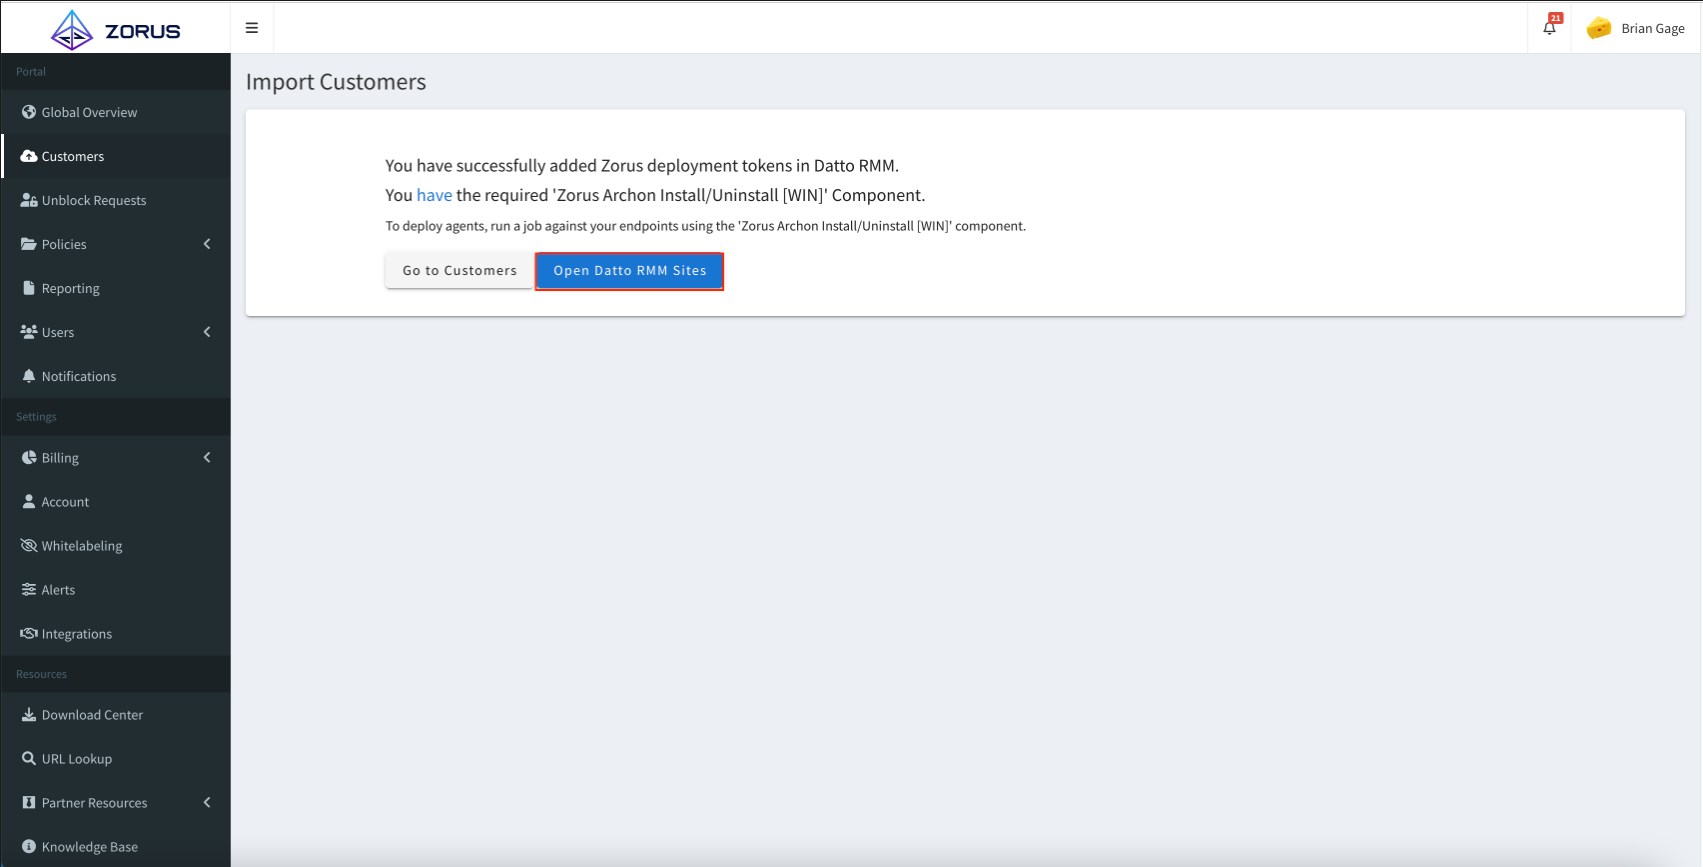
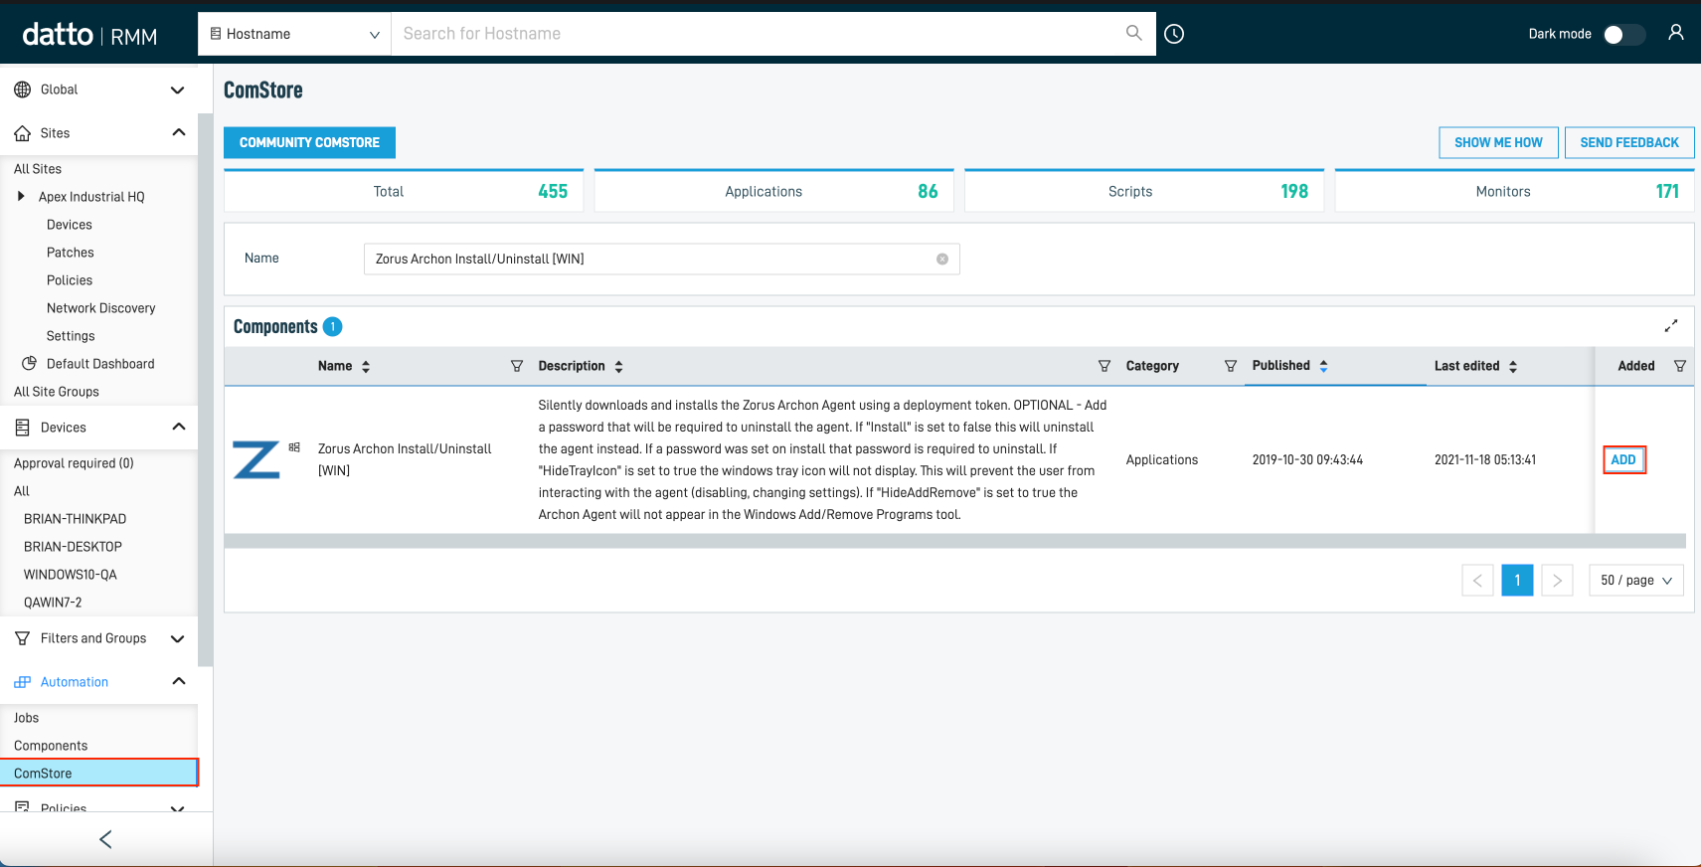
Step 8 On this step, you'll be presented with a button that will bring you into your Datto RMM environment. Depending on whether you have the Zorus component added to your library, you'll be prompted to either go to your Datto RMM sites or to the Datto RMM ComStore where you can easily search and find the Zorus component.
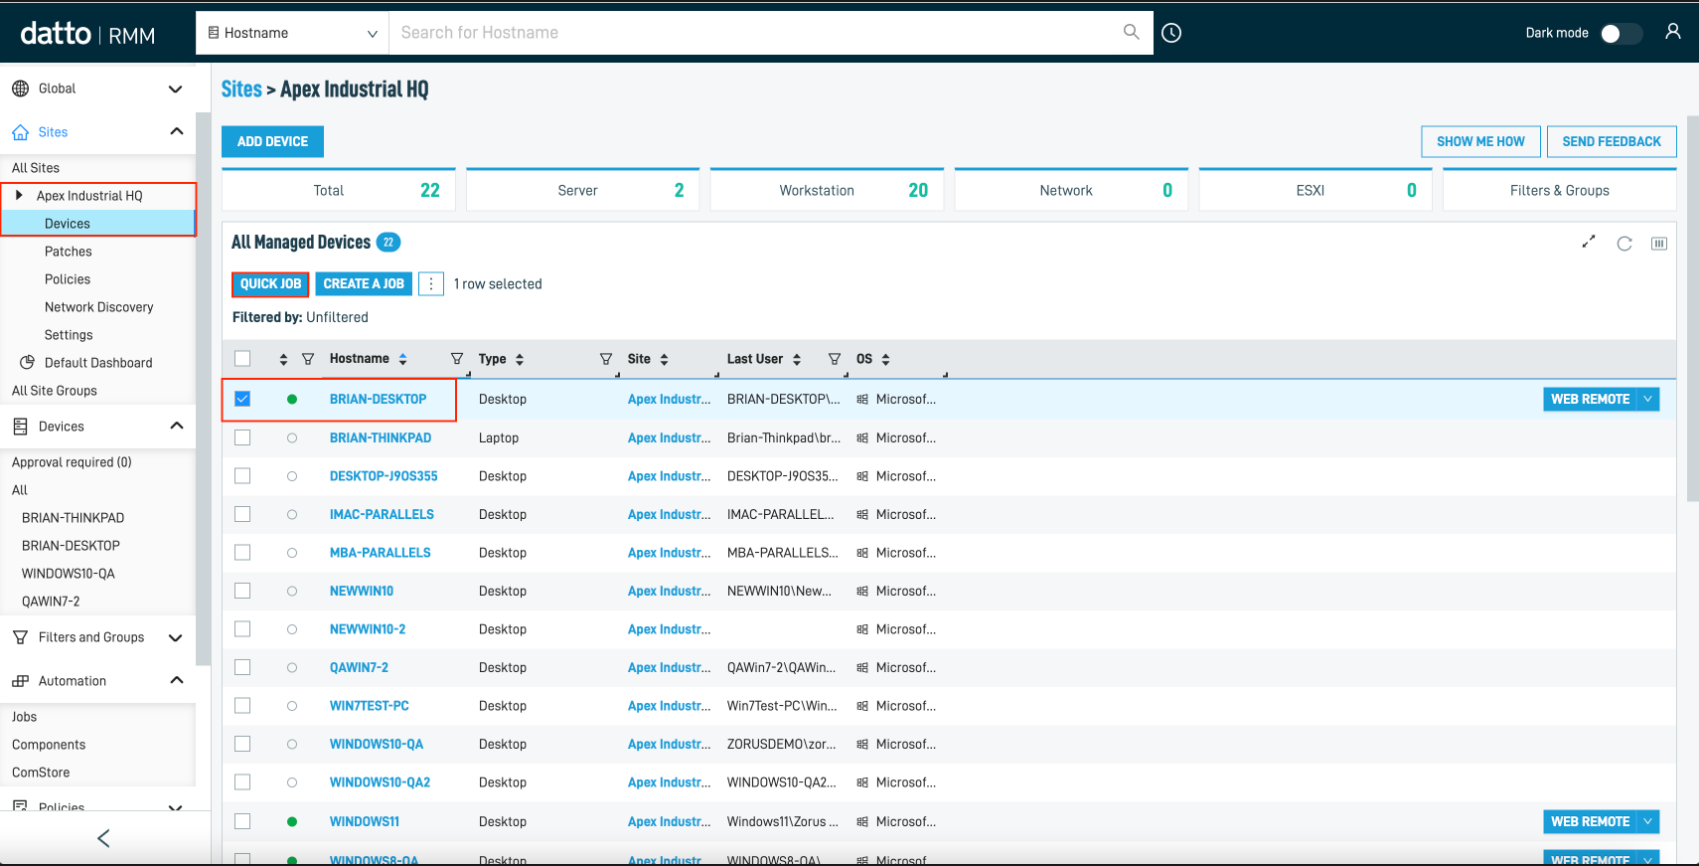
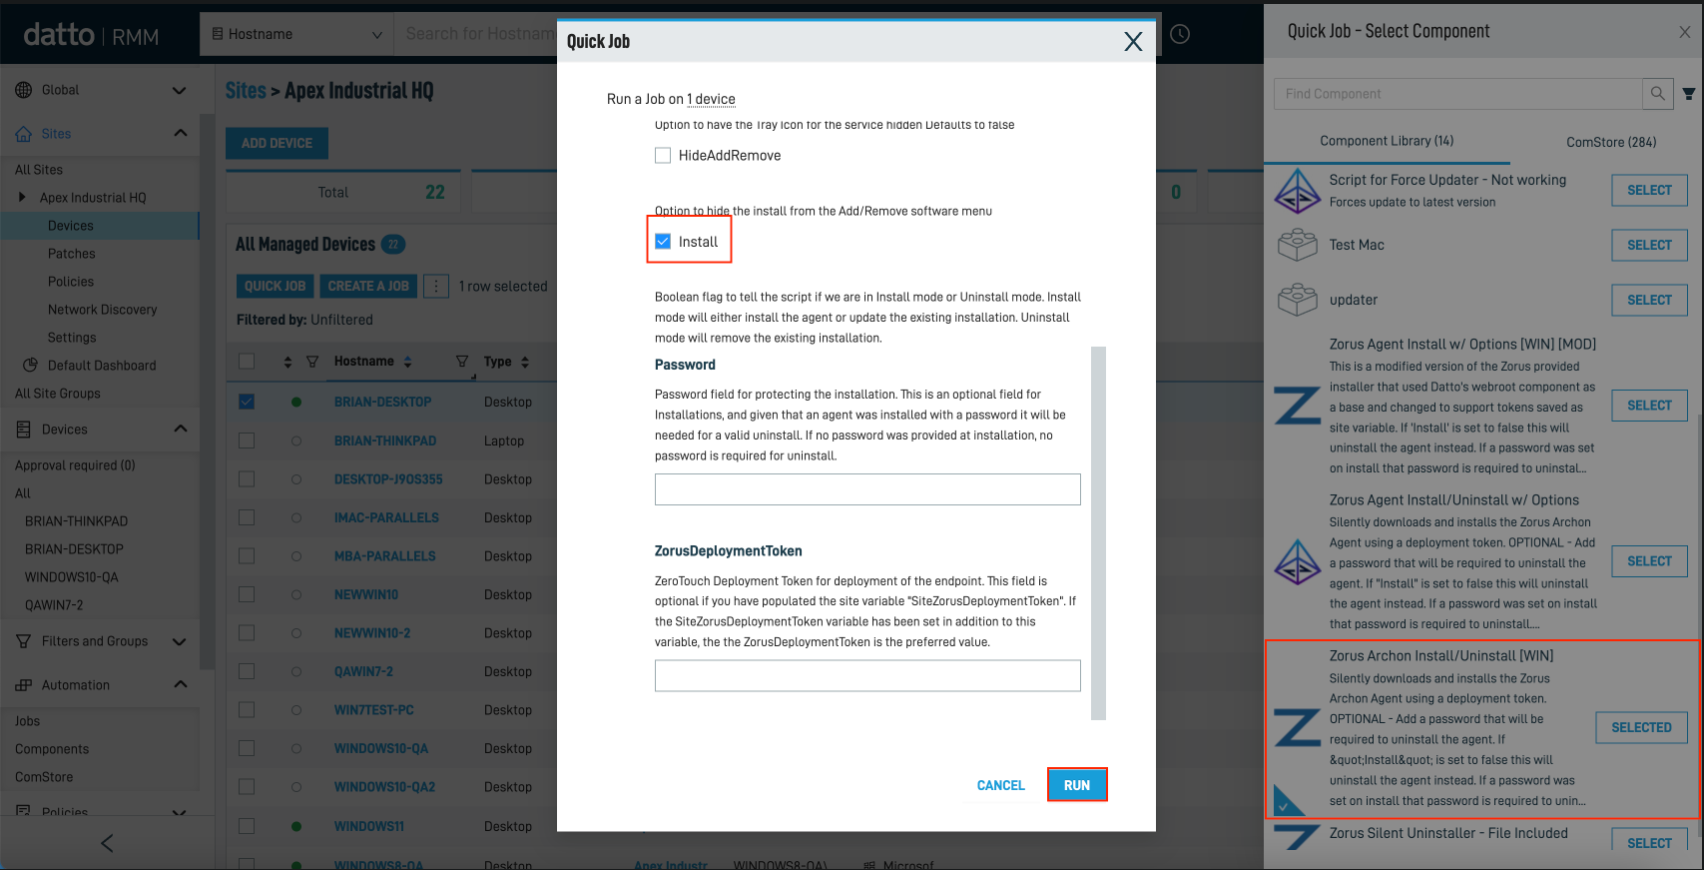
Step 9 Here, you'll want to select the Site and/or the Devices you want to deploy to. Check the box next to those, click "Quick Job", leave the "Install" variable checked, and run the job.
If you now go back to that customer in the Zorus portal, you should see the selected endpoint(s) deploy within a few minutes and appear in the Endpoints section of your portal.