This guide will walk you through the process of installing the agent on your macOS system. The agent captures essential system data and allows you to effectively manage and monitor your system. Please follow these steps carefully.
Prerequisites
Before you begin, ensure that you have the following:
- A macOS system (Apple Silicon or Intel-based).
- Access to download the agent package.
- Administrative privileges on your macOS system.
Step 1: Download the Agent Package
1.1. Depending on your processor architecture (Apple Silicon or Intel), download the appropriate agent package from the Download Center
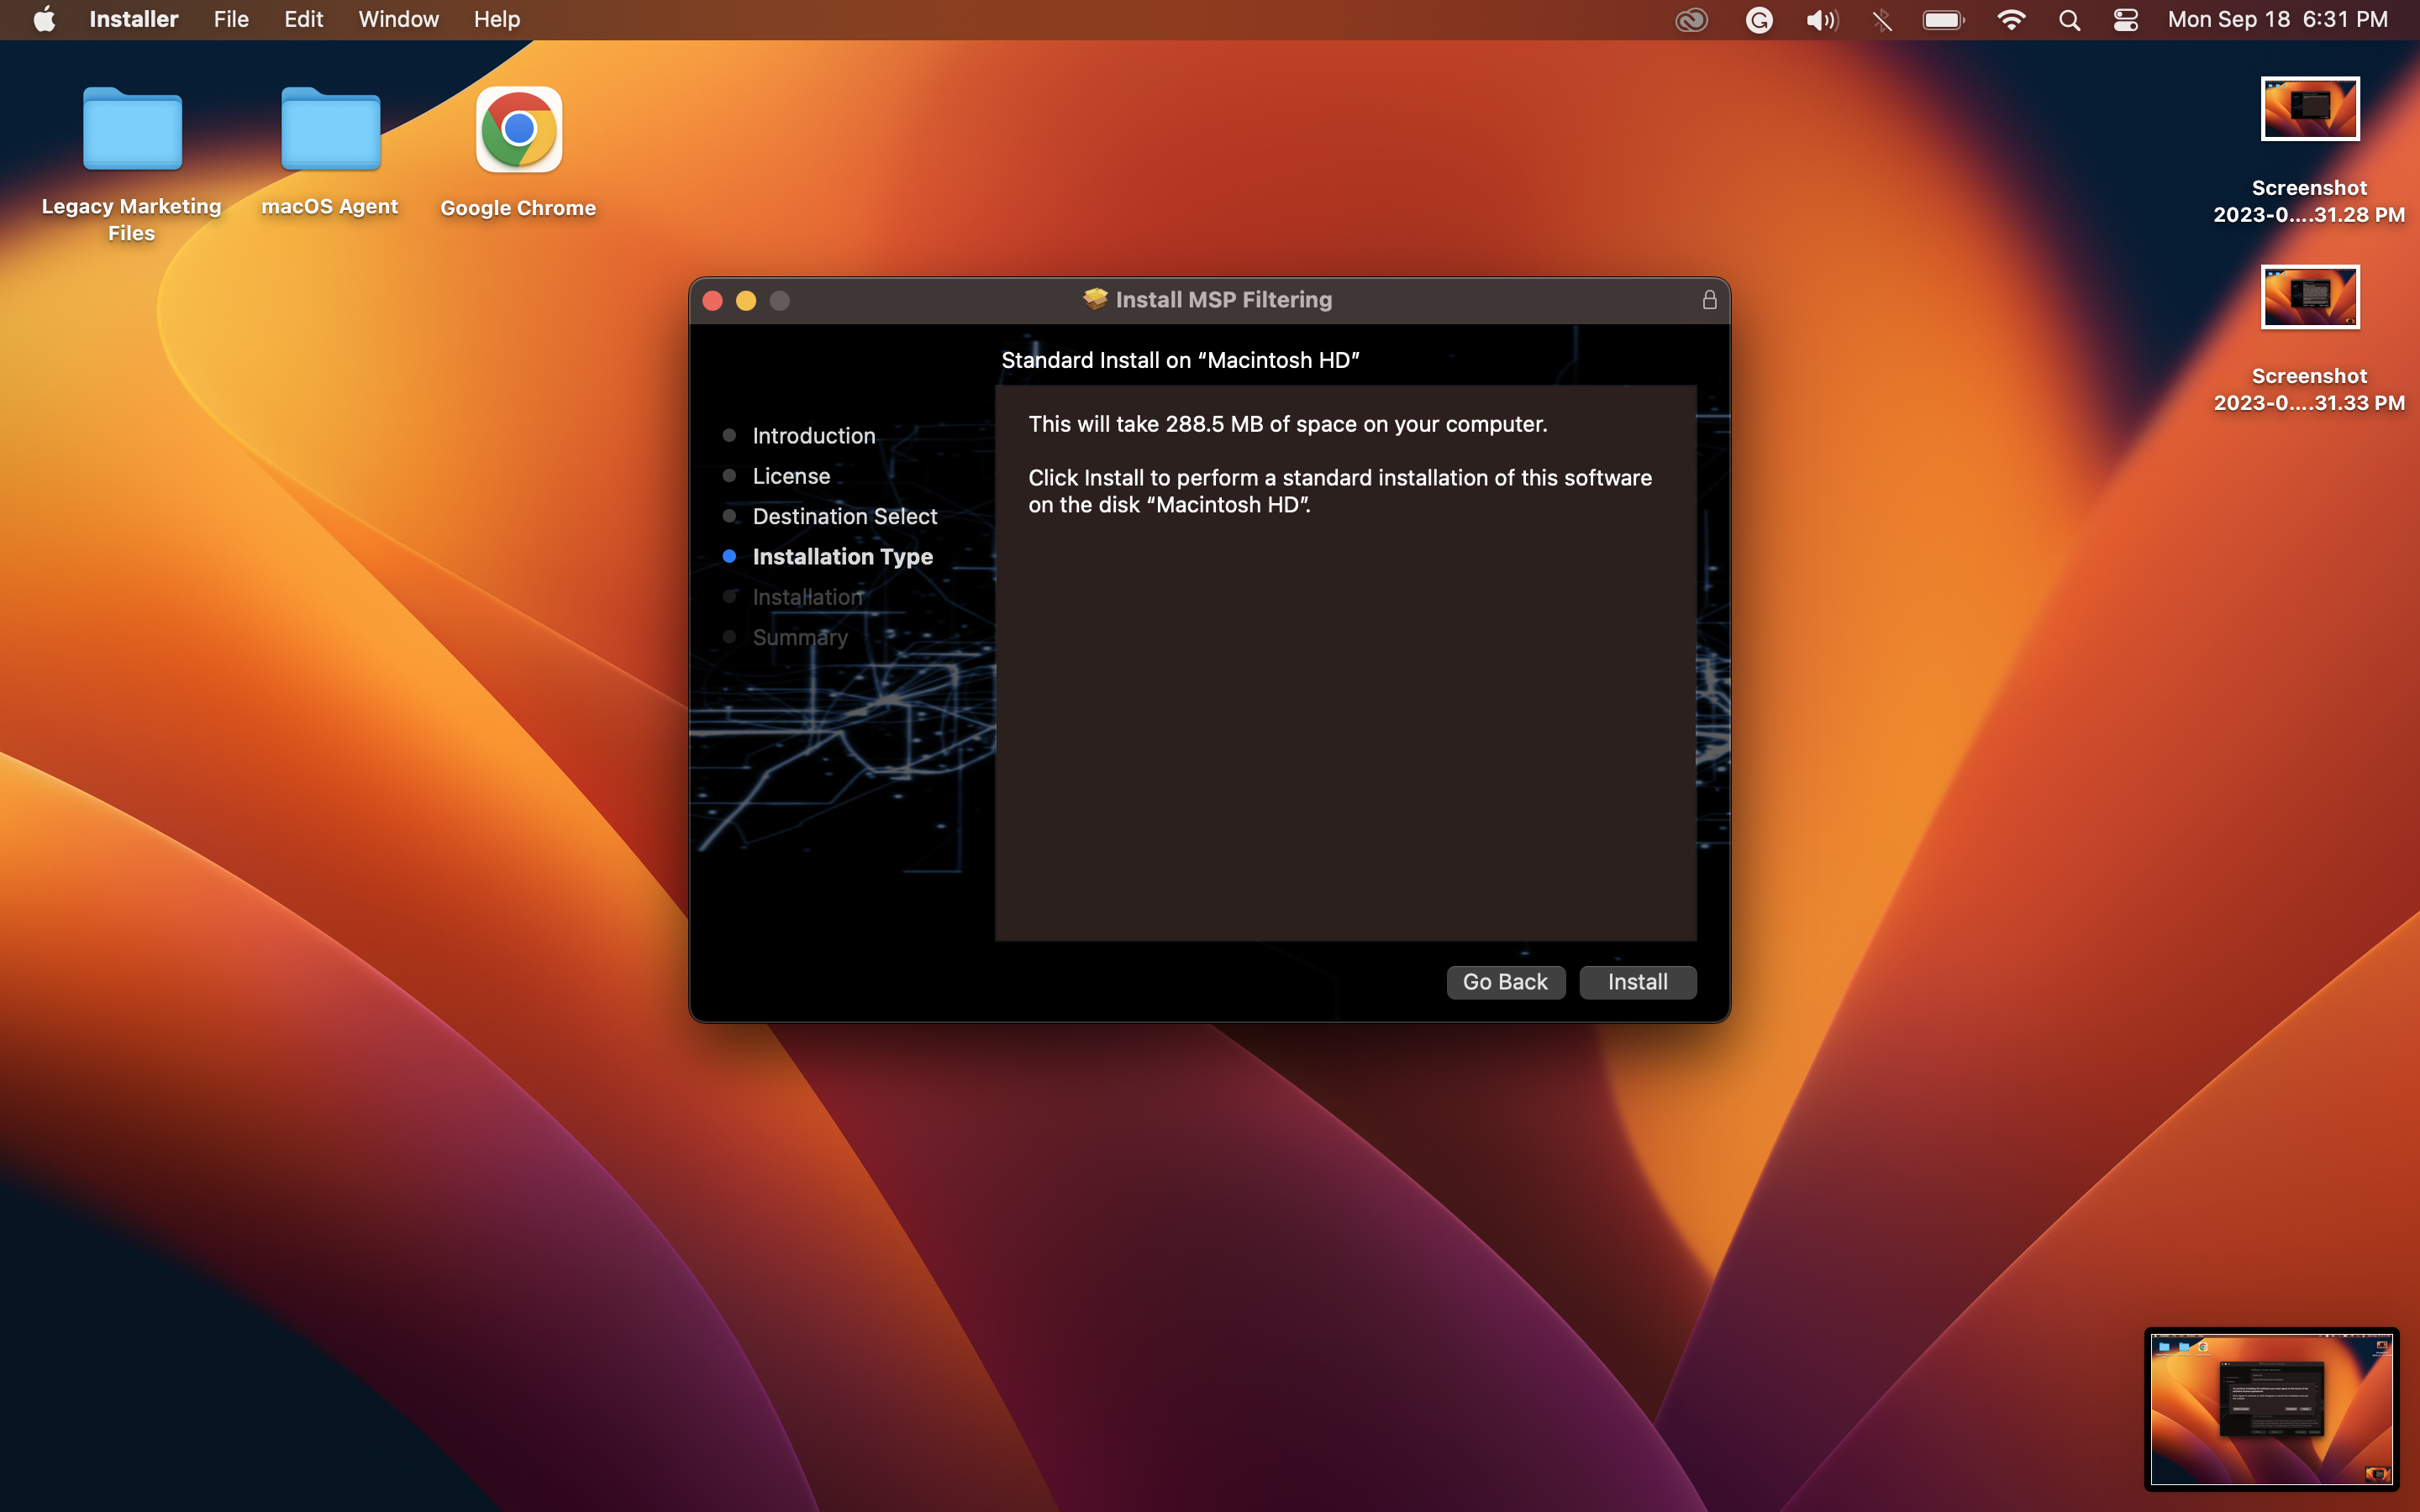
Step 2: Run the Installer
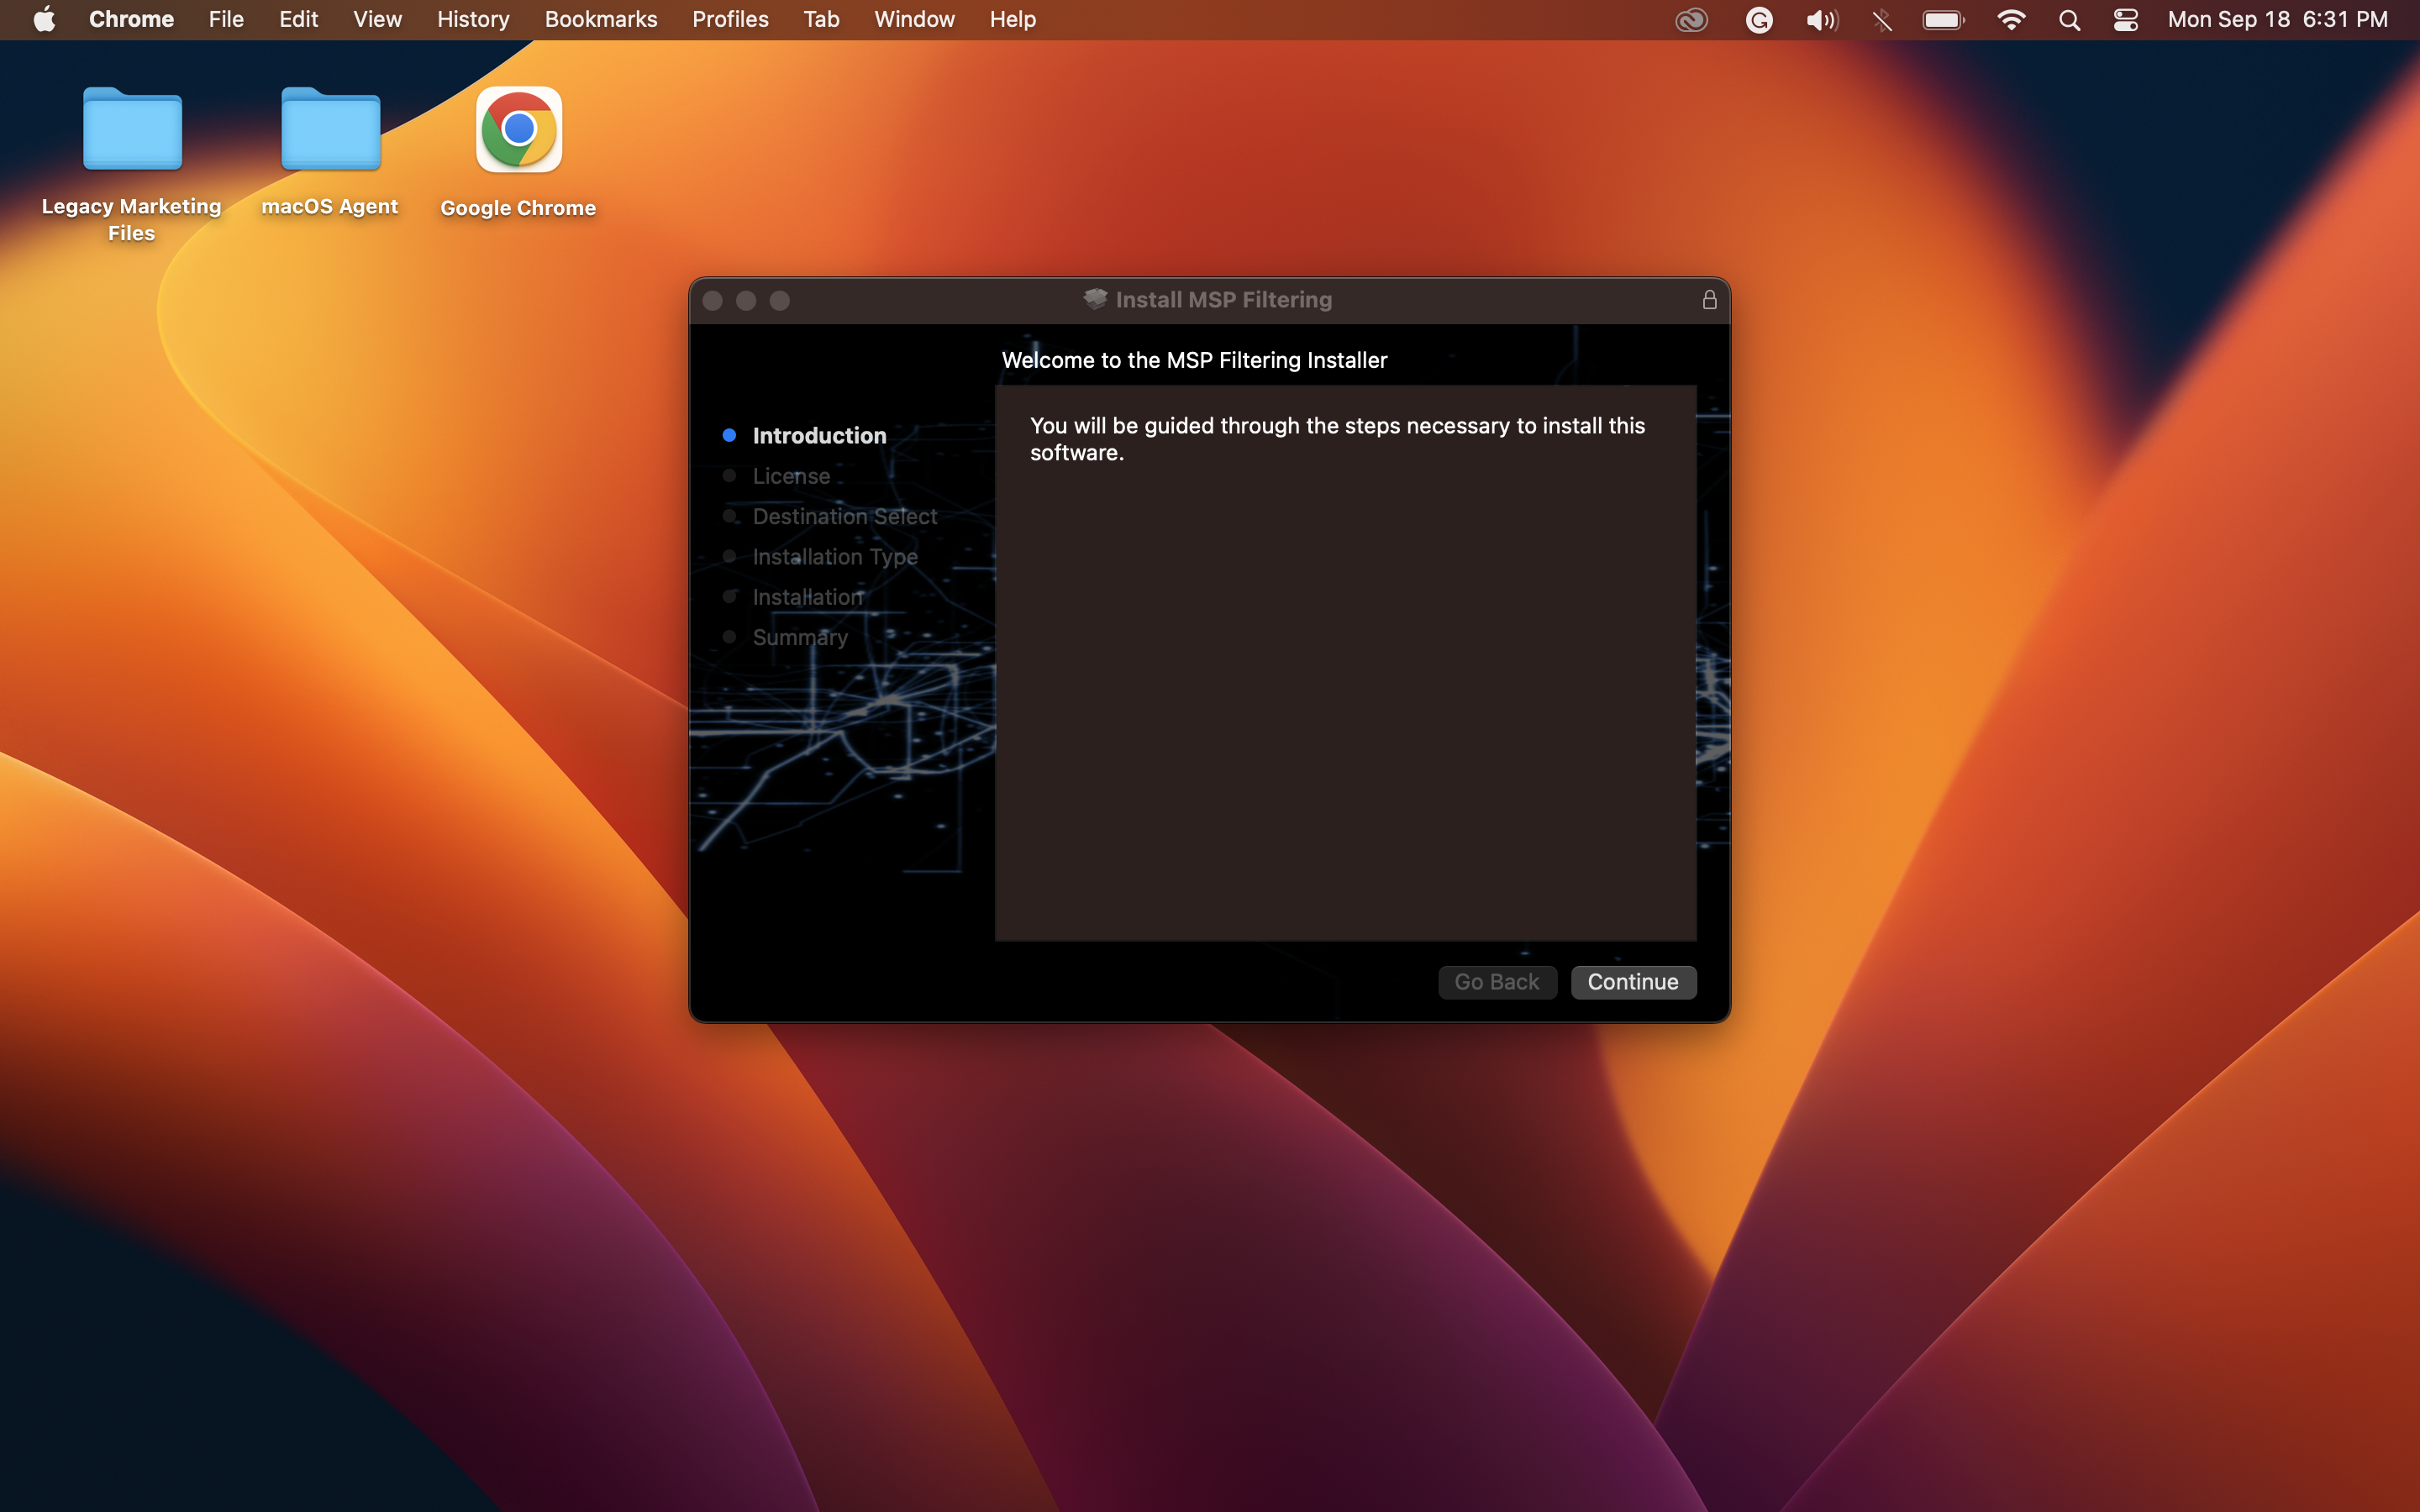
2.1. Locate the downloaded agent package and double-click it to run the installer.
2.2. You may need to enter your administrator password to authorize the installation.
2.3. Follow the on-screen instructions in the installation wizard.
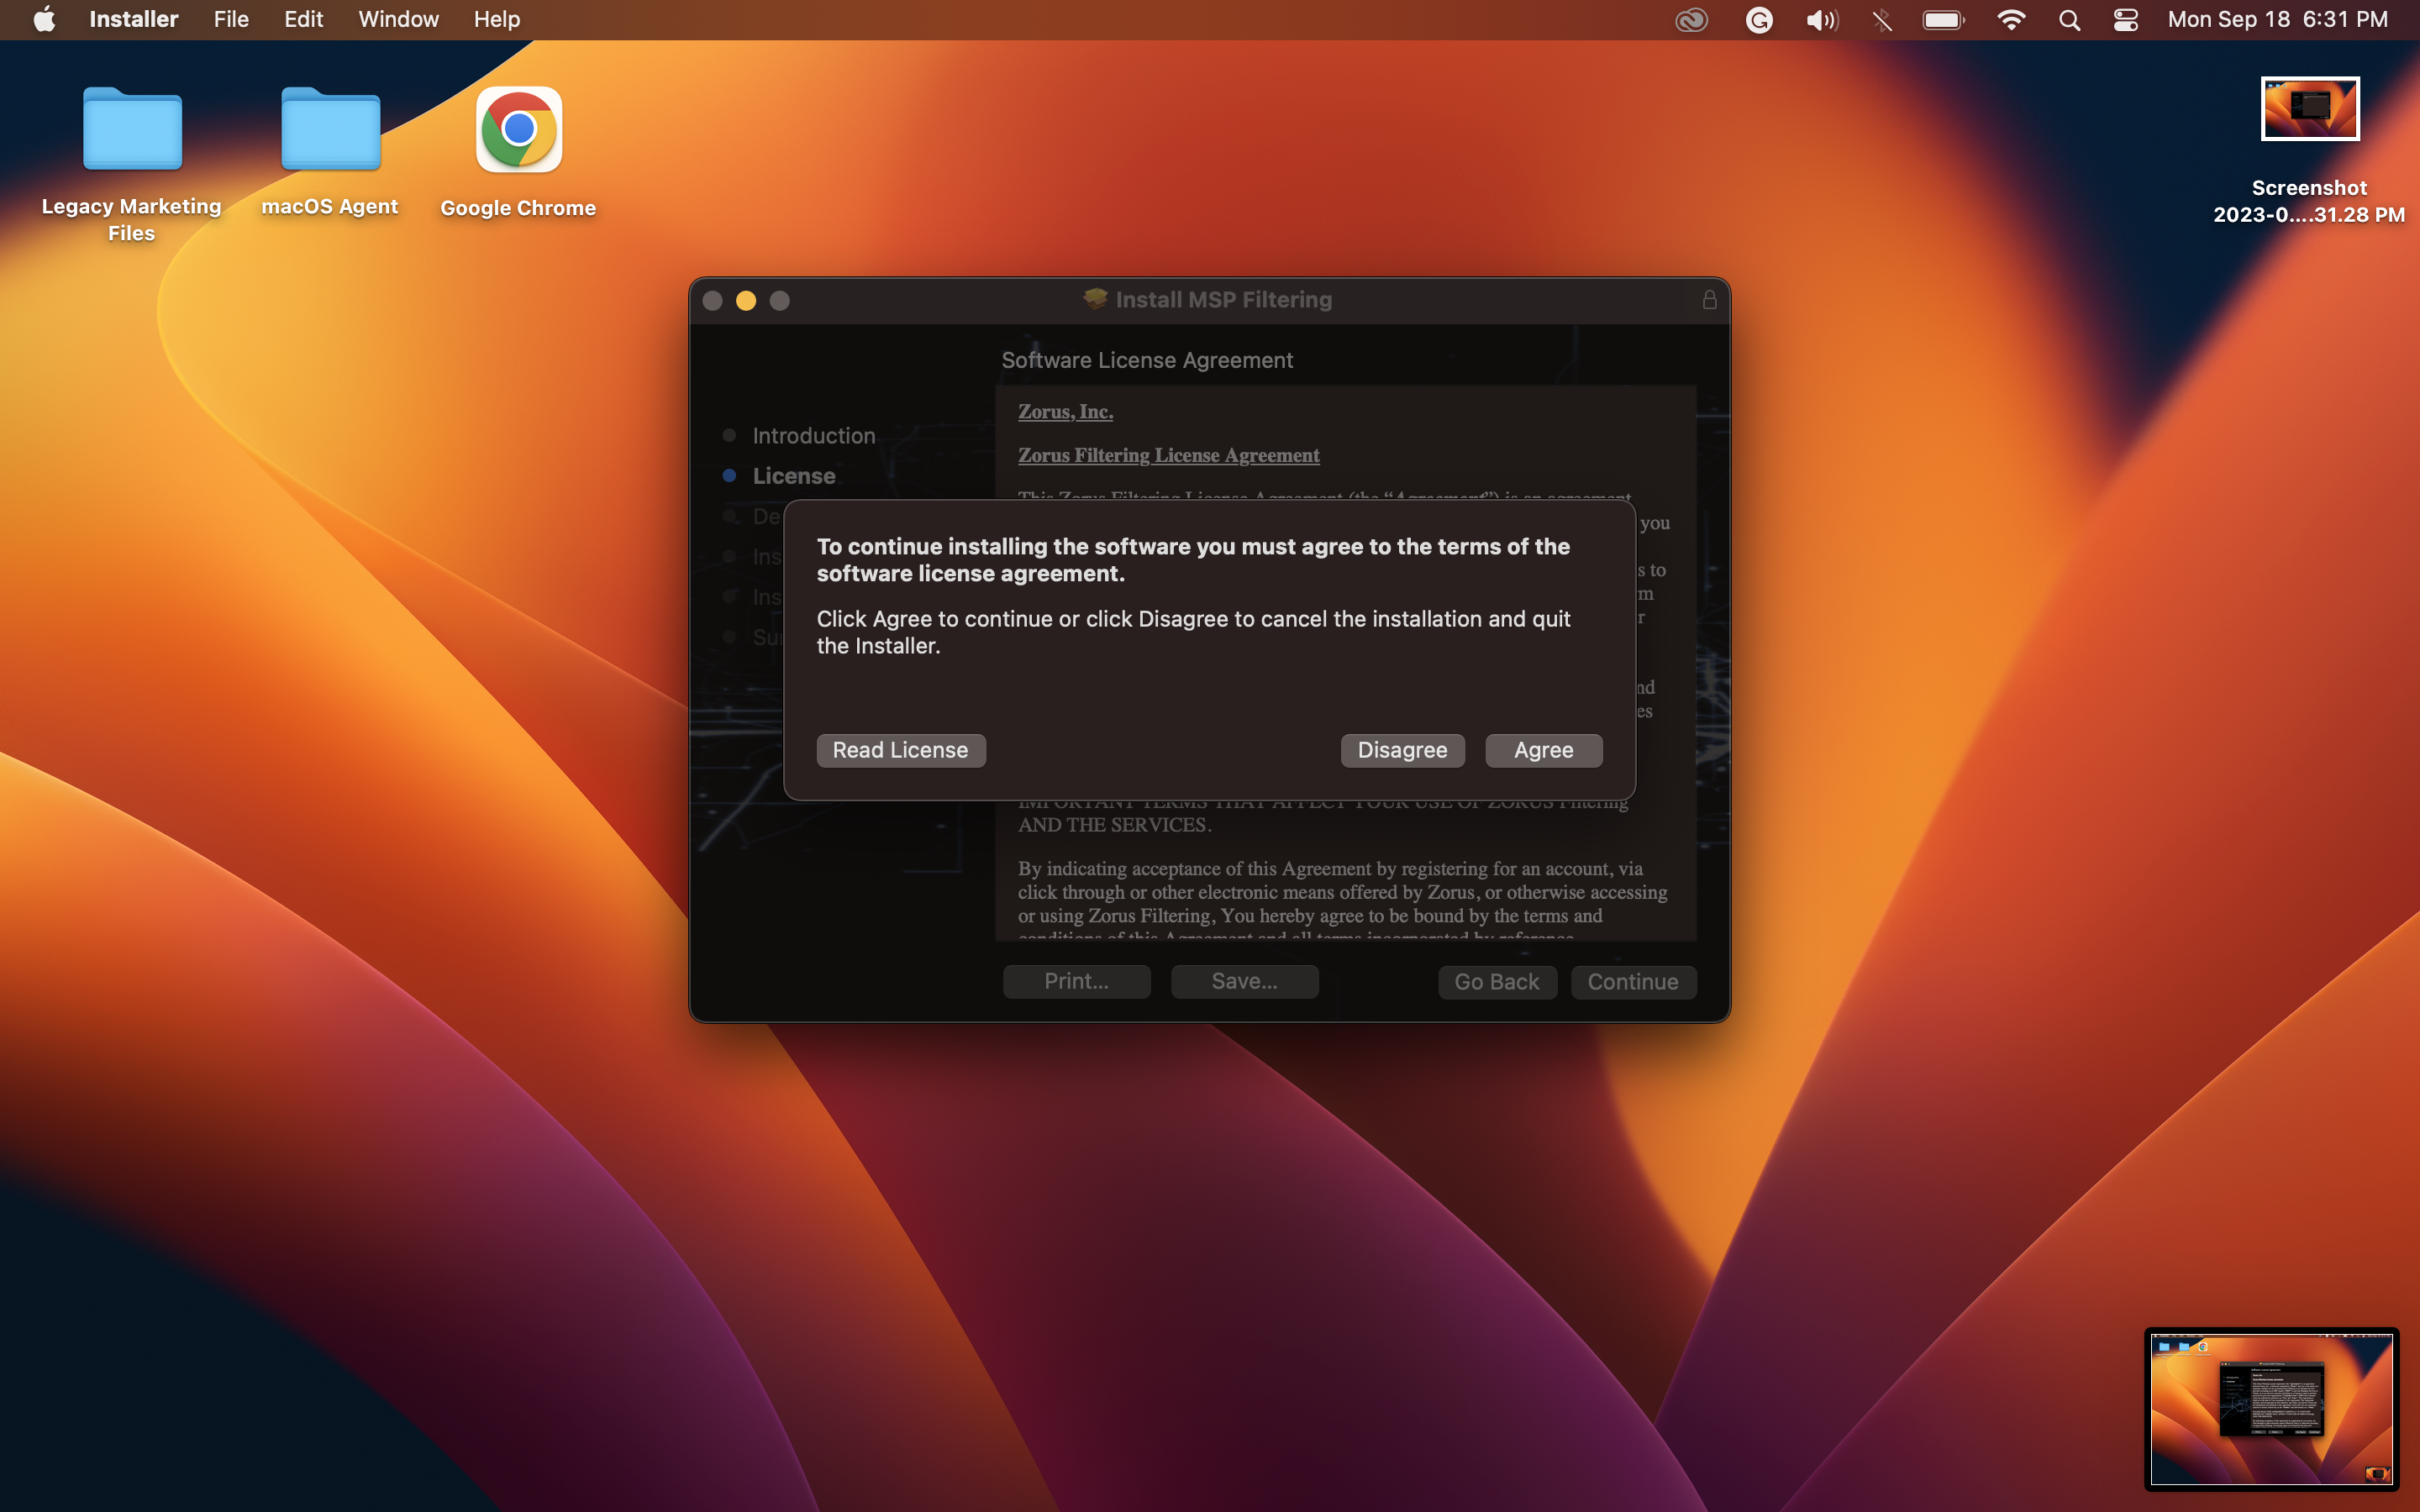
Step 3: Accept the Licenses
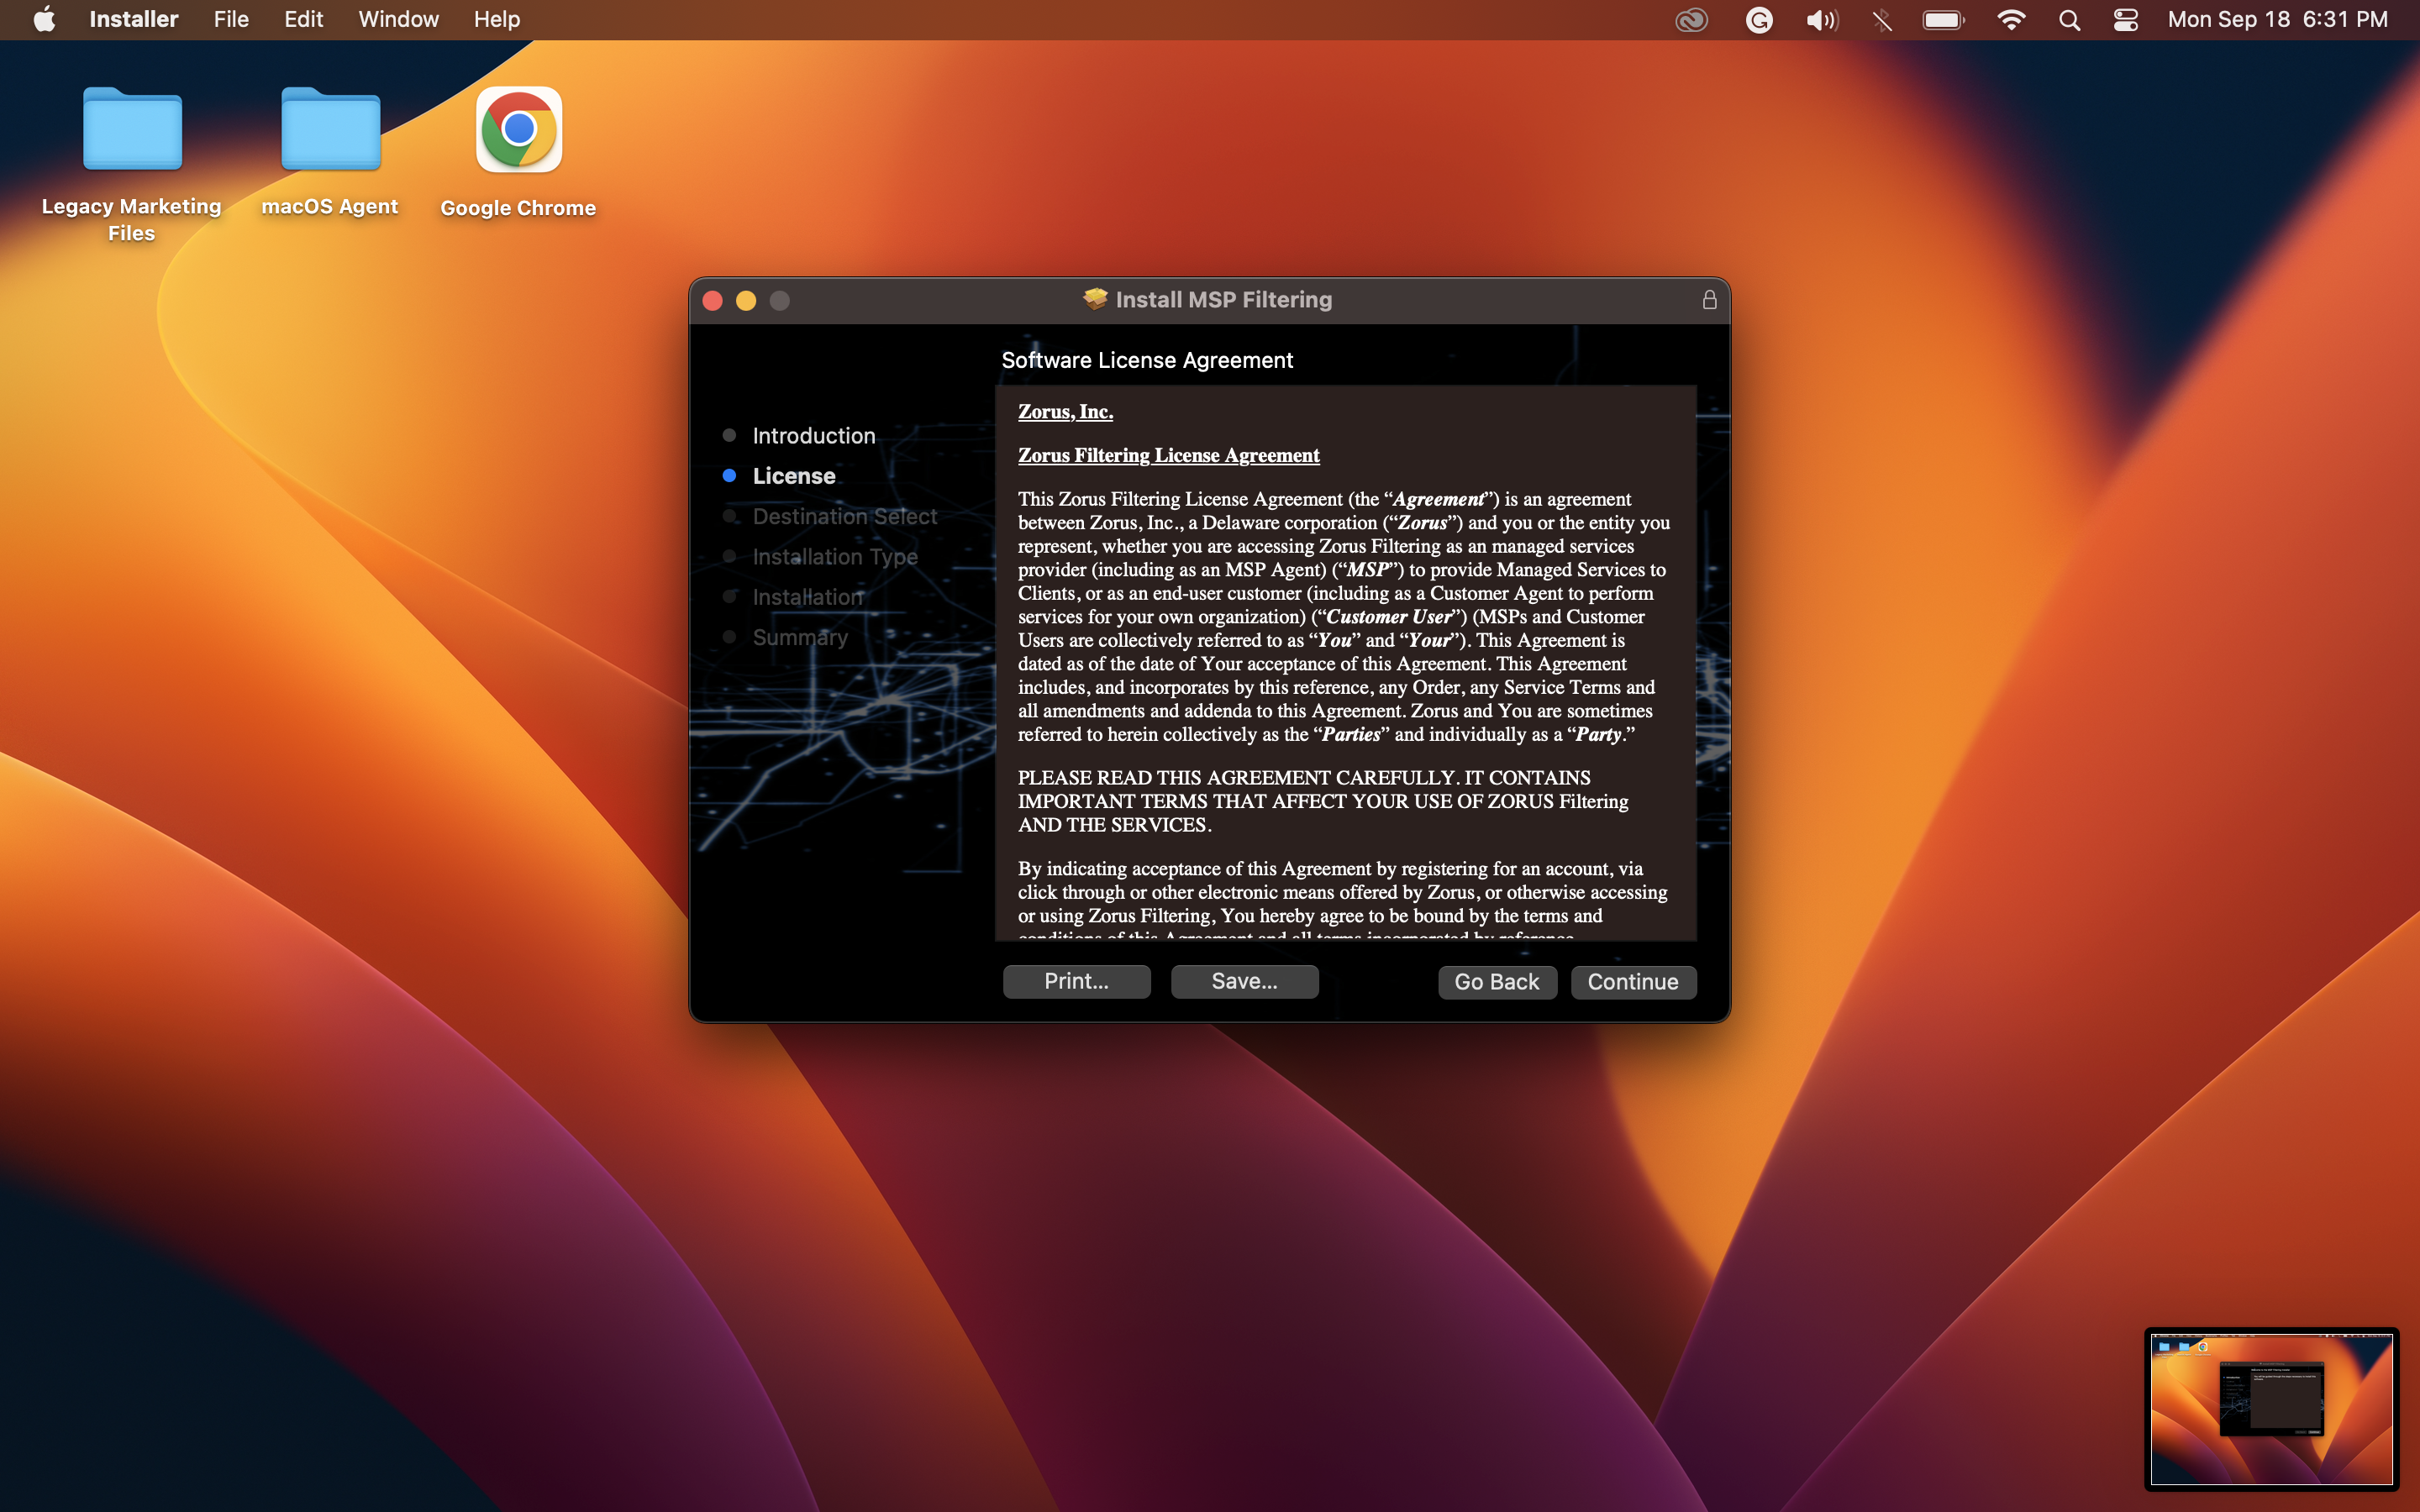
3.1. The installer will prompt you to accept the software licenses. Read through the licenses carefully and, if you agree, select "Accept."
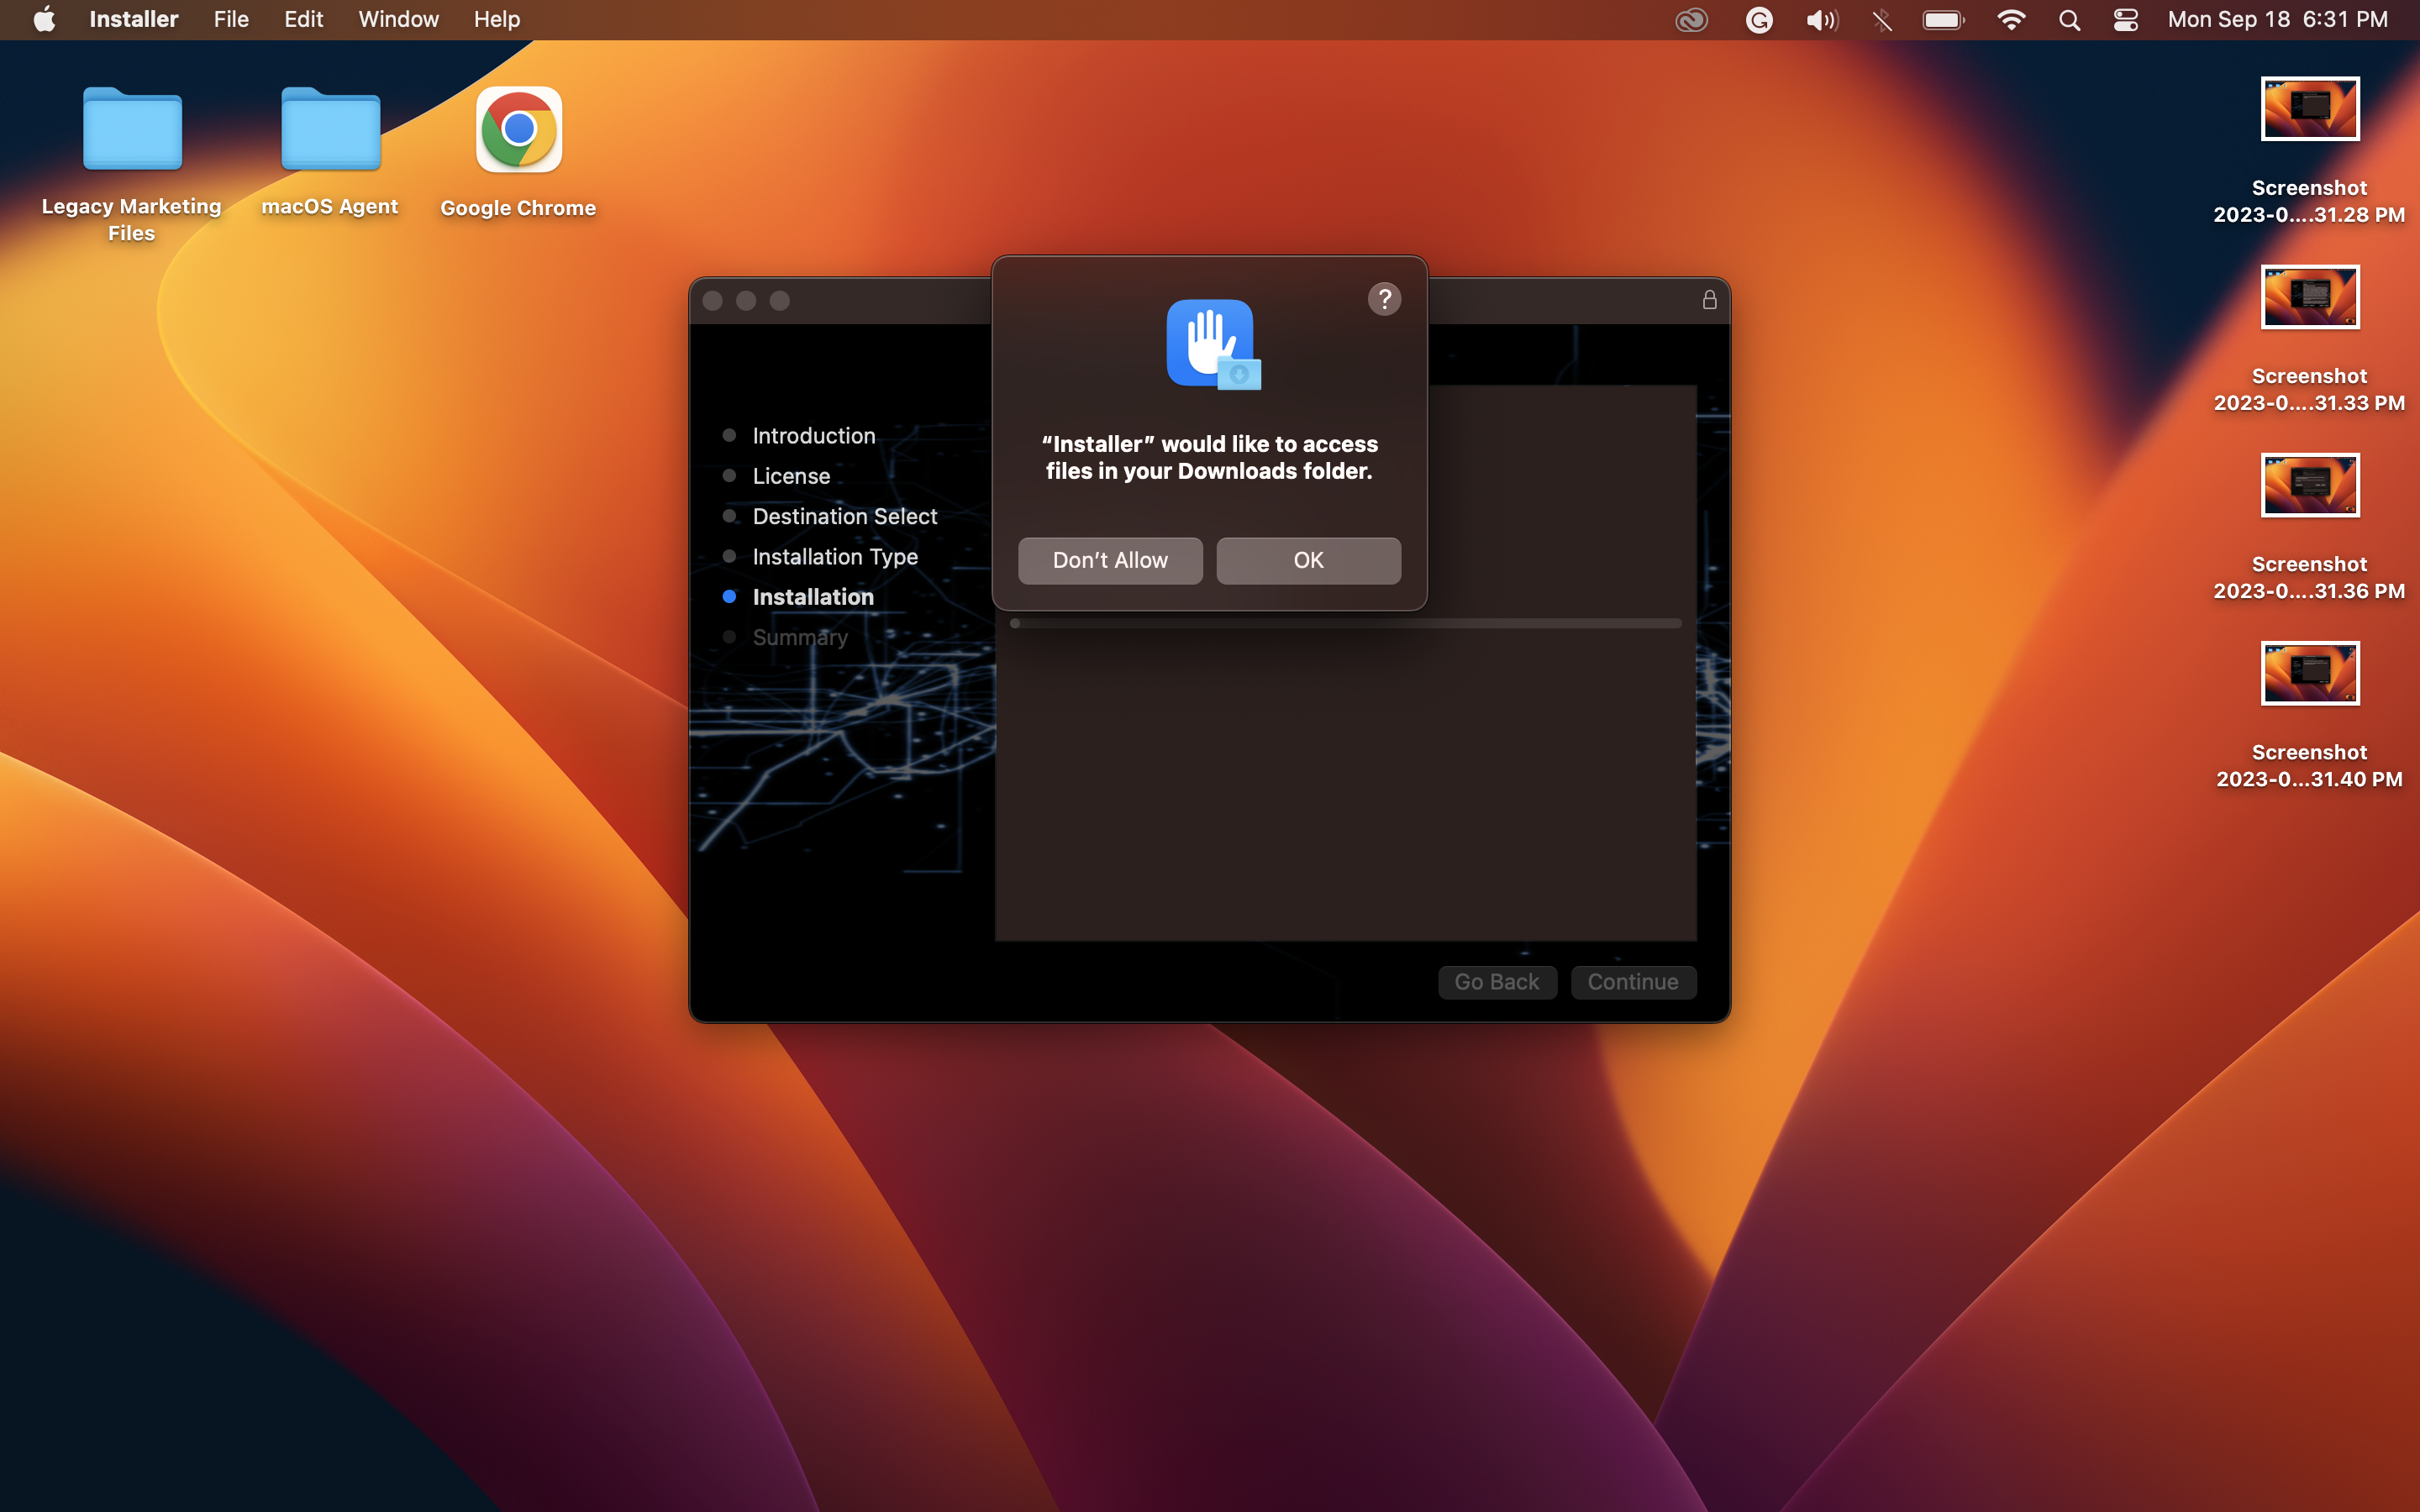
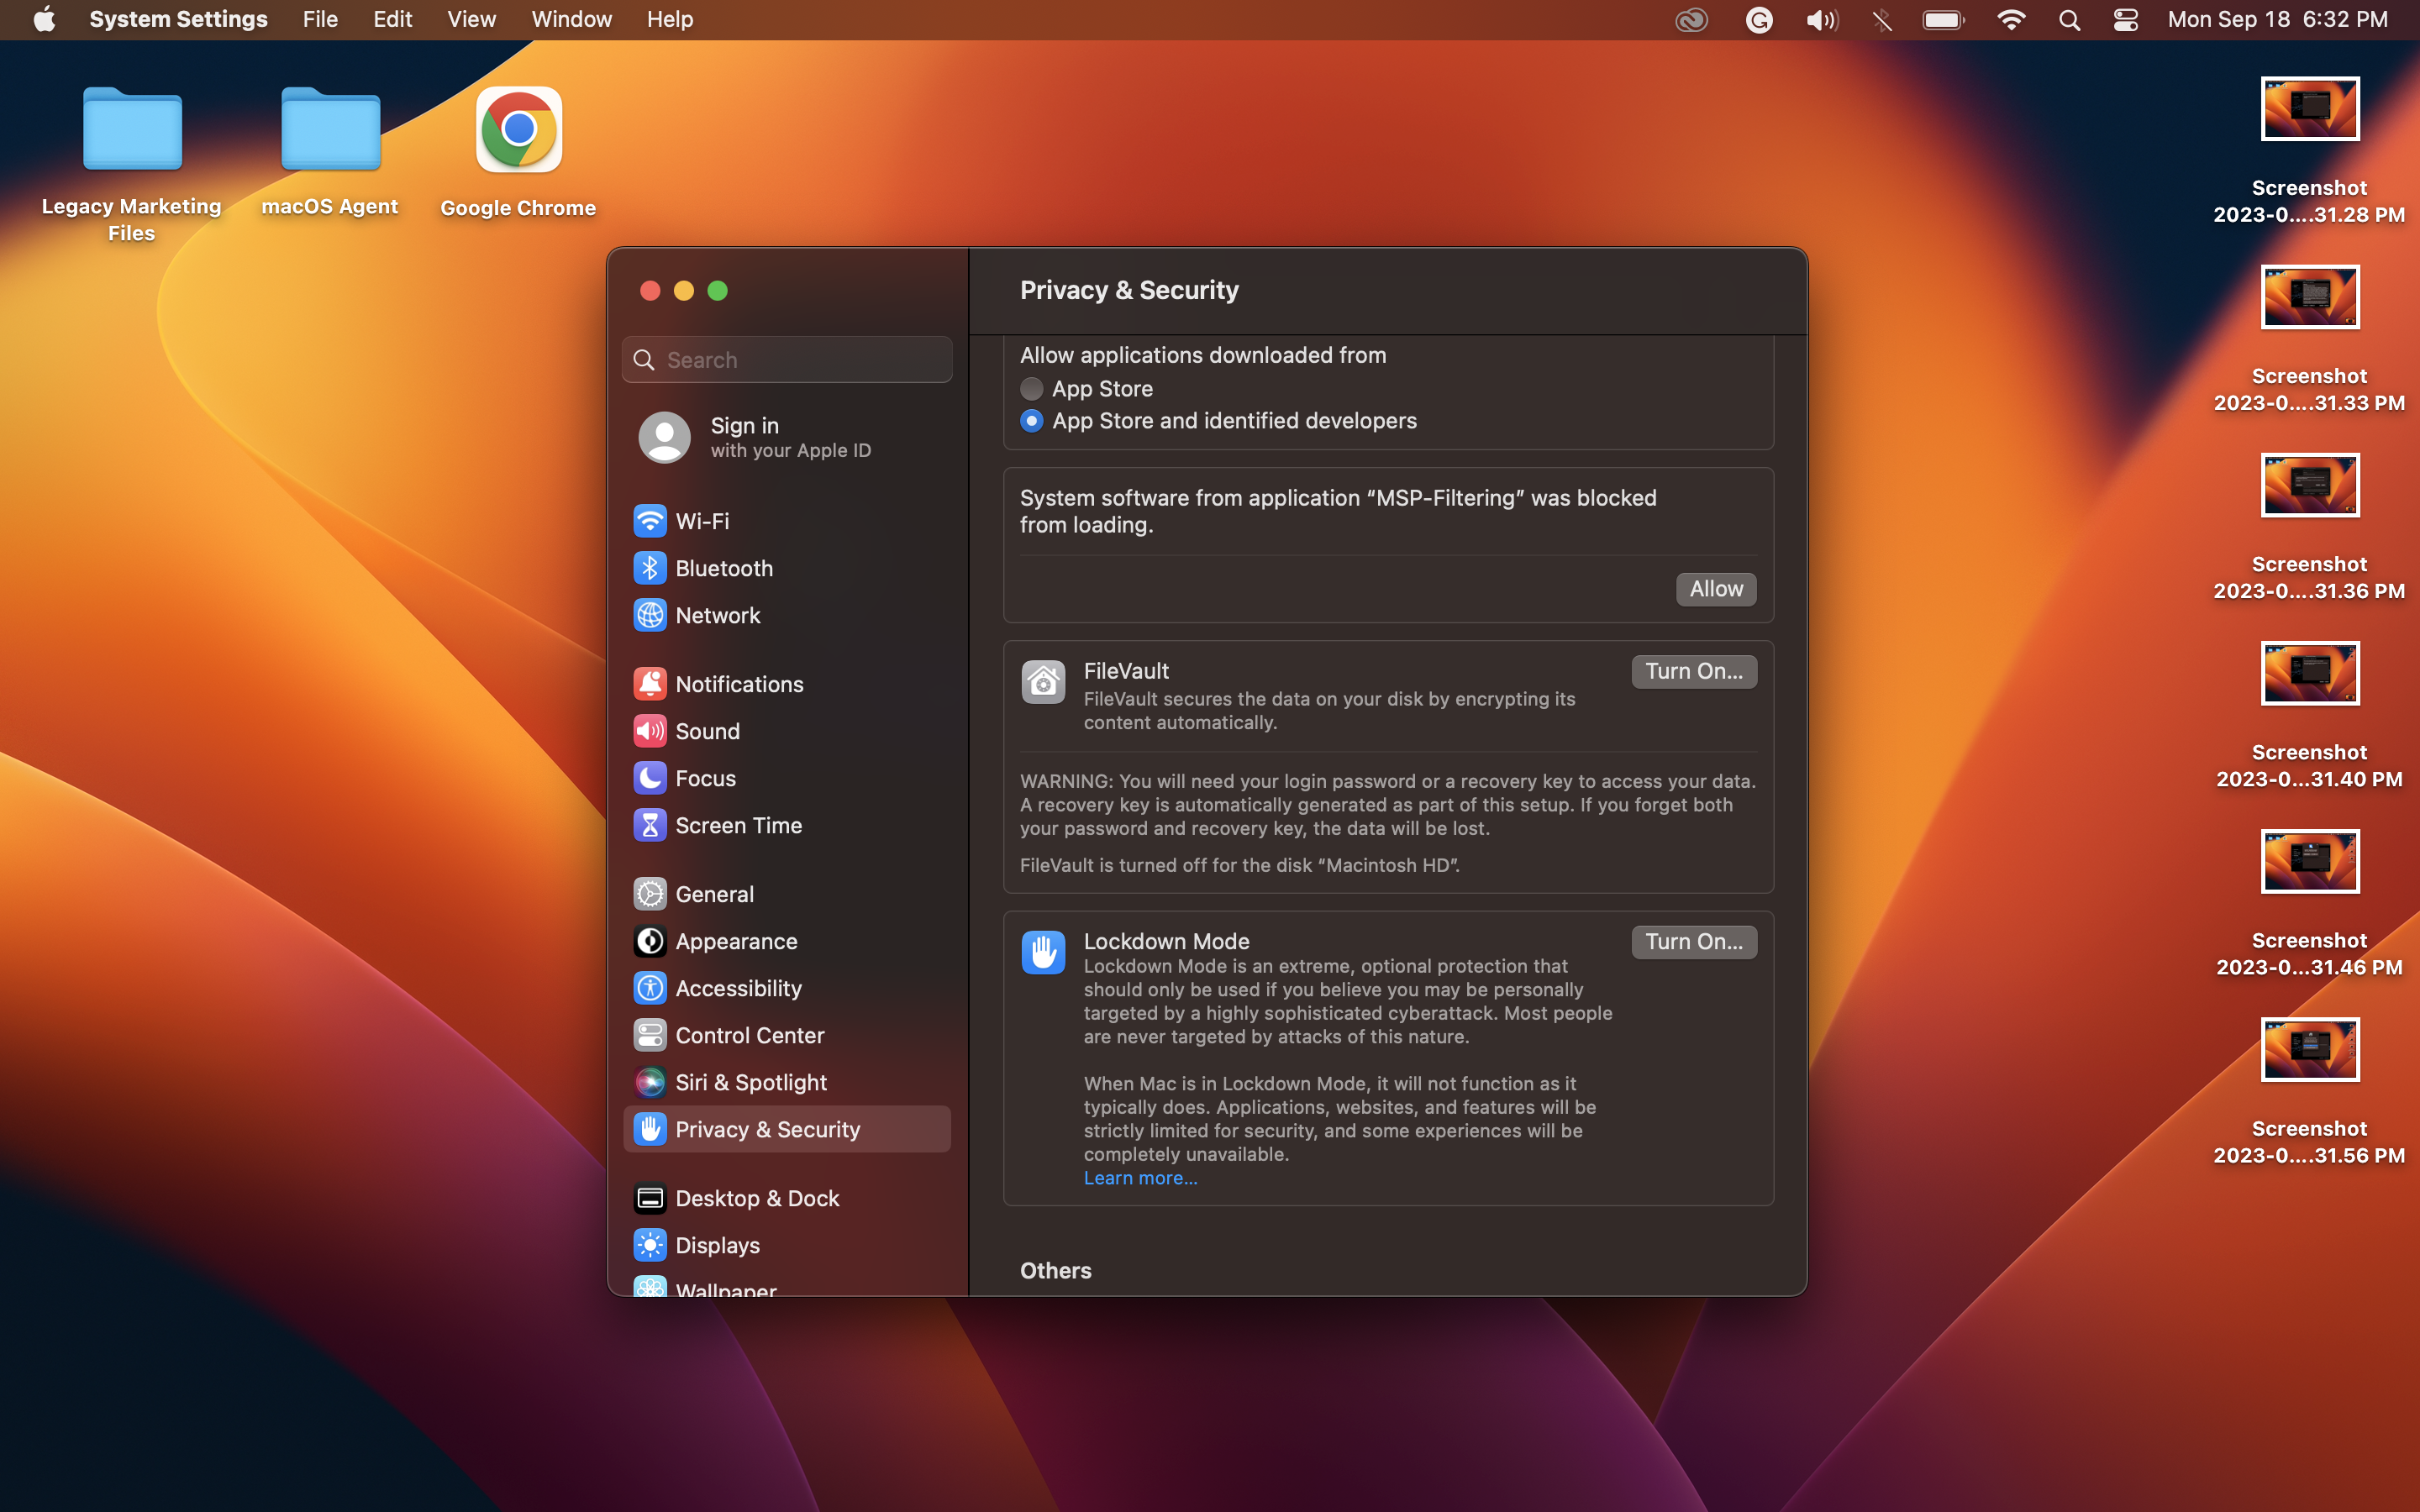
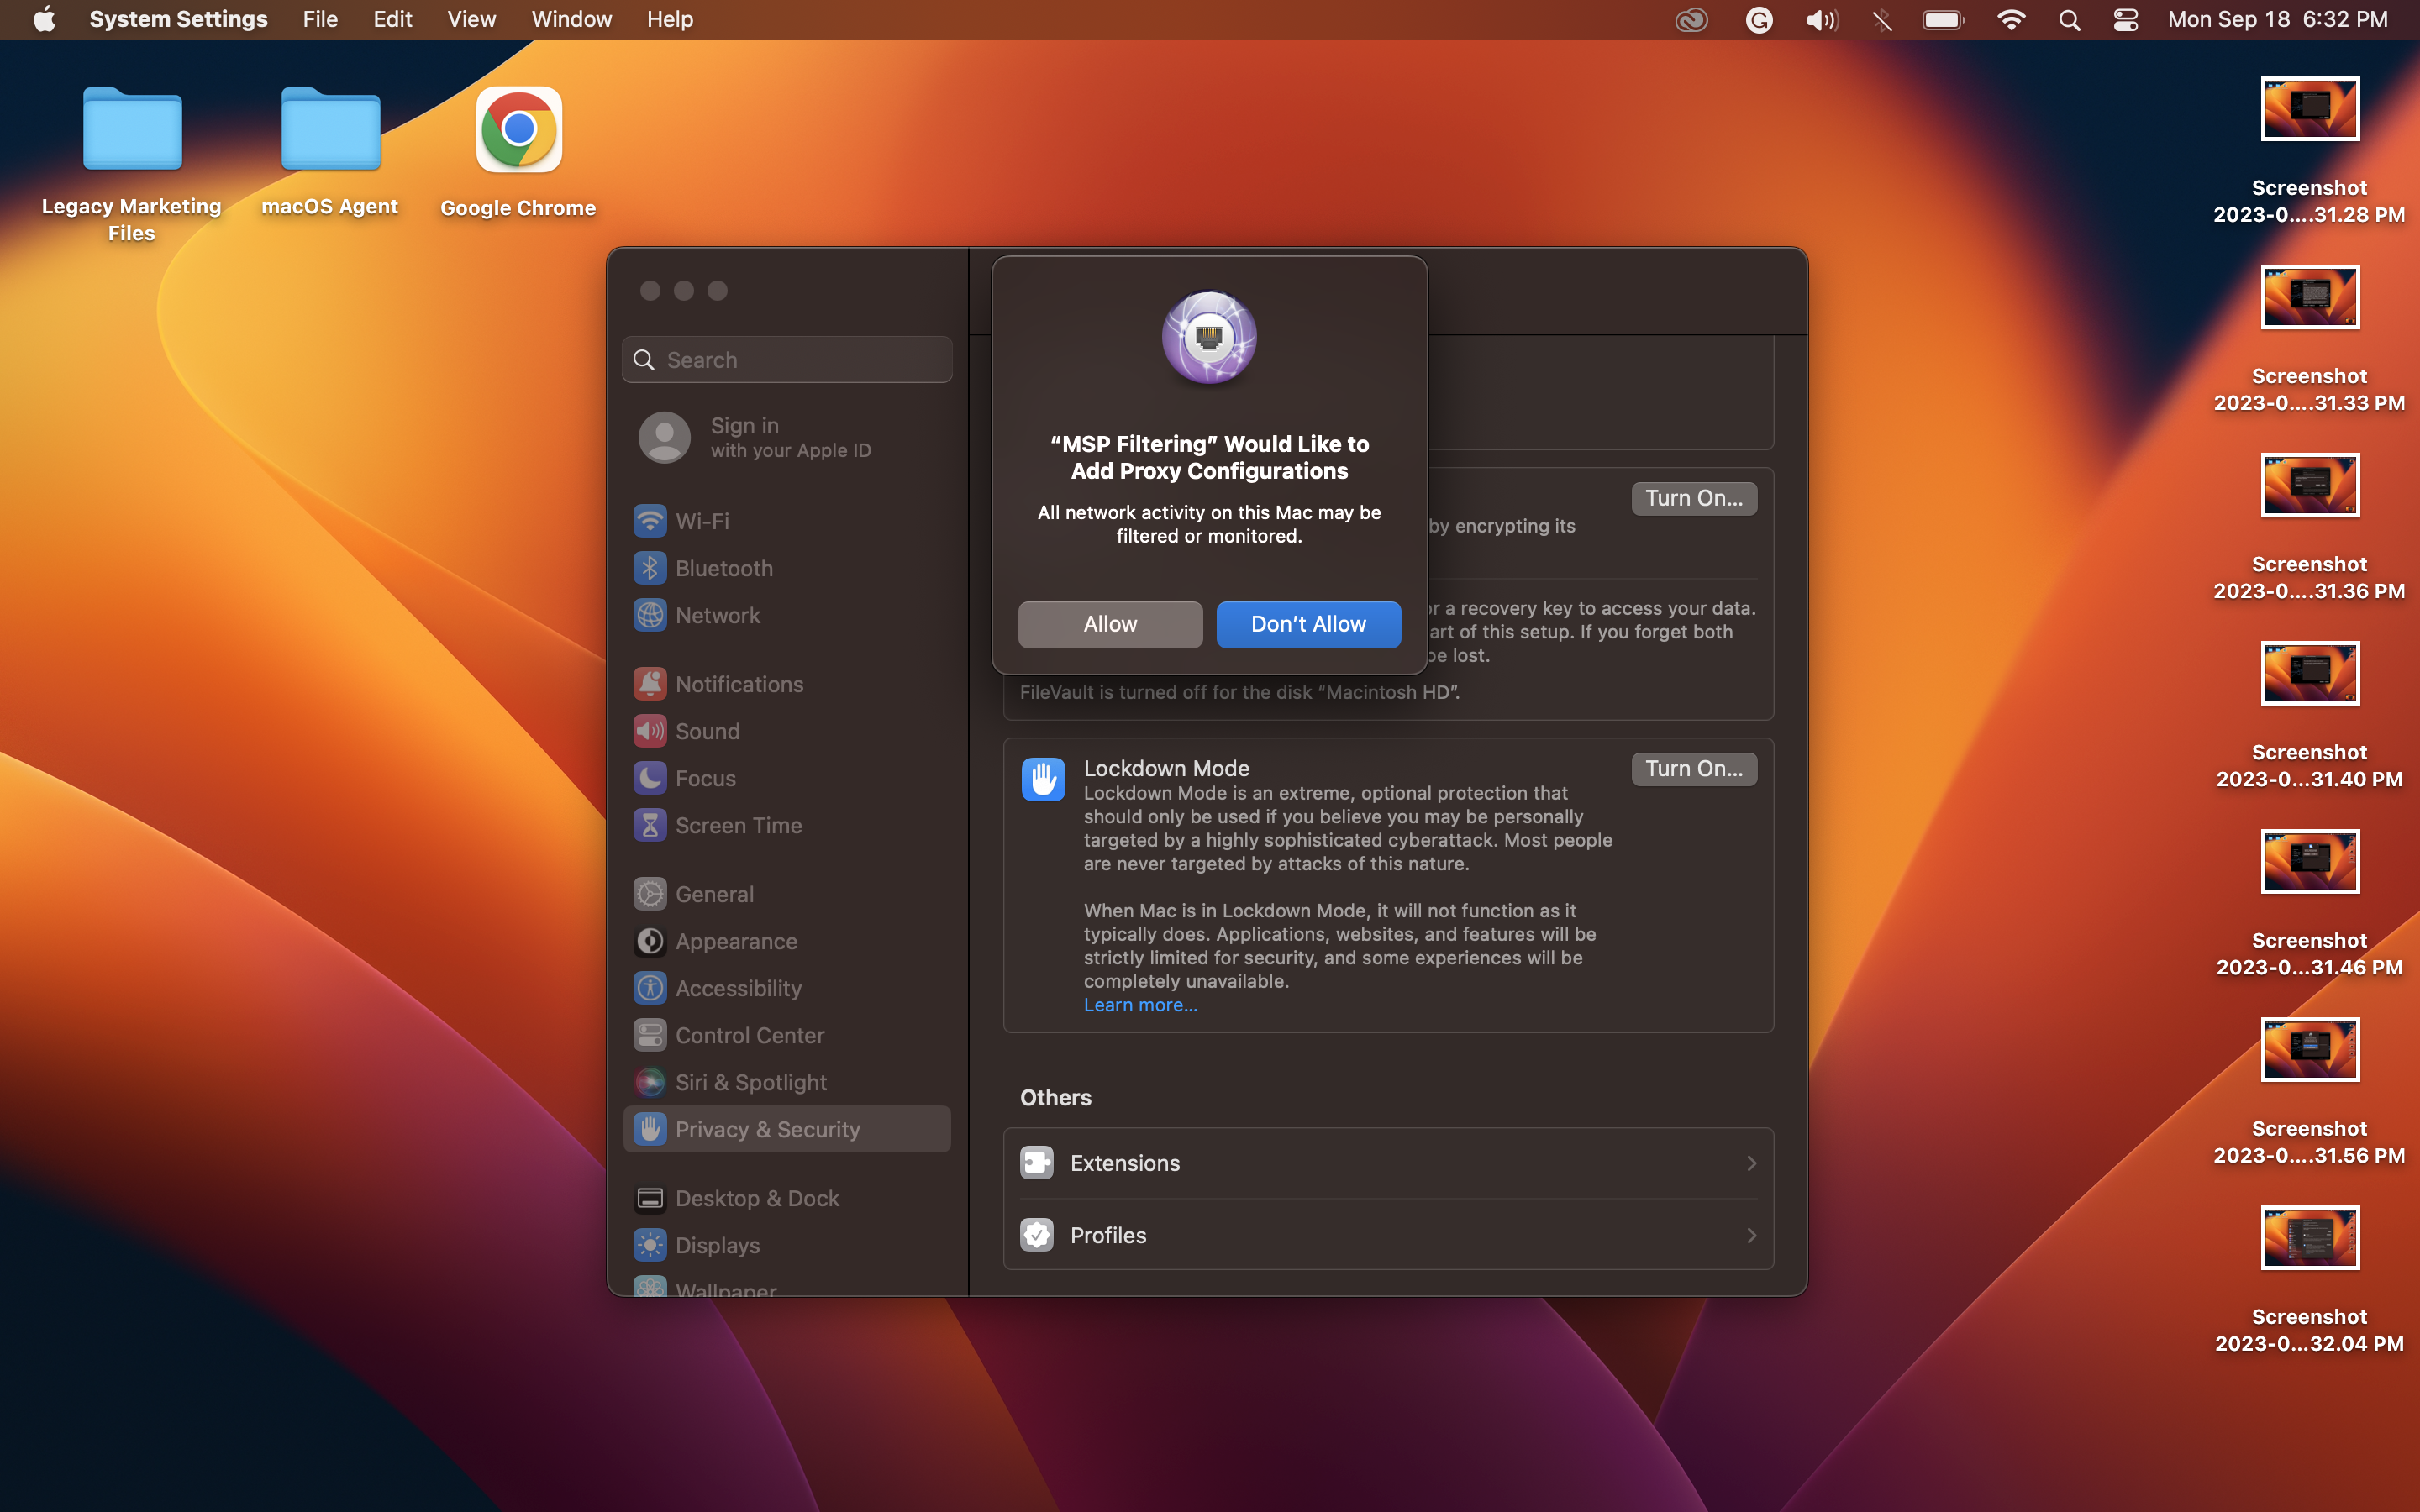
Step 4: Approve System Permissions
4.1. The installer will request system permissions to access the System Profile and install extensions. Click "Approve" when prompted.
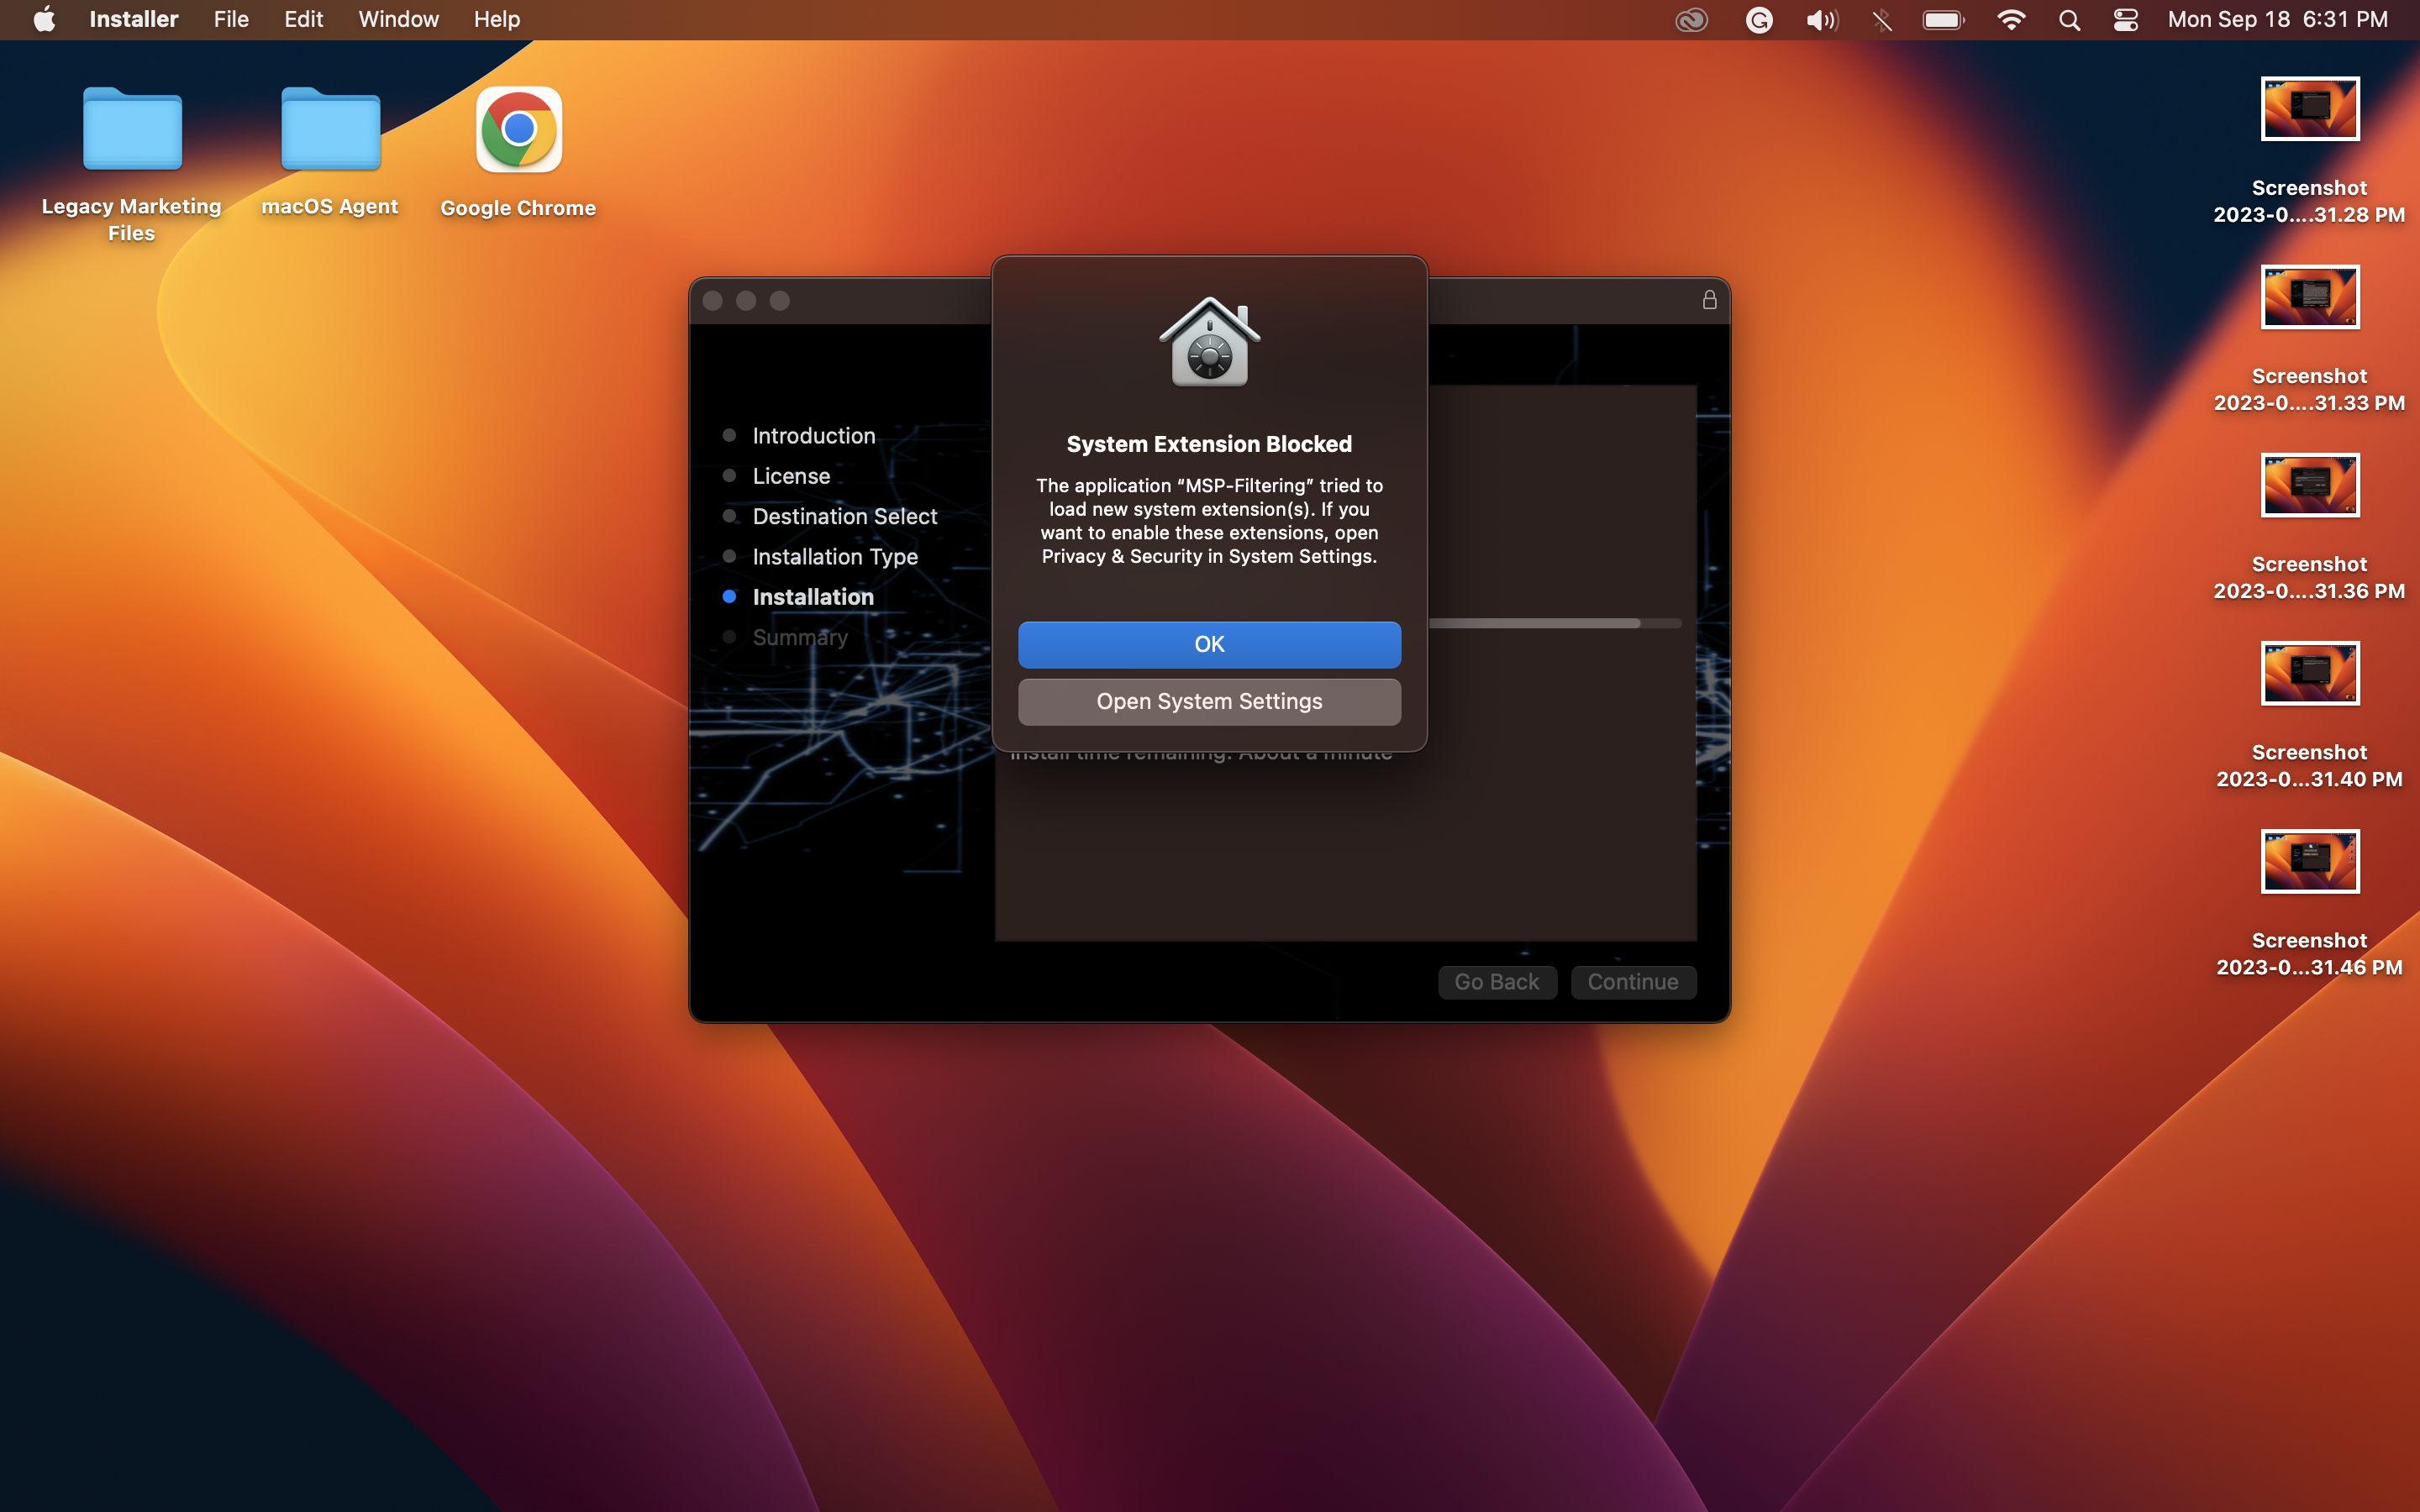
System Profile Permissions
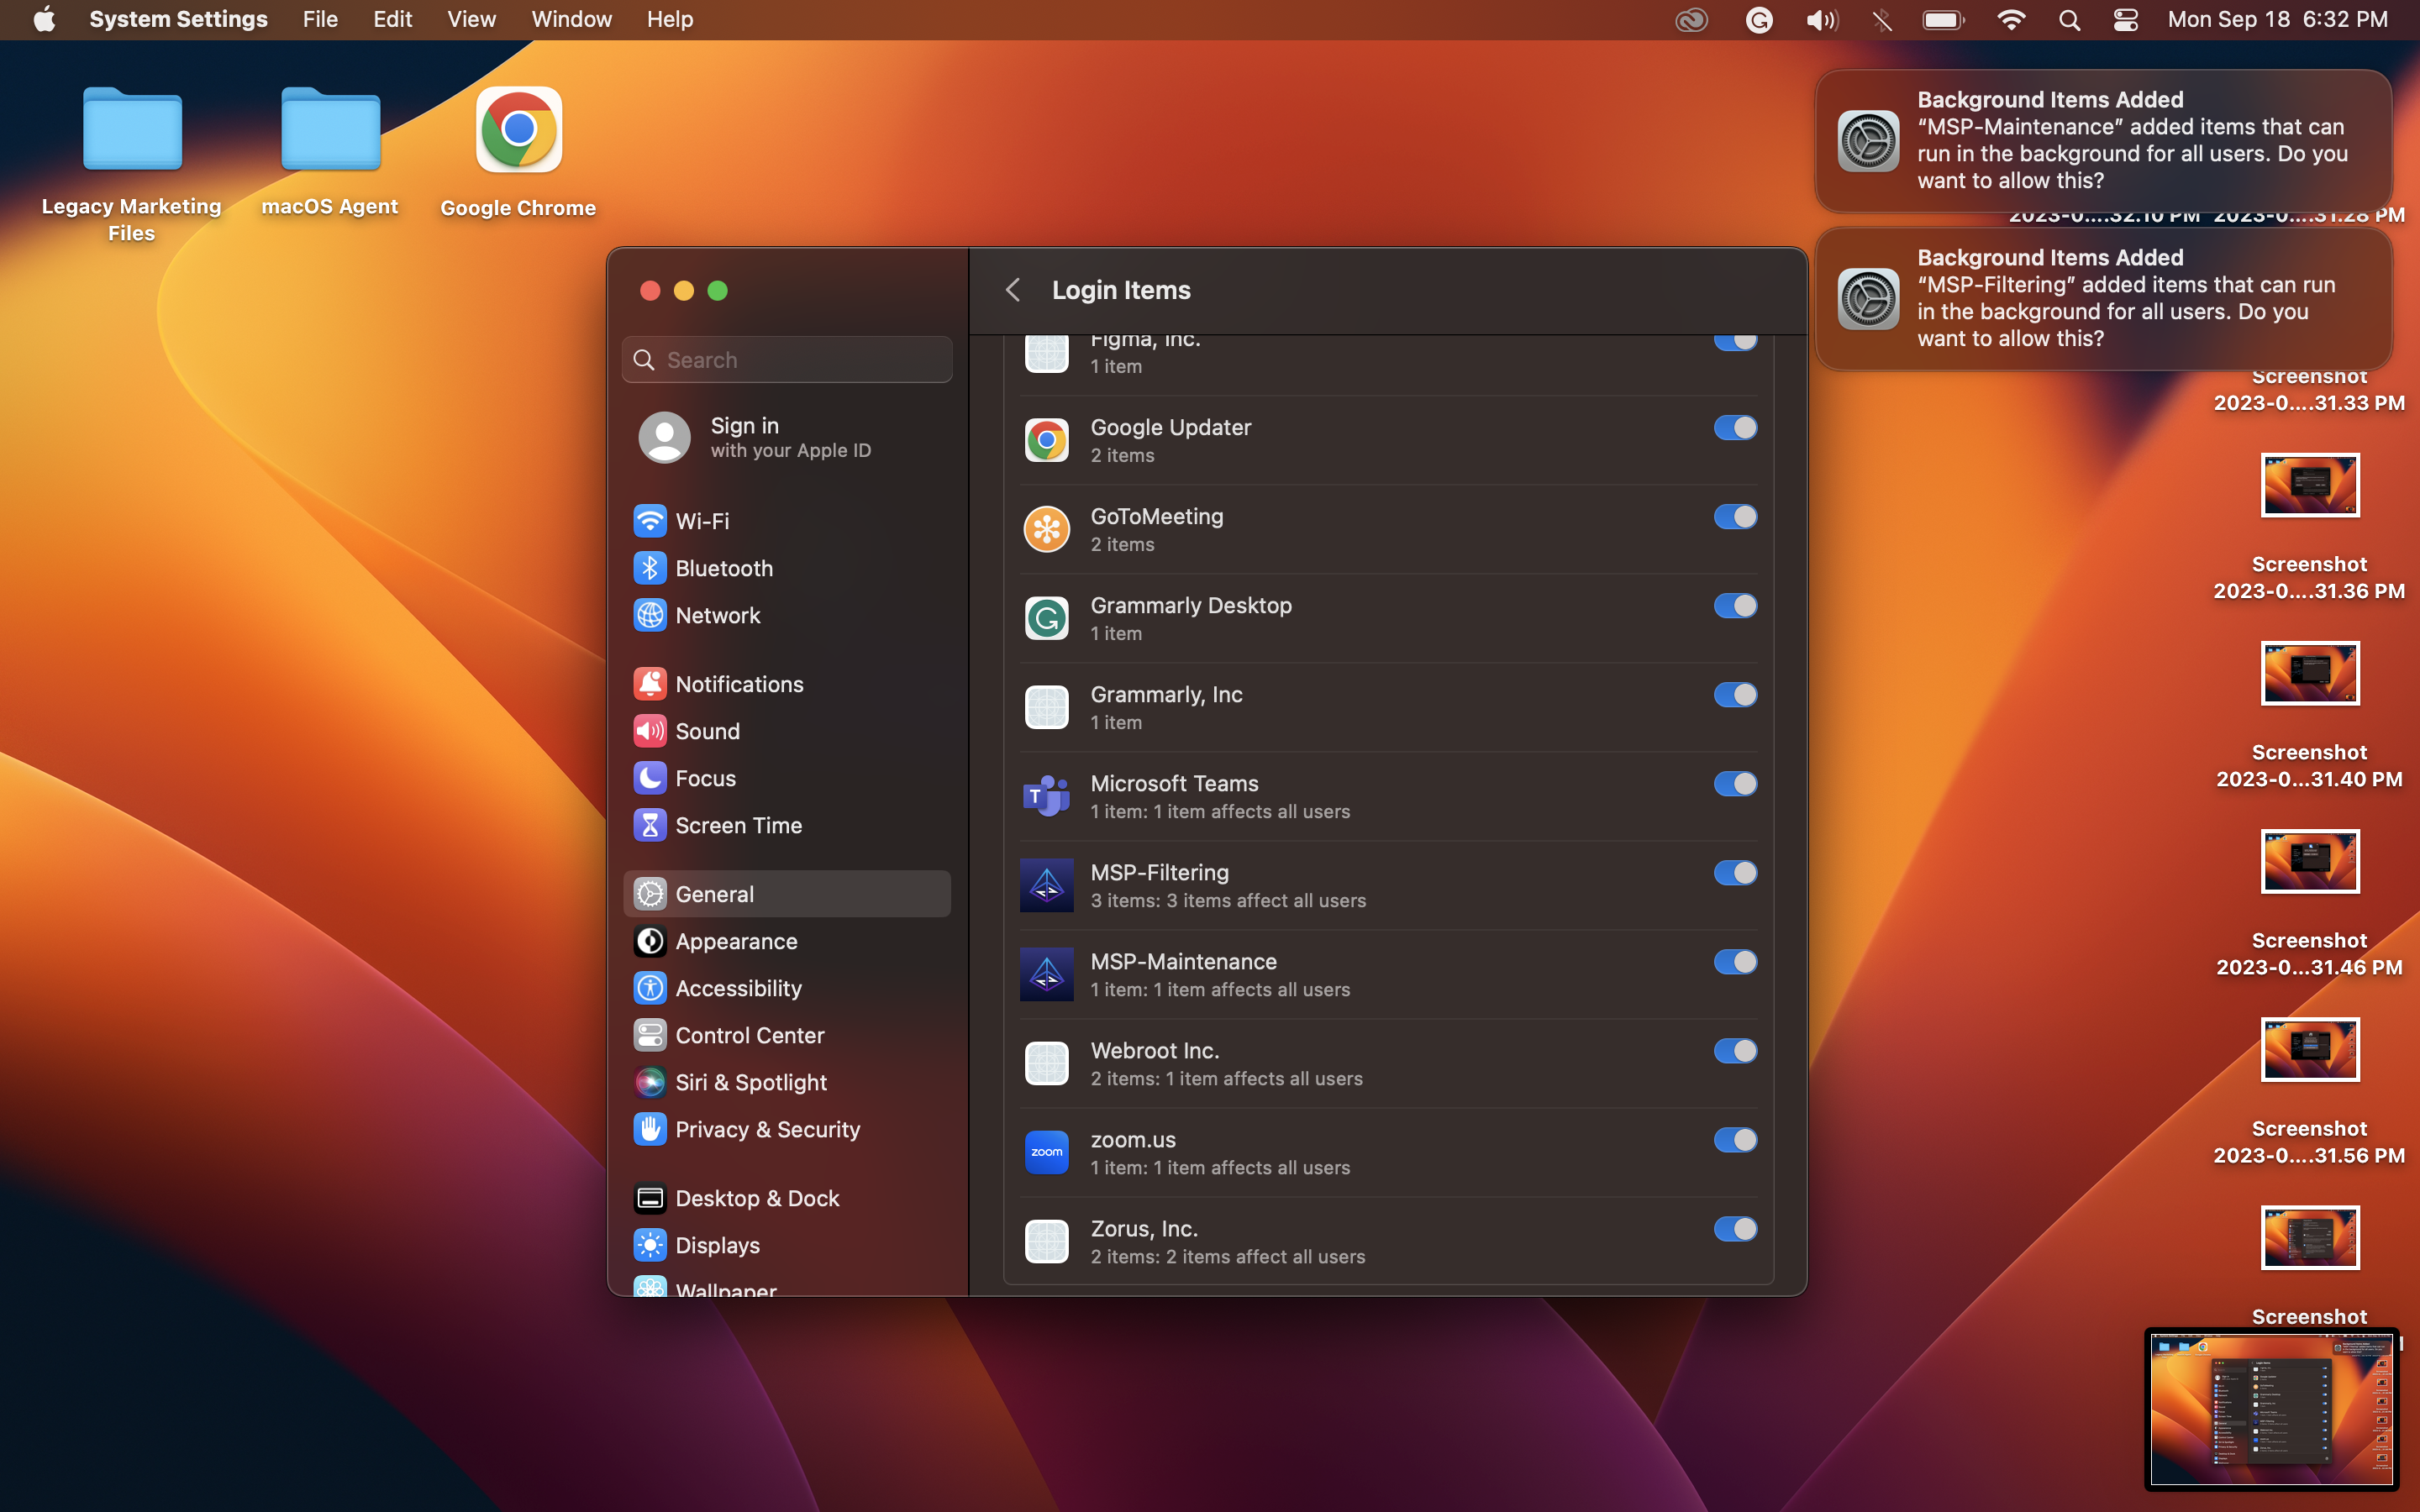
Do not hit "OK" hitting "OK" does not allow the permission. You need click "Open System Settings" and find the system extension and click "Allow." This will prompt twice for two different extensions.
Extension Permissions
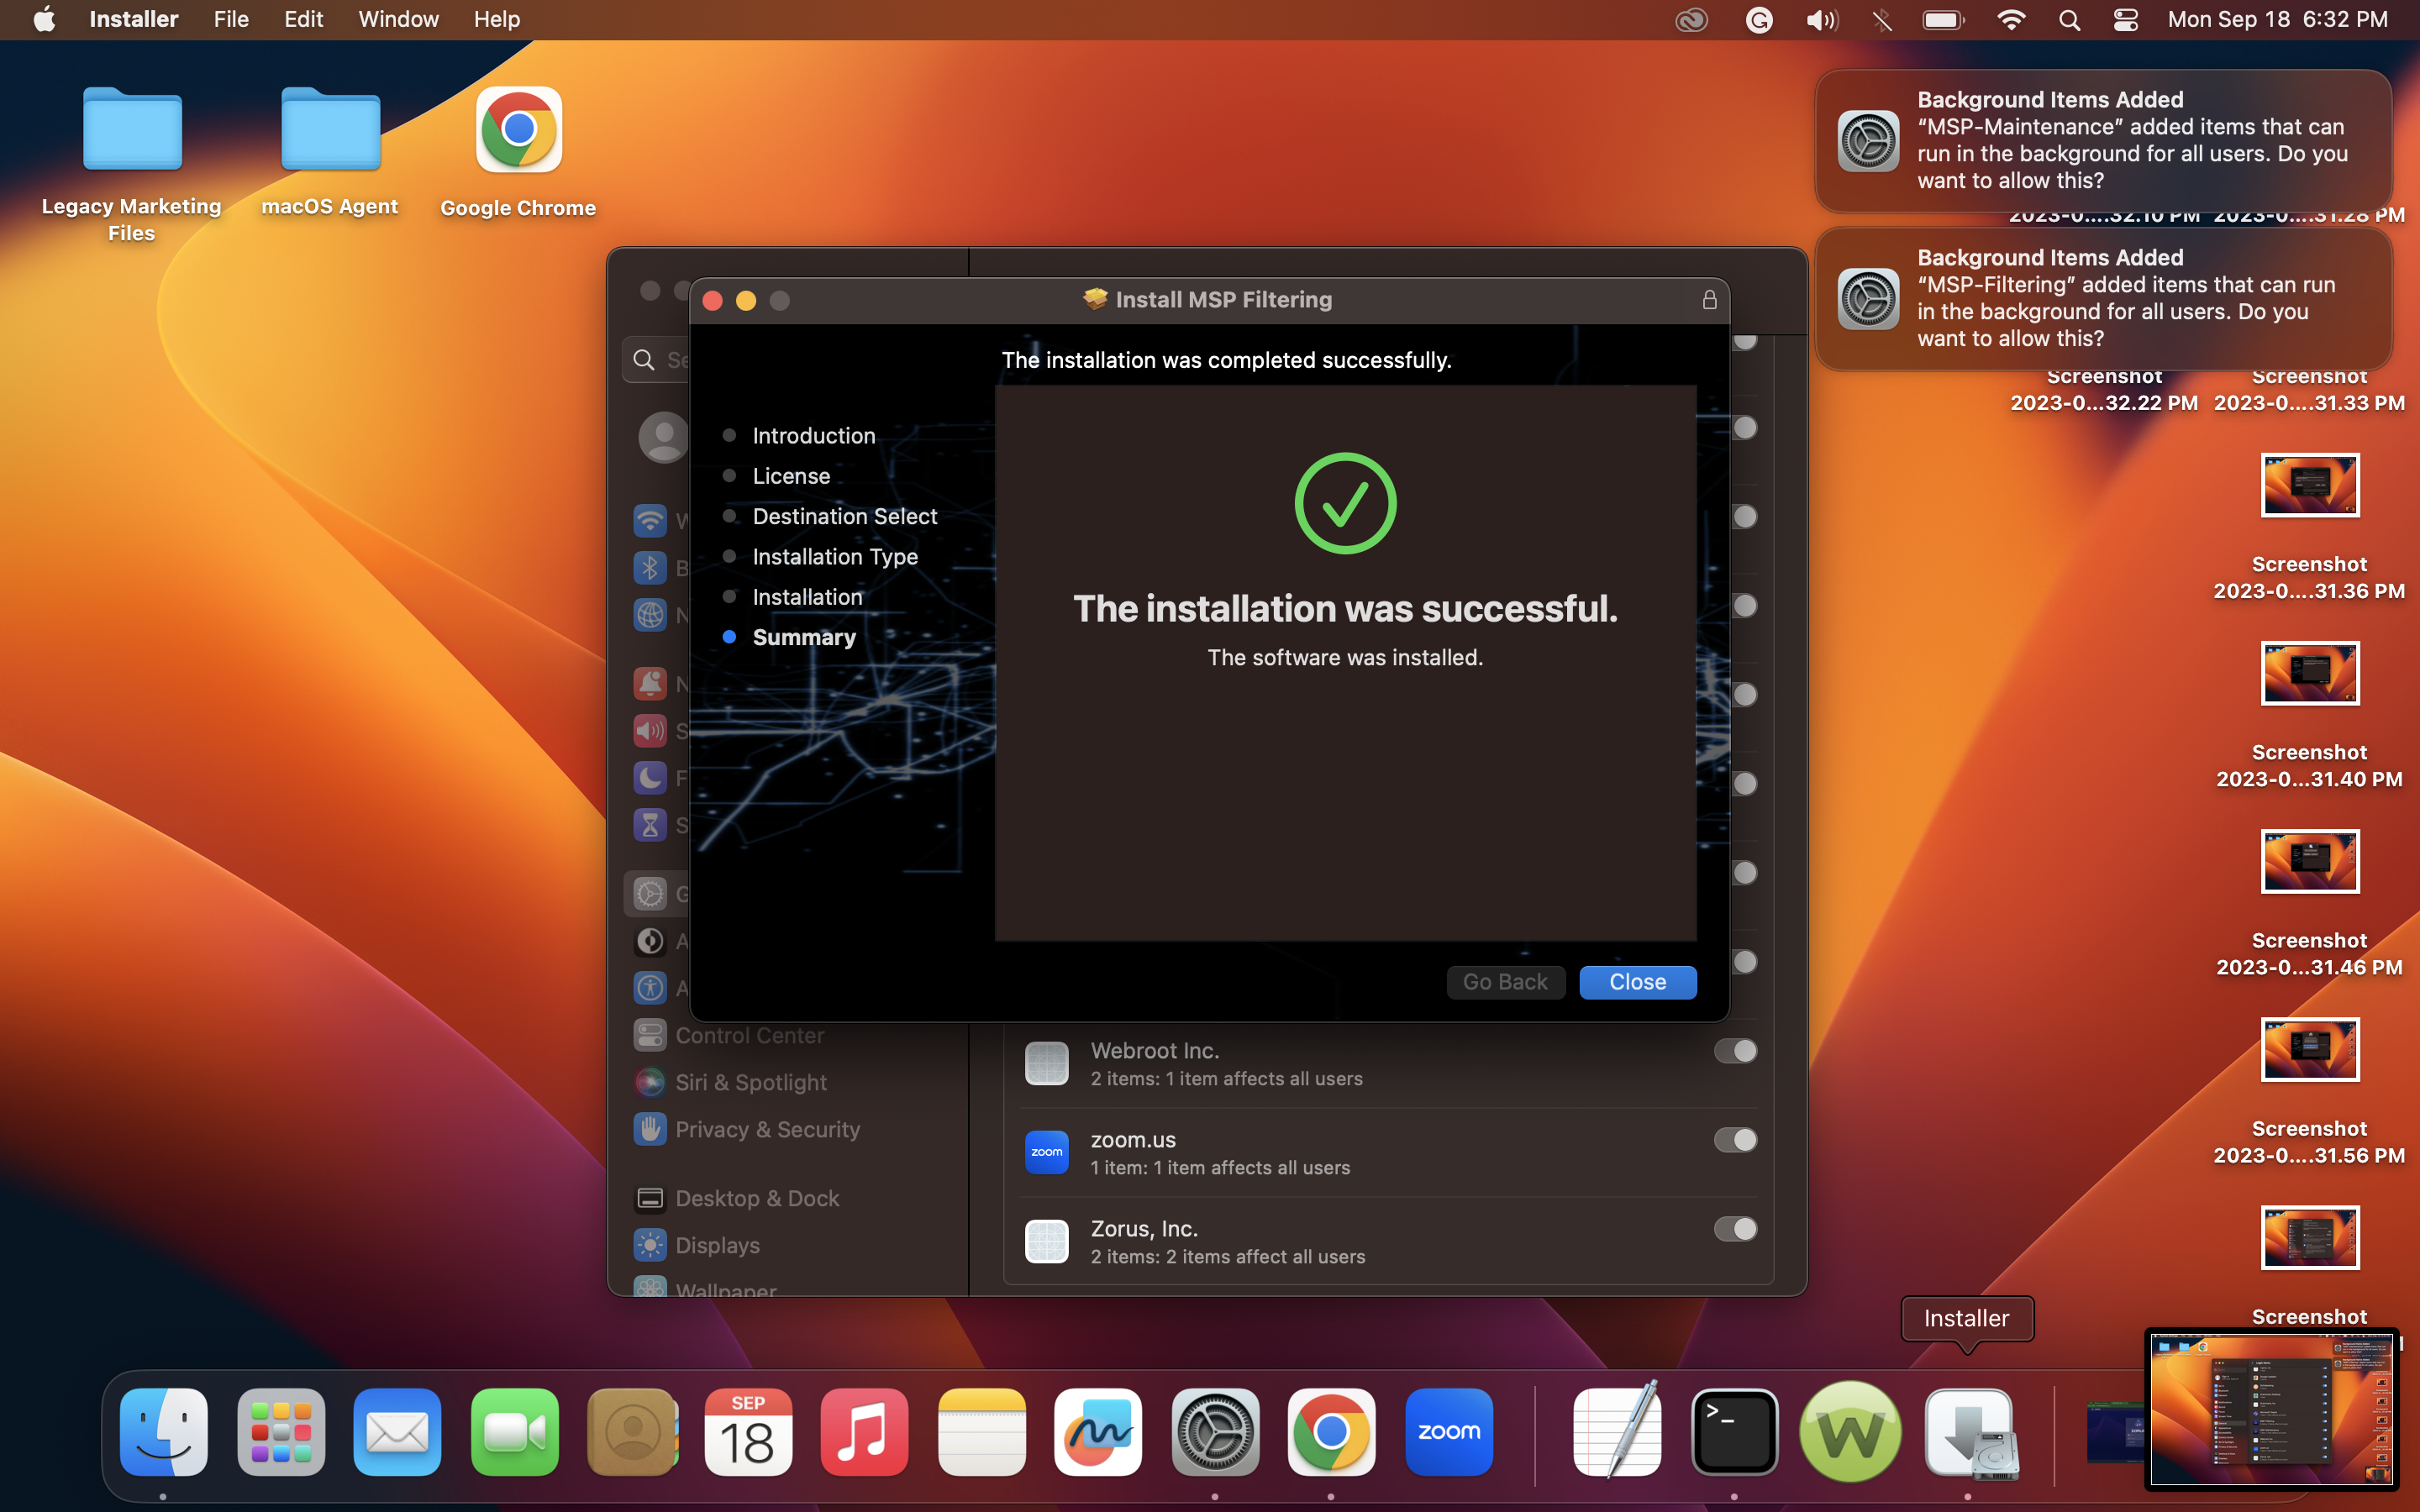
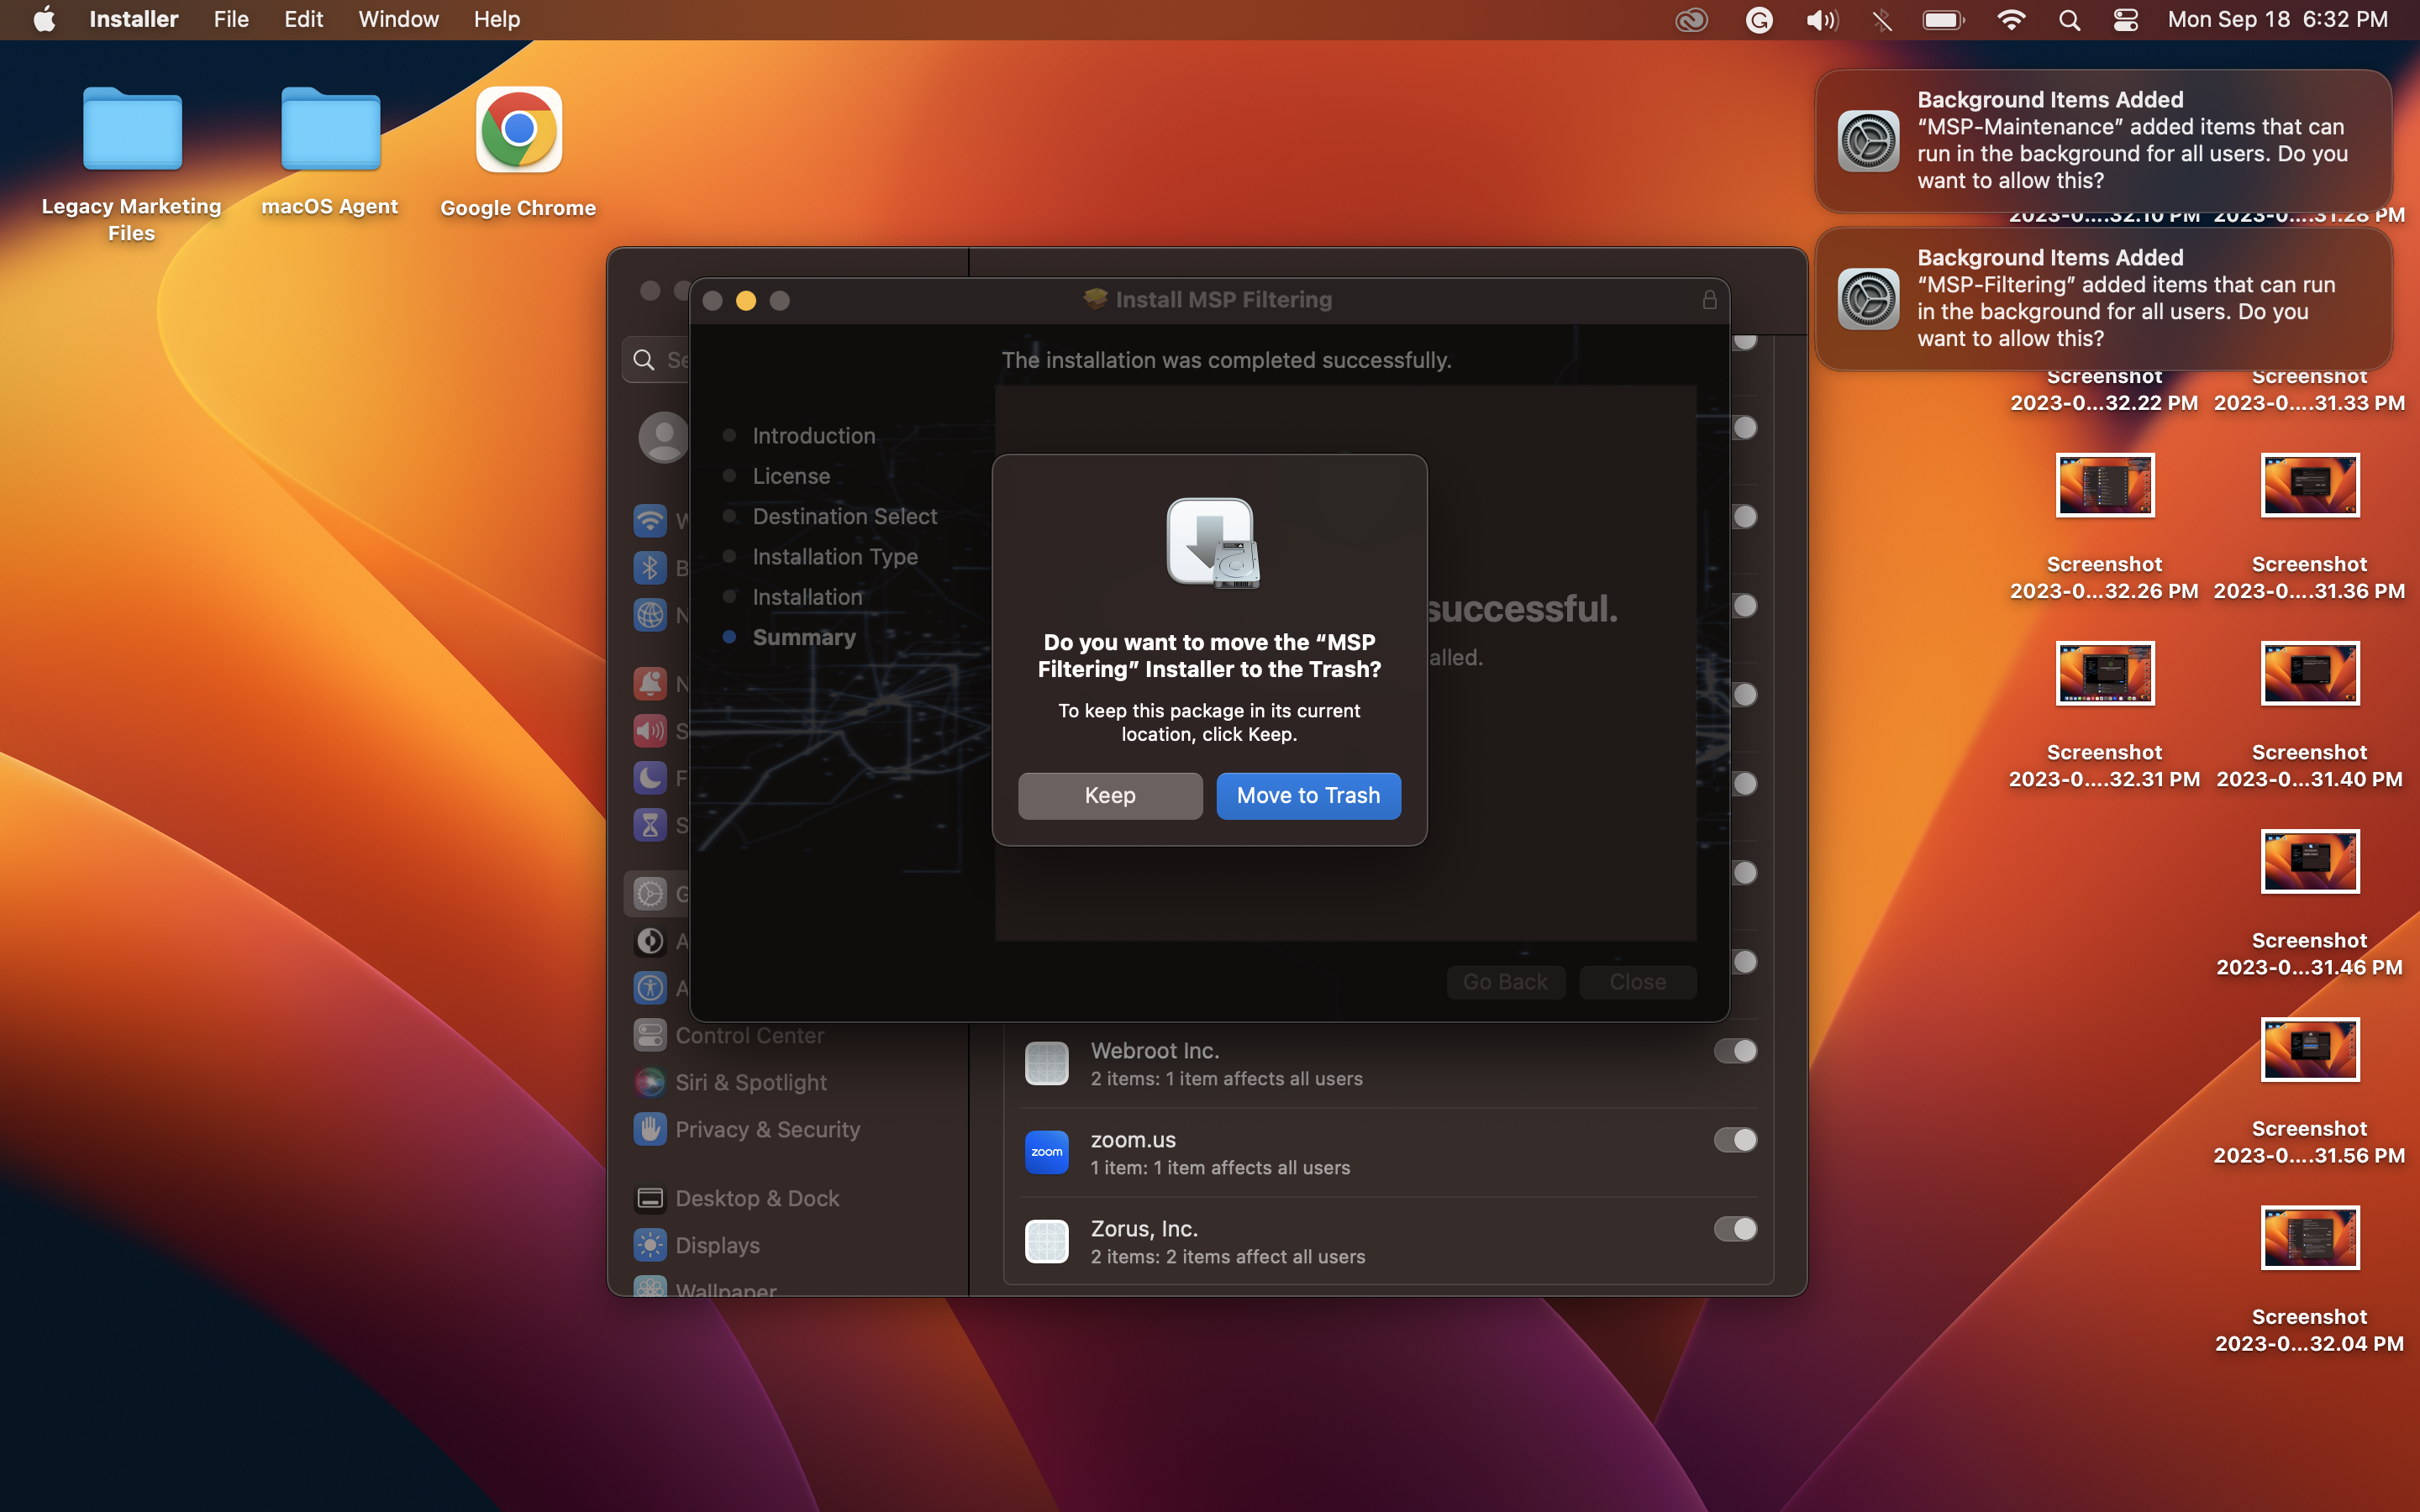
Step 5: Installation Success
5.1. After approving the necessary permissions, the installer will proceed with the installation.
5.2. Once the installation is complete, you will receive a success message.
Step 6: Remove the Installer
6.1. After a successful installation, you can safely remove the agent package file. It is no longer needed.
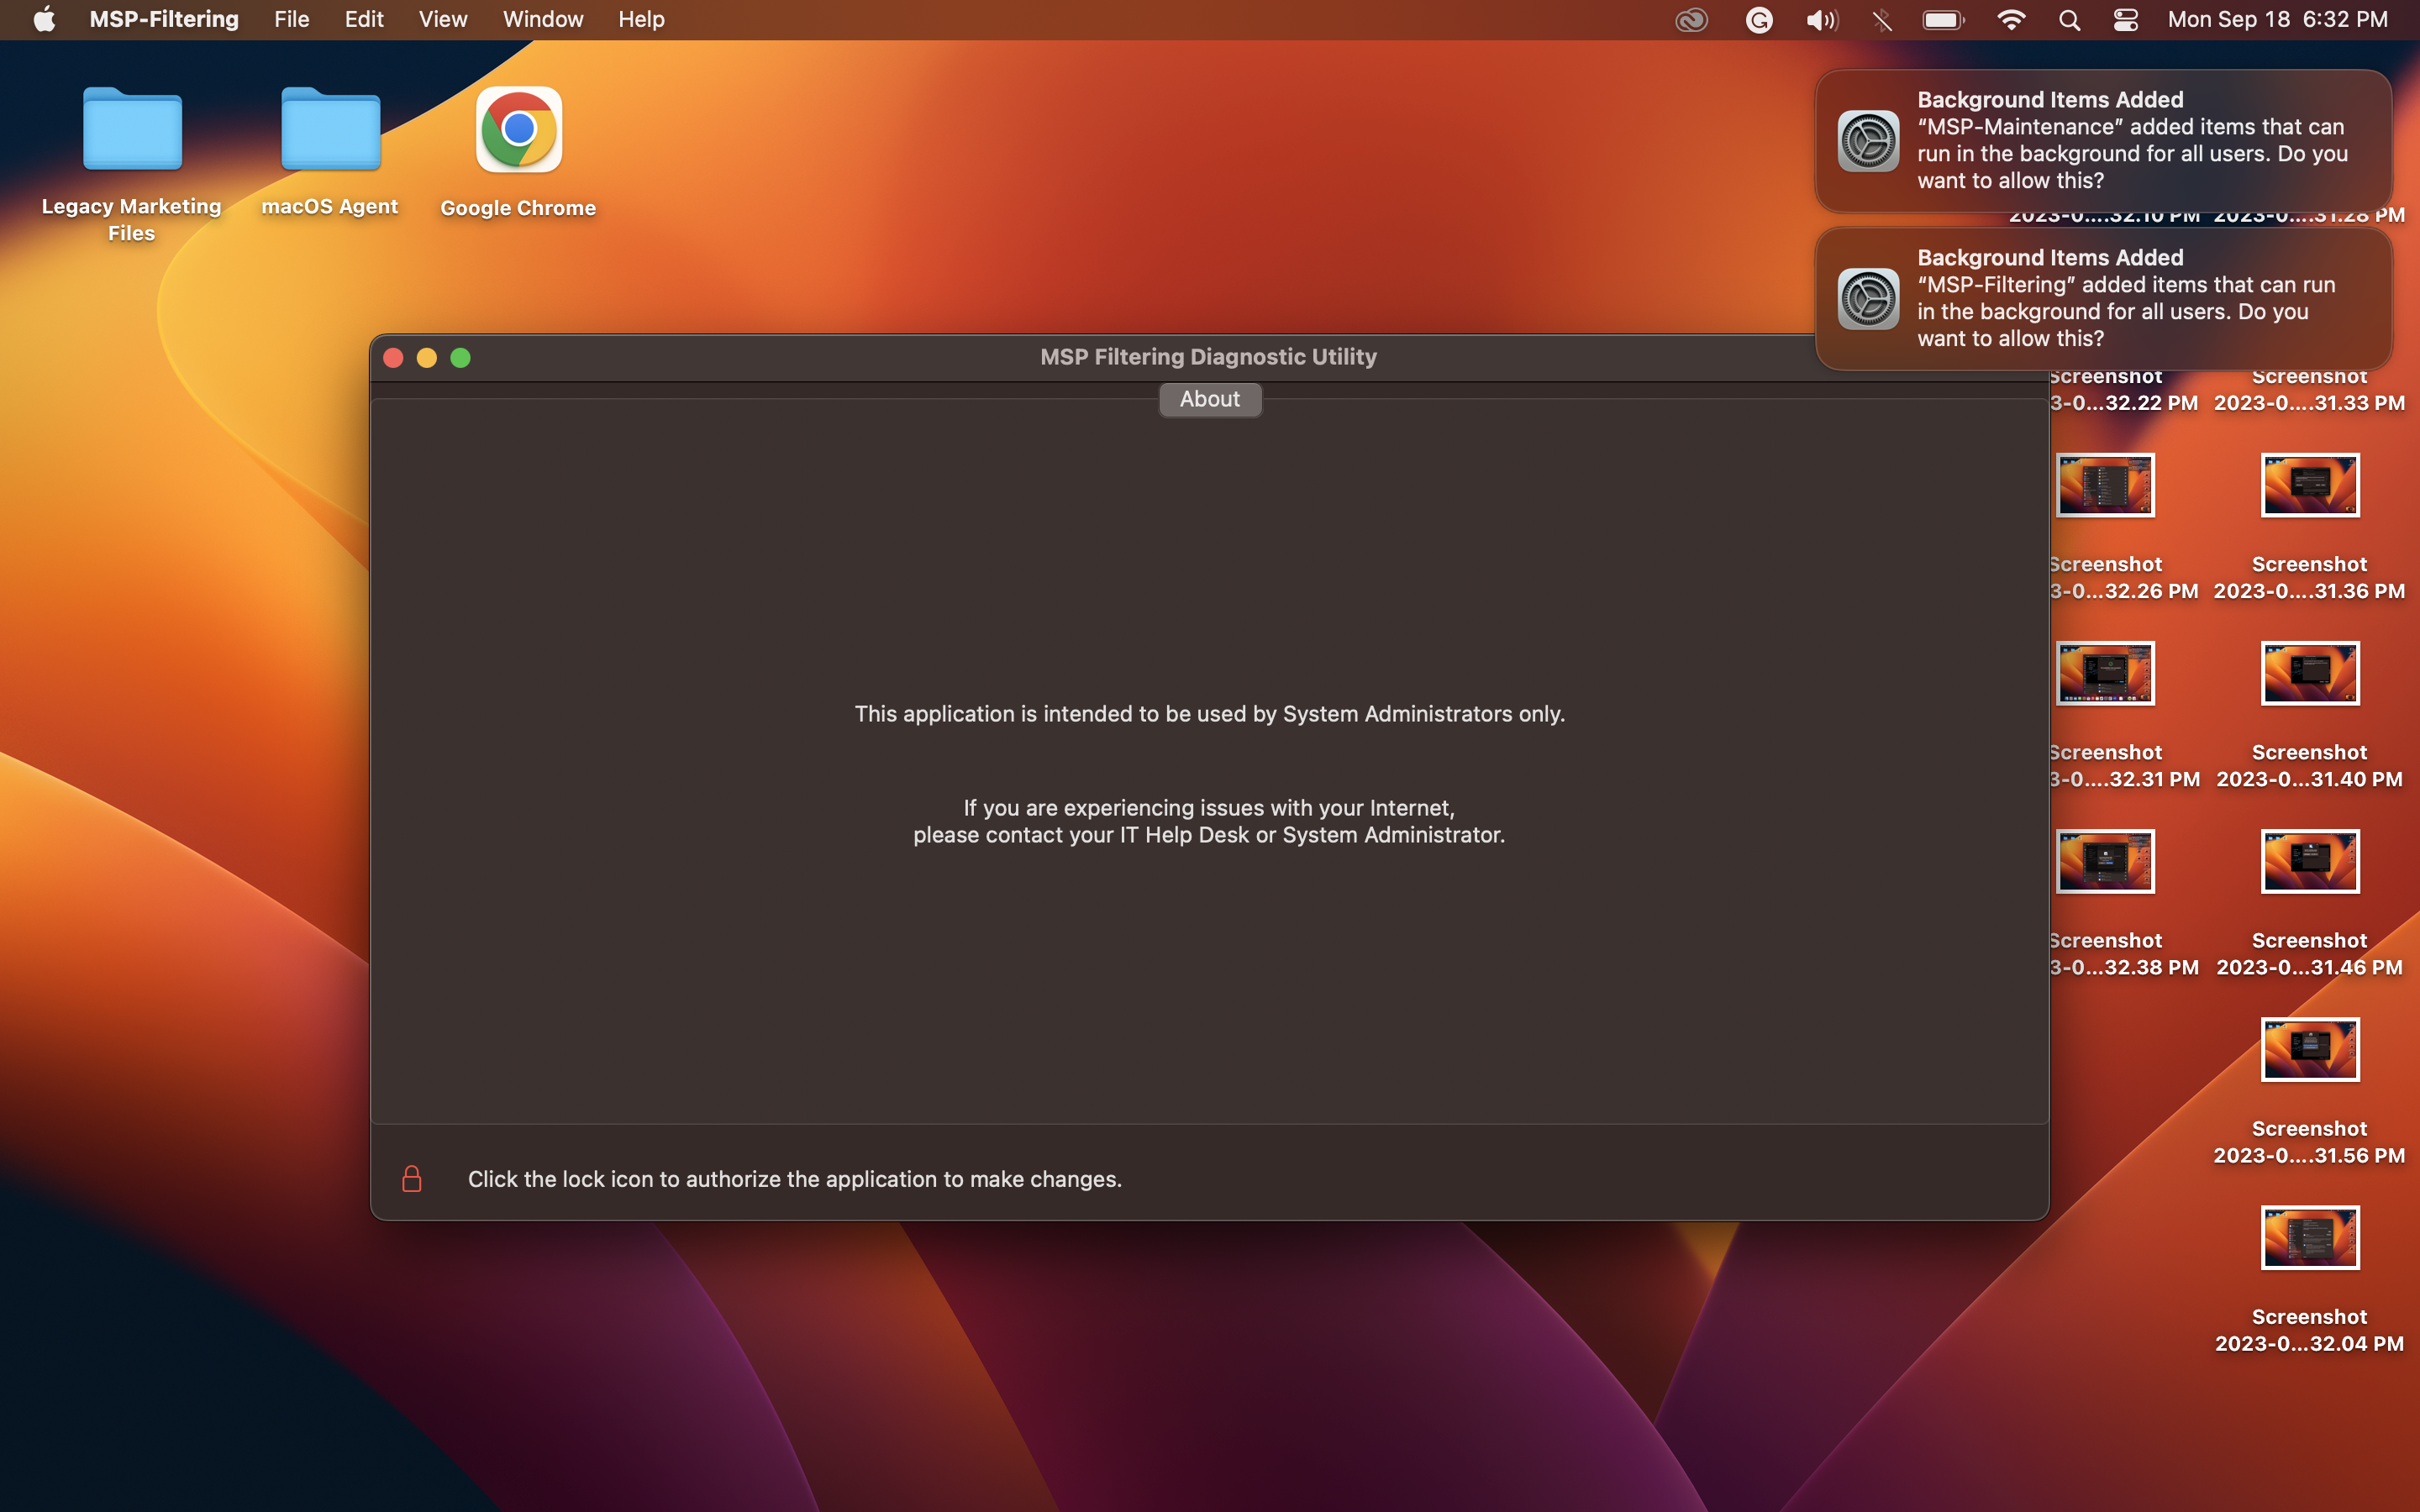
Step 7: Launch the Application
7.1. Locate the installed MSP Filtering application and launch it.
7.2 Unlock the application using the unlock icon
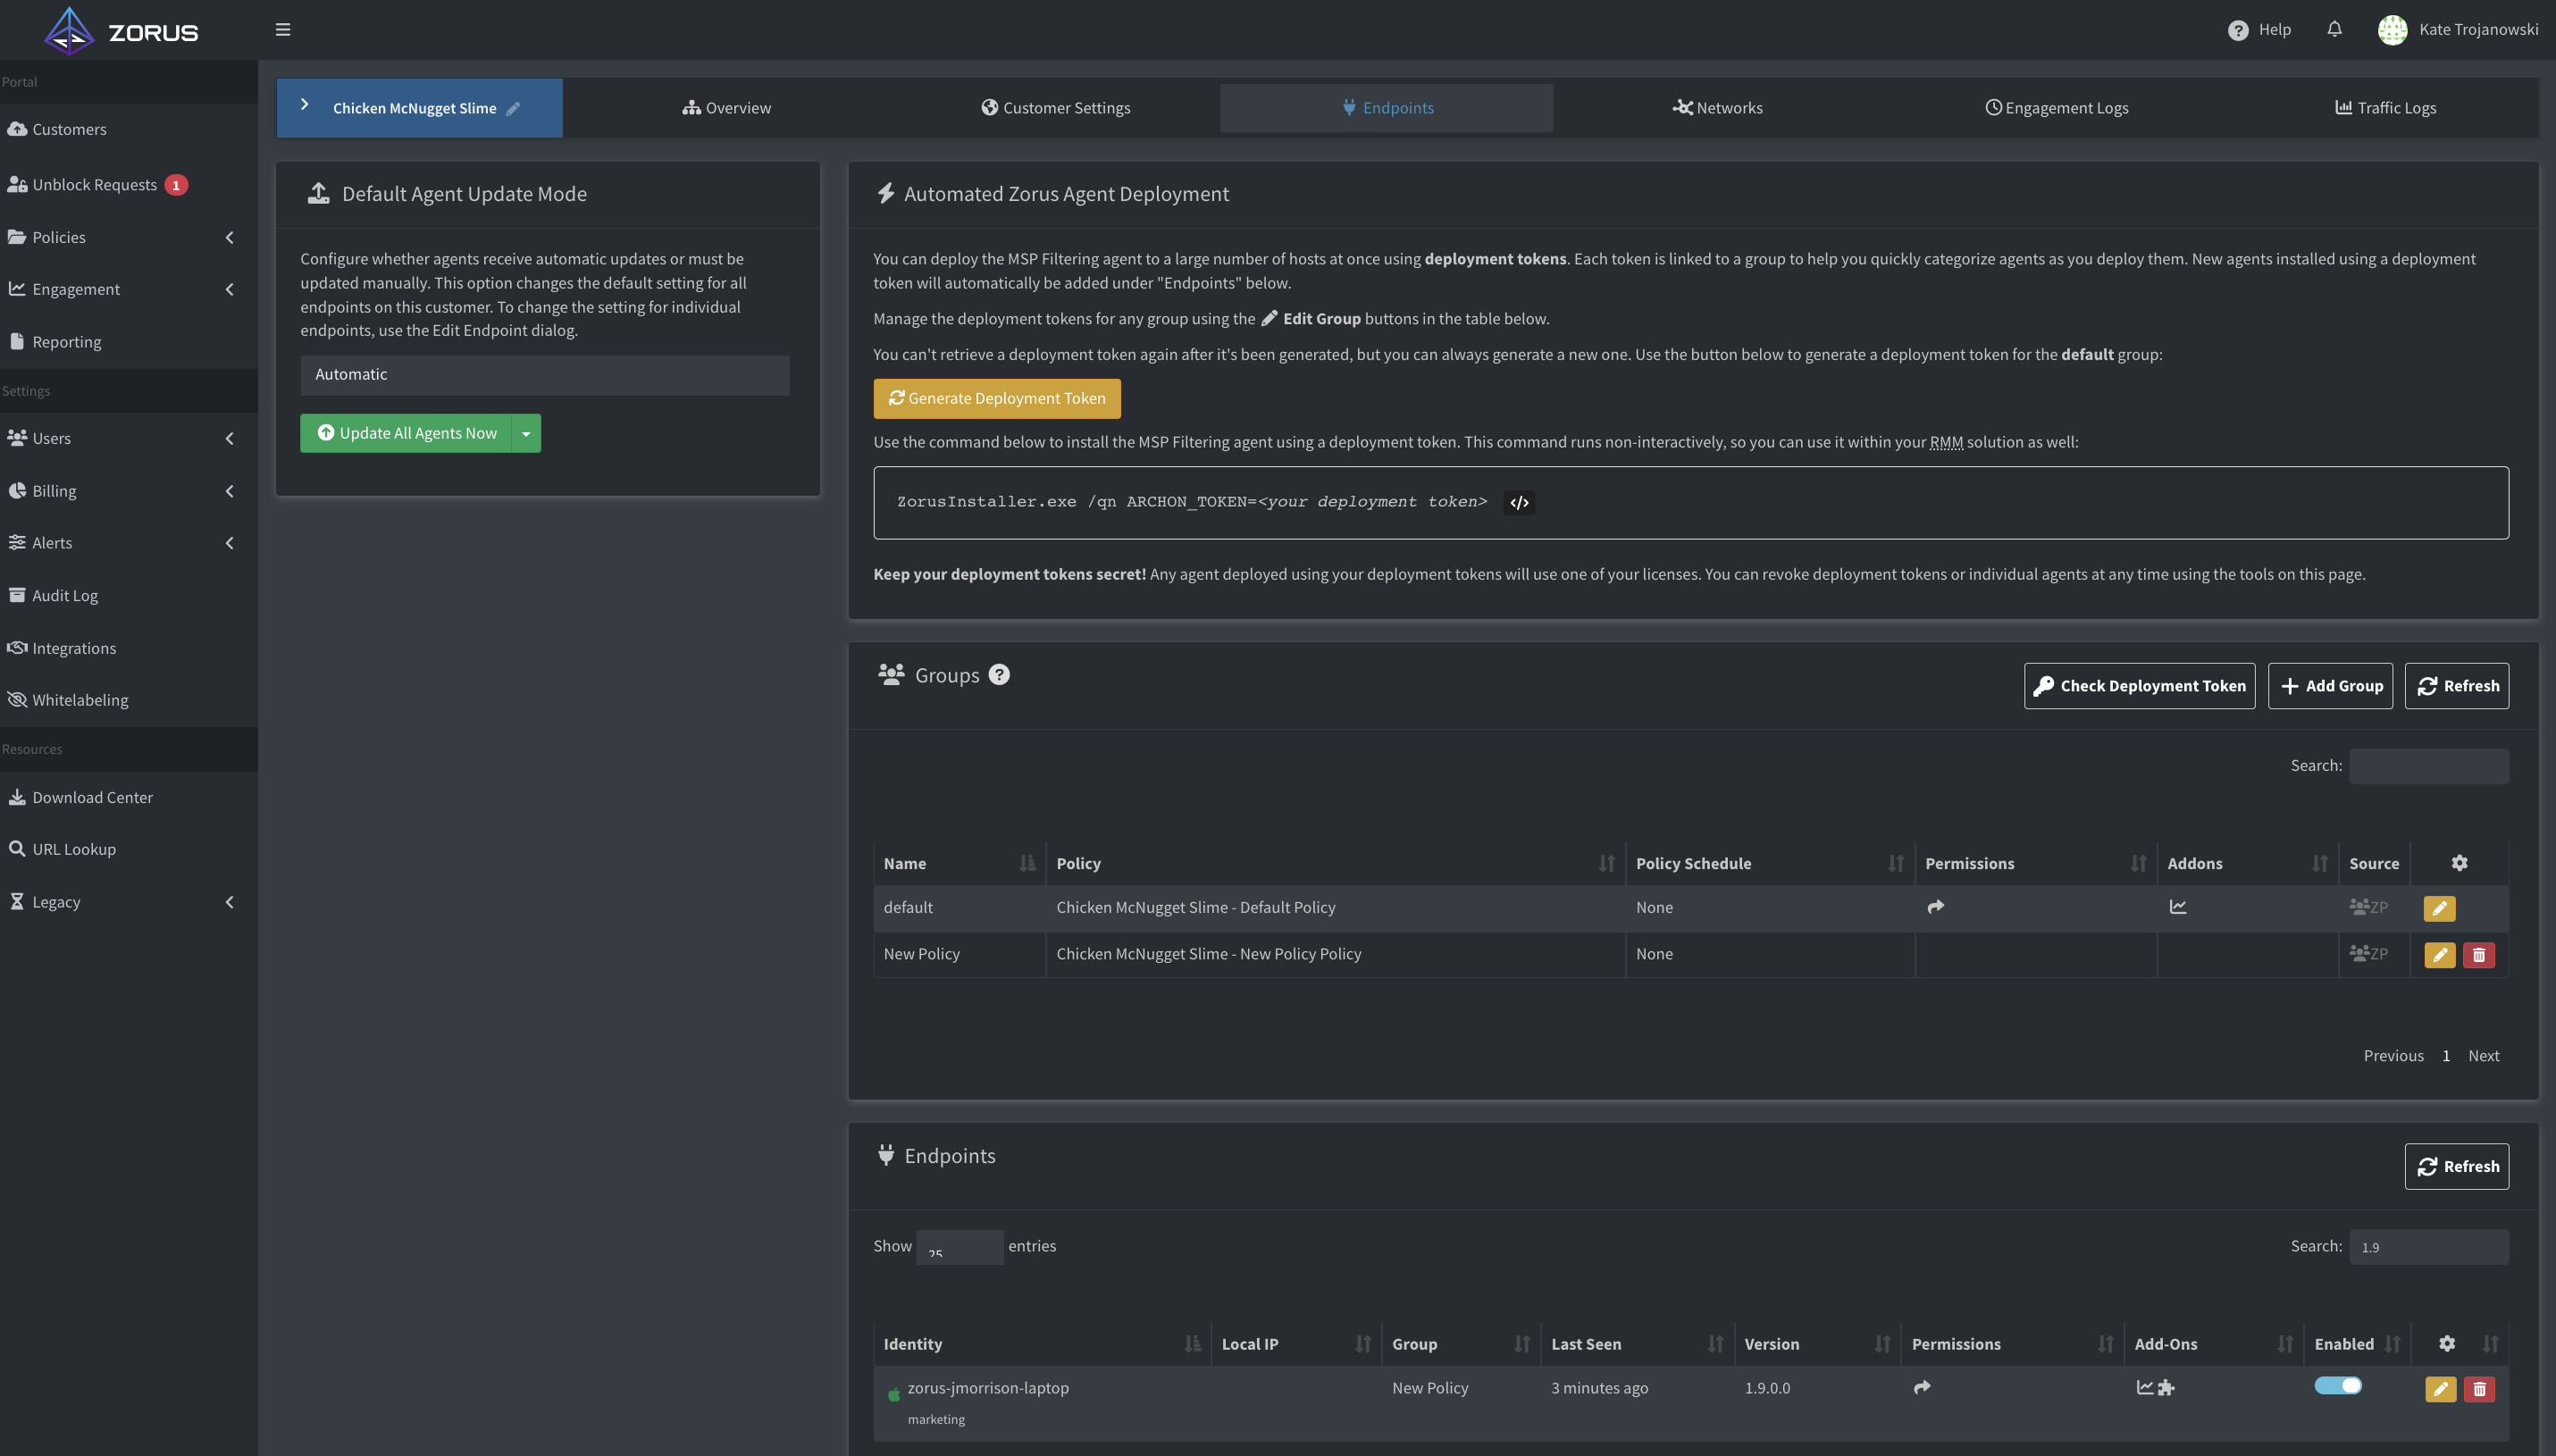
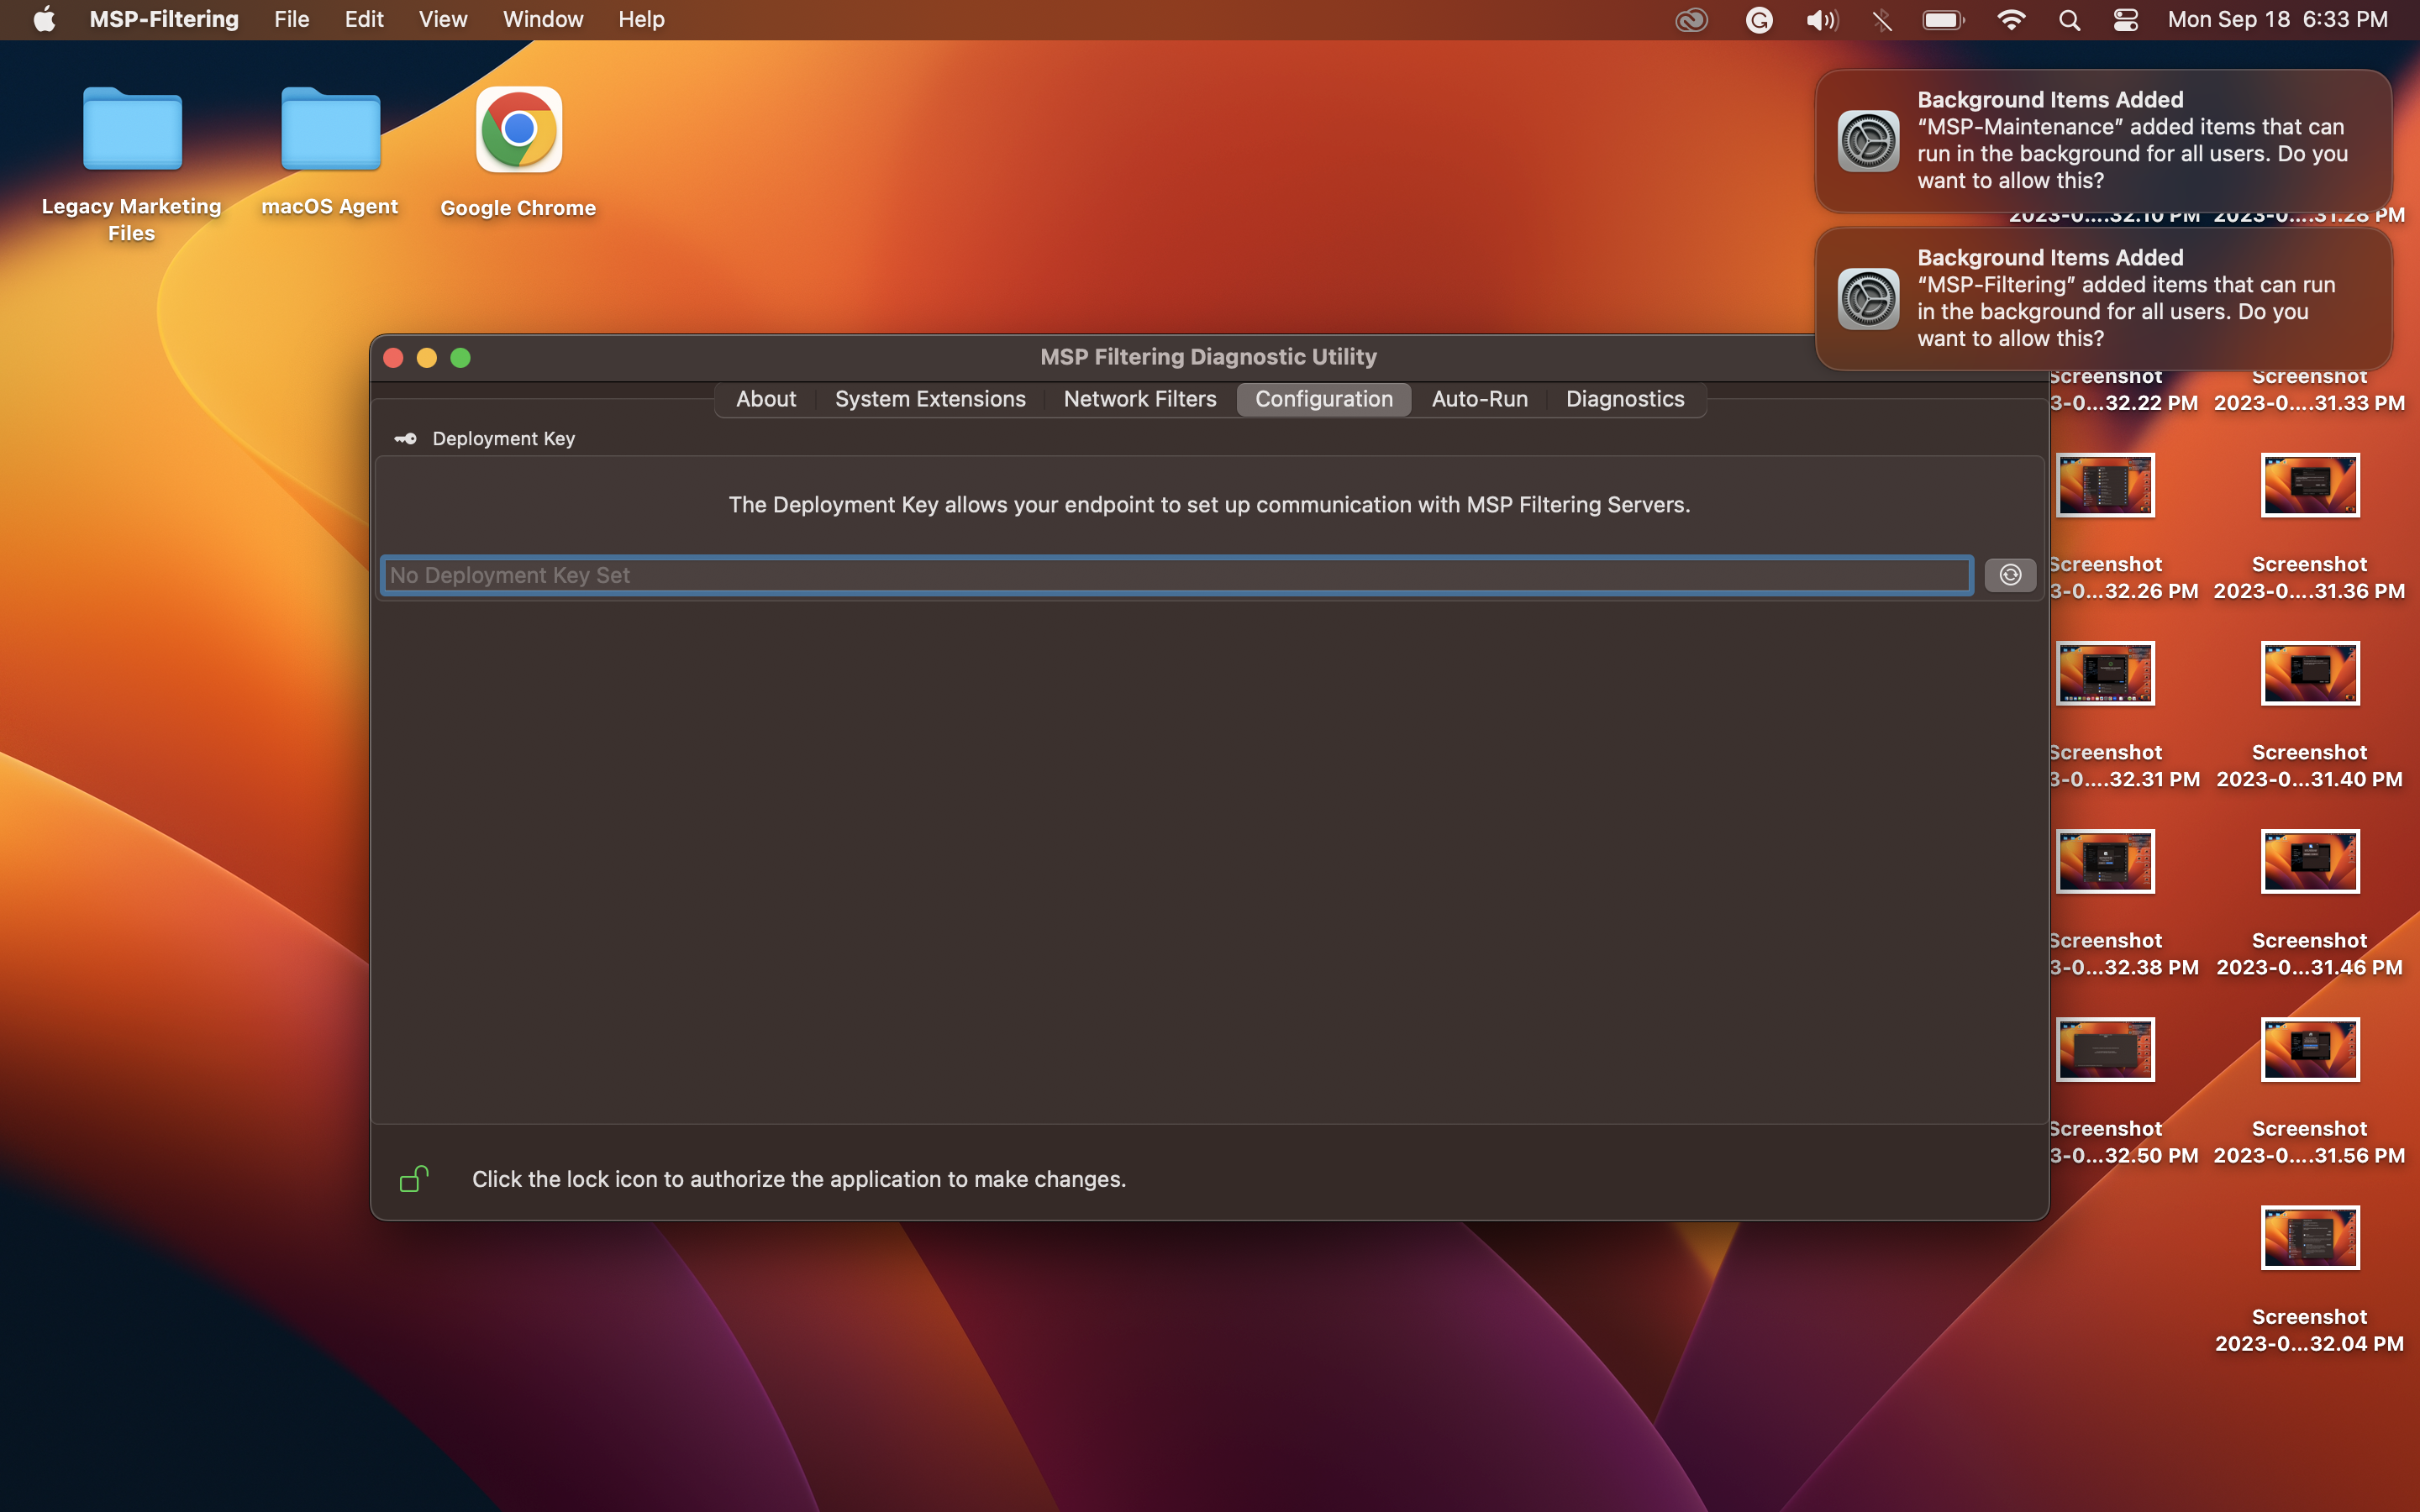
Step 8: Set Deployment Token (or use CLI)
8.1. To use the agent effectively, you will need to set a deployment token. You can do this in one of two ways:
-
Using the GUI: Within the MSP Filtering application, setting your deployment token on the Configuration tab should be available. Set your deployment token and click the Enter / Return key to save.
-
Using the Command Line Interface (CLI): If you prefer the CLI via the Terminal application, use the following command to set your deployment token:
sudo /Applications/MSP-Filtering.app/Contents/MacOS/MSP-Filtering settings credentials set-deployment-token "YourDeploymentToken"
Replace <your-deployment-token> with the actual token provided to you.
That's it! You've successfully installed the agent on your macOS system and configured it for use.
If you encounter any issues during the installation or have questions about using the agent, please refer to the documentation or contact our support team for assistance.
------------------